Come Out On Top: Desktop Magnet Boards with Glass Magnets

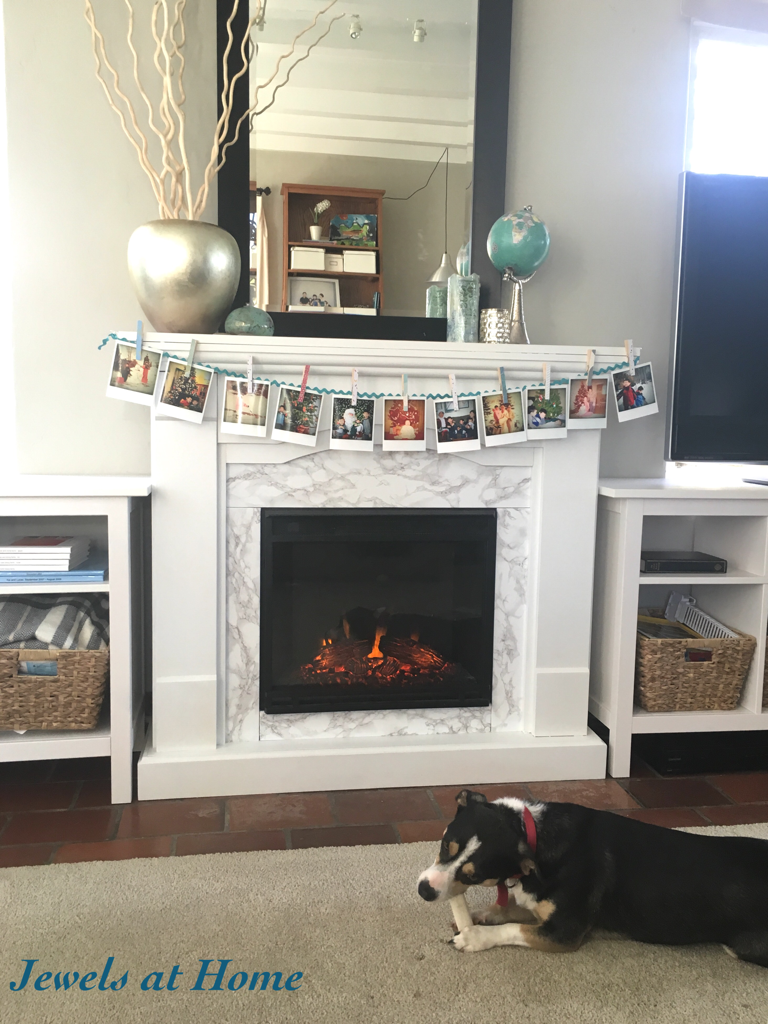
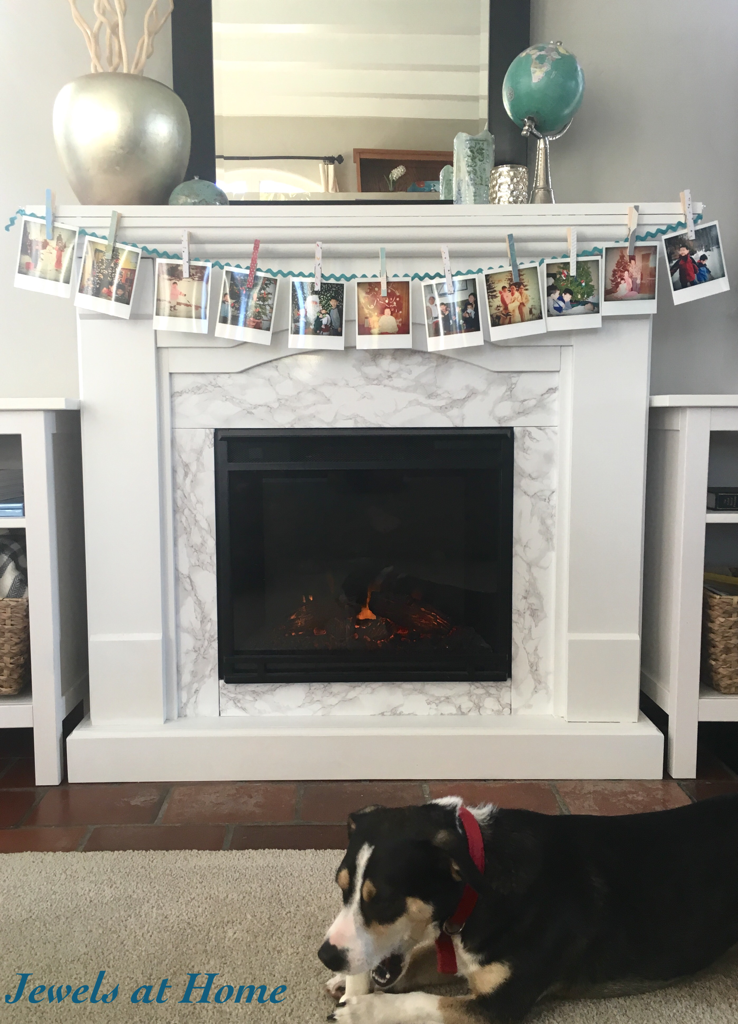
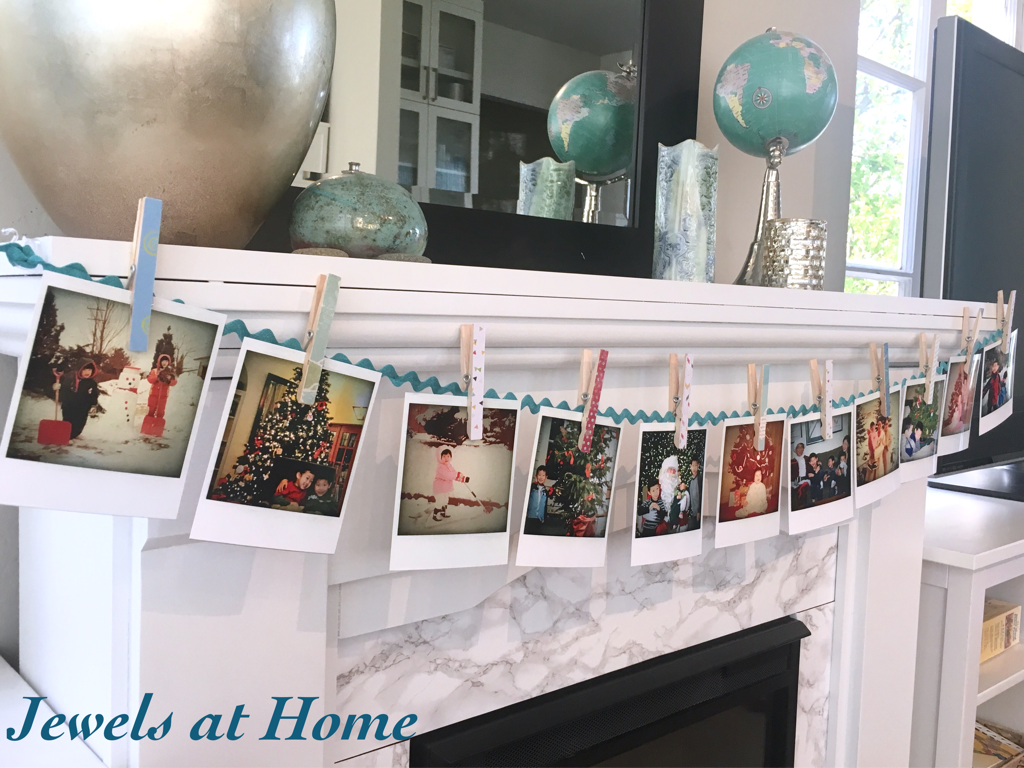
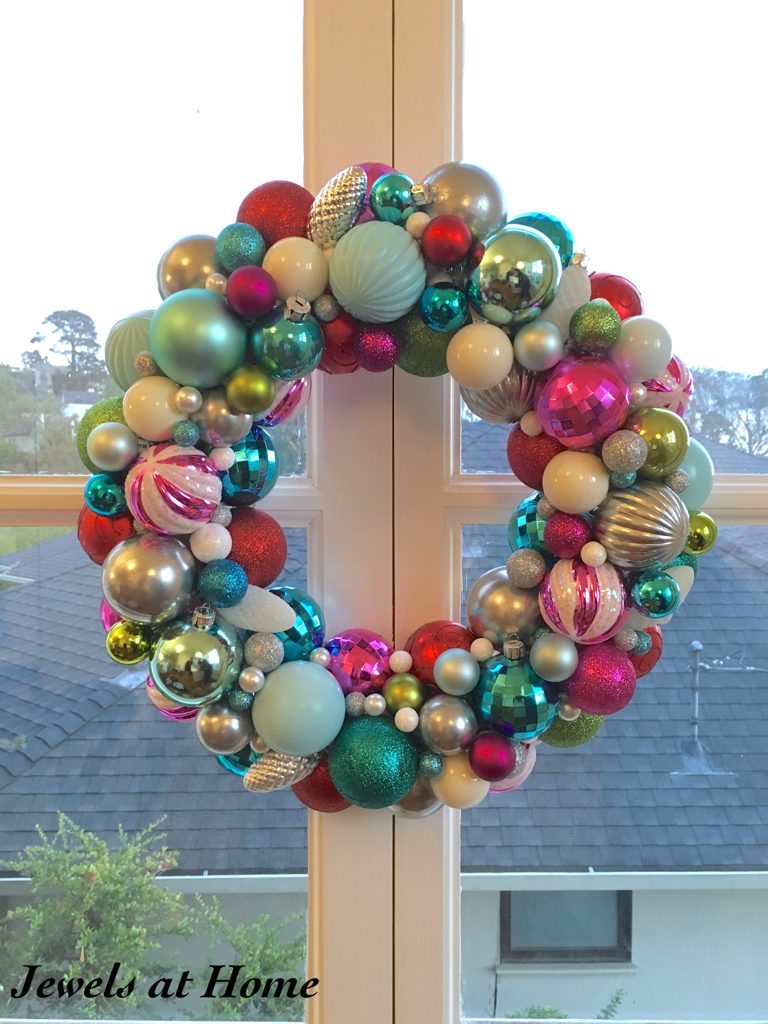
After a few years of pretty much running out of holiday spirit by the holidays, I have slowly learned to plan early with my holiday crafts. This year, I’ve started getting in the mood by putting together these projects so far:

Holiday preparations always include gifts for our teachers and my “work family.” I love creating something handmade to show our appreciation, and I try to make a few extra for hostess gifts throughout the year. A round-up of past holiday gifts/ hostess gifts is at the bottom of this post.

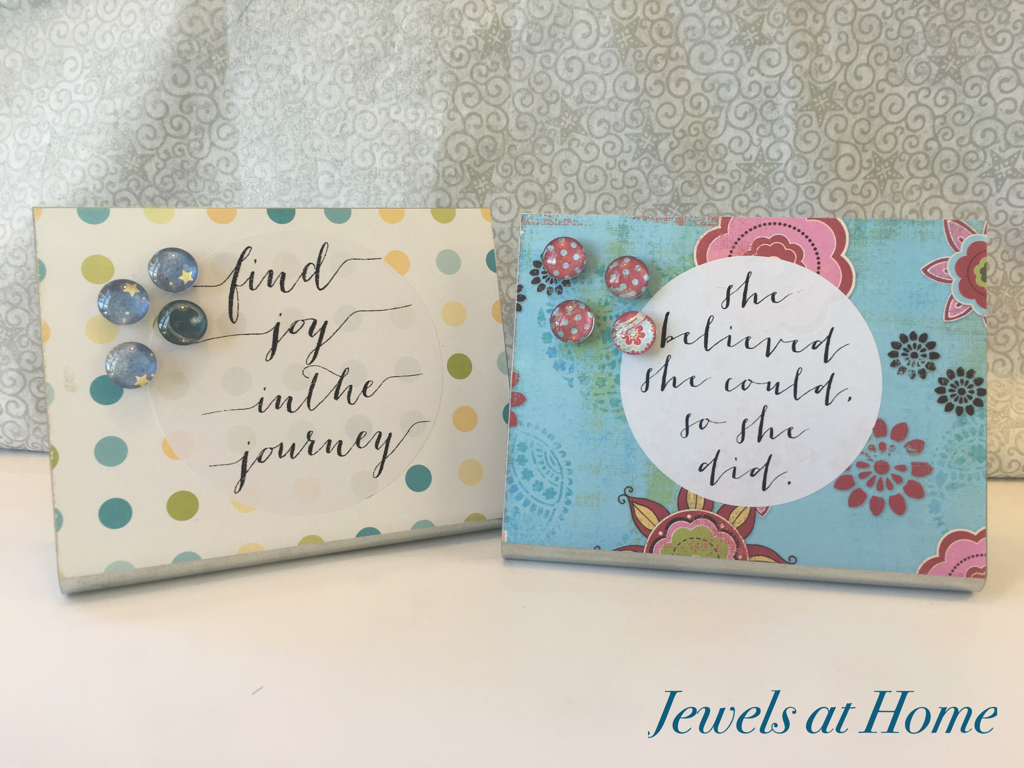
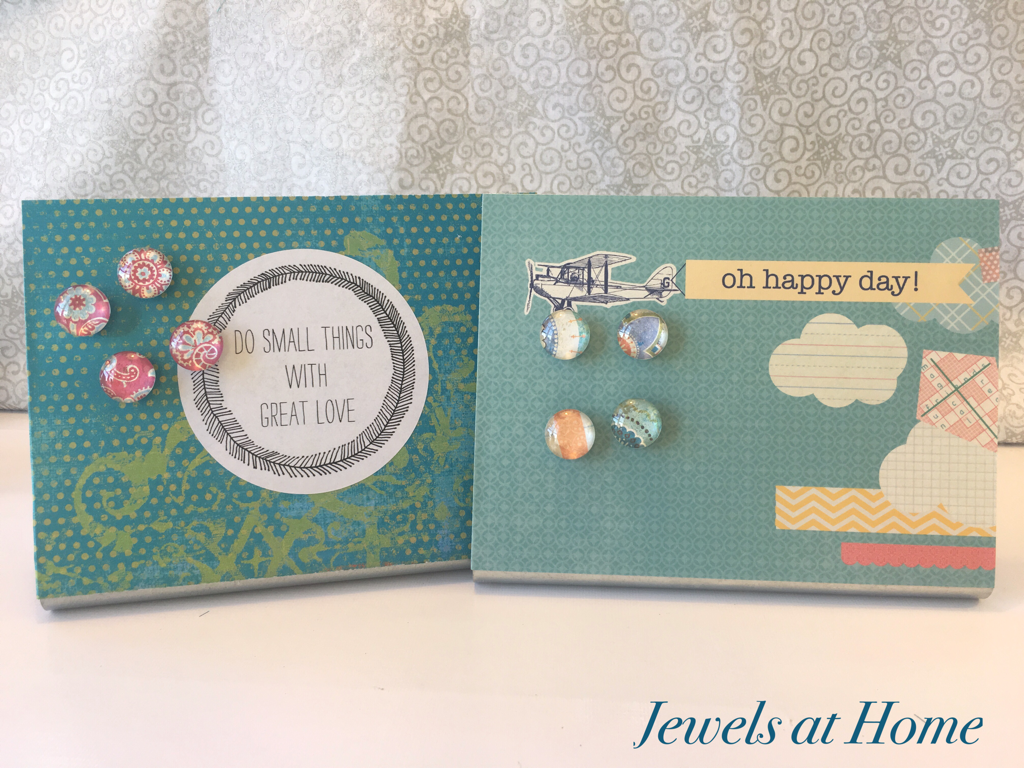
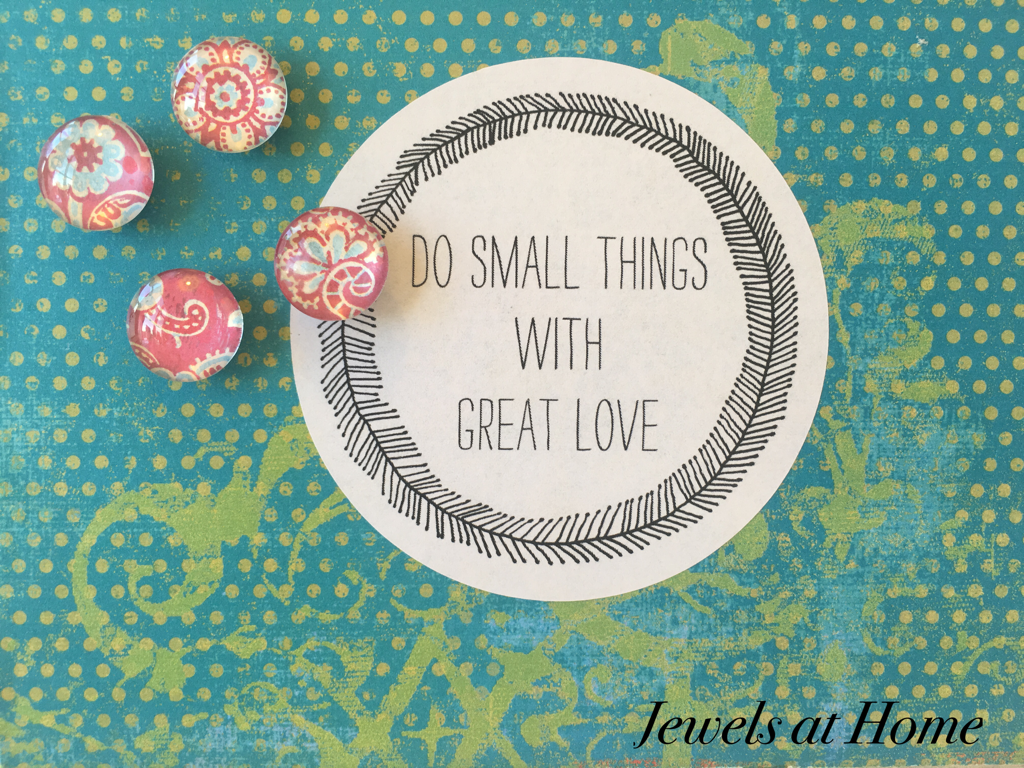
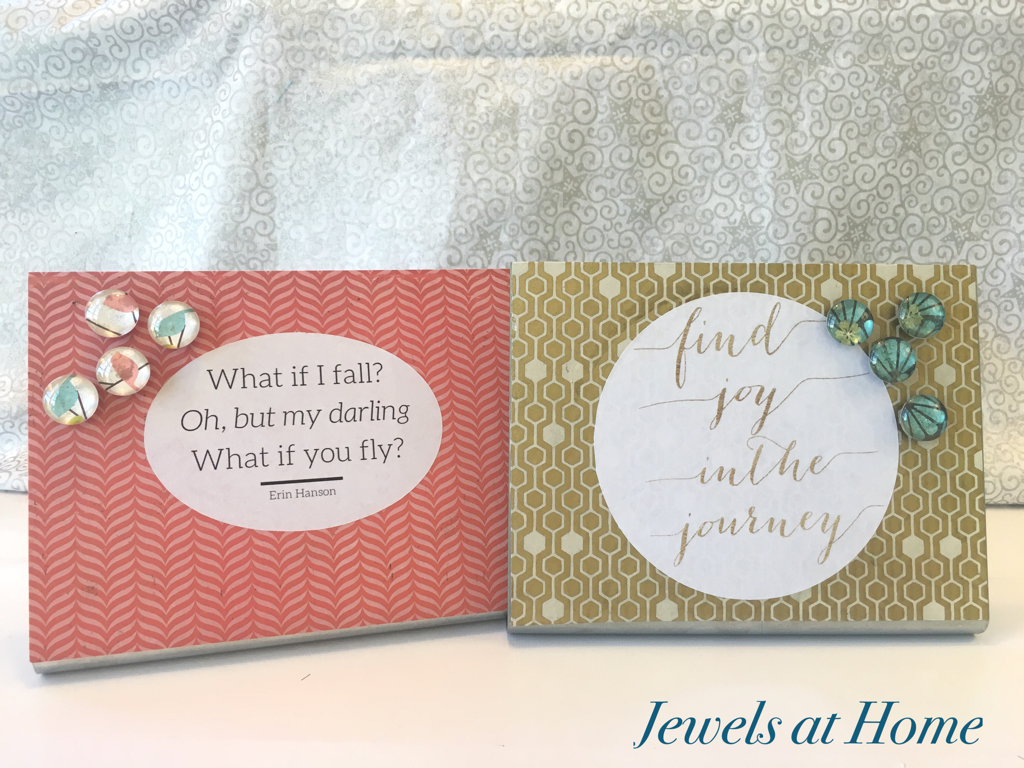
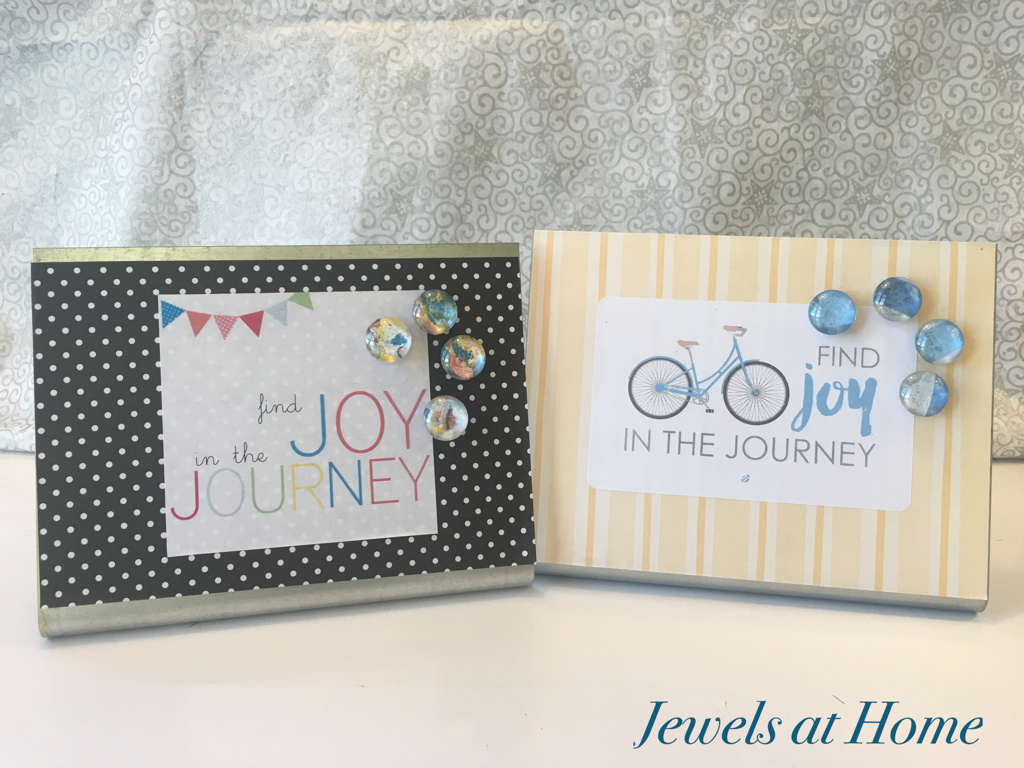
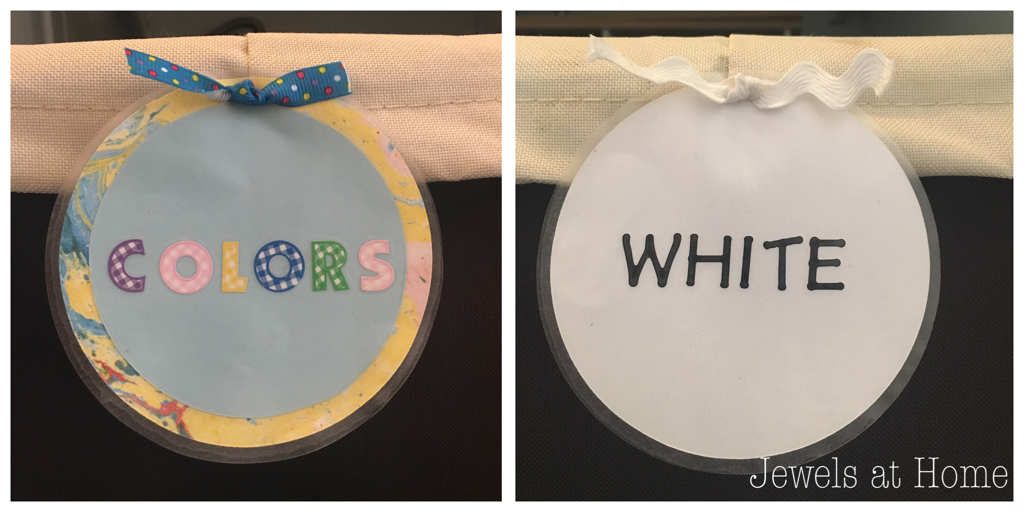
For this year’s gift, I knew that I wanted to do a project using scrapbook paper. I have a little (tiny, really) bit of an addiction to pretty papers, and I wanted a way to share them. After looking through lots of ideas on Pinterest, I decided to make these desktop magnet boards with coordinating glass cabochon magnets. My inspiration included similar boards from Papemelroti in the Philippines and Leanne from Organize and Decorate Everything.

These magnet boards can be used for notes or as picture frames, and they even make lovely decorations on their own. I added some favorite quotes as appreciation and inspiration for the hard-working teachers and friends in our lives.

Materials:

Instructions:

  • Cover the magnet board with scrapbook paper using a glue stick. Cynthia shared a helpful tip, which was using a plastic card (I used an expired gift card) to smooth the paper.
  • Add a quote or piece of art to the center
  • I’m not sure if I’d recommend this step… I brushed on a coat of clear polyurethane. I wanted to protect the paper, but the moisture made some of the edges peel. I managed to glue them back, but it was a bit of a pain. Maybe
  • Cut circles of paper and glue to back of cabochons.
  • Add magnet to back of cabochons using the E6000

Desktop Magnet Boards with Glass Magnets | Jewels at Home

This is a simple project, but I love that there are infinite ways to personalize it. There were so many variations on the boards that I will include some more in a second post!

Desktop Magnet Boards with Glass Magnets | Jewels at Home
Desktop Magnet Boards with Glass Magnets | Jewels at Home  

Desktop Magnet Boards with Glass Magnets | Jewels at Home  Desktop Magnet Boards with Glass Magnets | Jewels at Home
Desktop Magnet Boards with Glass Magnets | Jewels at Home

Looking for more ideas of great gifts to make? Check out these from years past:

Hope you are getting into the spirit of the holidays!

“Jewels”

Vintage Photo Garland

As you know, this year’s Christmas has a vintage theme, and I thought it would be great fun to share some old Christmas pictures with this simple and pretty photo garland.

To start, I collected old pictures, including some of from my childhood and from my parents before I was born! Once I got into the project, I added some more recent pictures of our kids. I edited all of the pictures using an iPhone app called Instants, which makes them look like vintage Polaroids.

I used ric rac ribbon from my mom’s stash to make the garland, so this is authentic vintage! I hung the photos from the ric rac using clothes pins decorated with scrapbook paper in this year’s colors of pink, turquoise, and red.

This was an easy project, and it’s simple enough that I’m going to leave it up, even though I won’t be decorating the rest of the house until after Thanksgiving.


Retro Mid-Century Ornament Wreath

So, if you have been following along, you will know that I have a colorful Mid-Century Christmas planned for this year. So far, my preparations have included a new Christmas tree skirt, and next up was this pretty ornament wreath!

I found a lot of beautiful inspirations for this type of wreath, including some beautiful and whimsical examples from Georgia Peachez.

There are a lot of different methods out there for making ornament wreaths, and I read through several examples before starting my own.

I used a piece of foam leftover from another project as my wreath base. It was flexible, but once the ornaments were glued in place, it held its shape. I used a piece of heavy beading wire to create a hanger on the back, before I started attaching the ornaments.

To attach the ornaments, I hot-glued a ring of the large balls in this year’s colors of pink, turquoise, and red around the entire outside and inside of the wreath base. I then added a few large ornaments to the top and filled in with medium and smaller ornaments. I included a few pine cone ornaments to change up the look. Also, I kept the hangers visible on a handful of the ornaments for more visual interest.

Some methods include tinsel on the base or painting the base. Since I didn’t do either, I needed to make sure I filled all the gaps, so I finished off the wreath with some vase filler and large beads. This is definitely one of those projects, like L’s birthday quilt, where it takes a long time and a lot of planning to make it look “random.” By the time I went to bed, I was seeing ornaments float before my eyes…

But it was all worth it! I am not decorating quite yet, so for now, the wreath is adding some cheer to my craft room window, and as Nicola said when she came over for our recent Creativity Circle, it looks pretty good there!

Mid-Century Retro Ornament Wreath | Jewels at Home Mid-Century Retro Ornament Wreath | Jewels at Home
Mid-Century Retro Ornament Wreath | Jewels at Home  Mid-Century Retro Ornament Wreath | Jewels at Home
Mid-Century Retro Ornament Wreath | Jewels at HomeWith the new tree skirt and this wreath, I think I am well on my way to creating this year’s theme, but I do still have a few projects I’d like to add, if time allows! Looking forward to seeing it all come together!

“Jewels”

Retro Mid-Century Ornaments Christmas Tree Skirt

I know it is only November, but I am already getting excited about the upcoming Christmas season. The last few years, I’ve changed up our decorations to have a different theme each season. This year, I decided to go with a retro mid-century Christmas theme. You may remember that I am a big fan of the TV series Mad Men, and I really wanted to have a party to mark the series finale this spring, but life is way too busy, so I decided to have some Mid-Century fun for Christmas. One of my inspirations was this Christmas tree skirt that I saw advertised on mod cloth last year.
It’s sold out now, and it was also smaller than I wanted, so of course I decided to make my own. If you are feeling inspired, here’s how I did it.

You’ll need:

Instructions:

  • I sewed the skirt with the same 60″ diameter as our grey and white tree skirt
  • I then cut out and appliqued the ornaments the way I made appliqued onesies. For the print fabrics, I just did a simple silhouette. For the more solid fabrics, I cut out some shapes, taking inspiration from the Mod Cloth original
  • I sewed the ornaments and ribbons in place, and ta-da!

Retro Mid-Century Ornaments Christmas Tree Skirt | Jewels at Home
Retro Mid-Century Ornaments Christmas Tree Skirt | Jewels at Home  Retro Mid-Century Ornaments Christmas Tree Skirt | Jewels at Home

I’m waiting a few more weeks to set up our decorations, and I am so excited to see this pretty skirt under our tree!

Update: Here are some pictures of the skirt under our tree!

Retro Christmas Ornament Tree Skirt | Jewels at Home


Retro Christmas Ornament Tree Skirt | Jewels at Home
“Jewels”

I’m Dreaming of a Retro Christmas

I love Christmas! and I love Mad Men! The last few years, I have changed up our Christmas decor each year.

This year, I’m really loving the look of a colorful Mid-century Christmas. I’m gathering inspiration and have a few projects to show you soon. Here are some of my favorite ideas.

I love everything about Danielle Thompson’s Candy Colored Christmas. This pom-pom wreath is adorable, and the simple white background keeps the colorful theme from being over-the-top.

danielle Thompson xmas

Danielle Thompson

This little bottle brush forest seen at Apartment Therapy is so charming. I made Christmas trees with felt and yarn a few years ago, so I am am looking forward to adding to my collection!

bottle brush trees

And how about this beautiful Christmas tree skirt that was sold on Mod Cloth? It’s out of stock now, but I’m looking forward to making my own!

IMG_8029

One more project I have in the works is an ornament wreath inspired by the fantastic ones by Georgia Peachez.

georgiapeachezwreath

I’m looking forward to bringing all these fun retro Christmas ideas into reality in our house this year!

“Jewels”

Laundry Labels for the Littles

So, it doesn’t matter how many kids you have (well, I am not testing that theory, stopping at three), each one will come up with something new to keep you on your toes!

Our baby J has discovered how to (almost) outsmart his parents by hiding his socks all over the place, to avoid putting them in the laundry. Under the couch is a favorite spot, where I once found a full ten pairs! Under the sink also works…

While I play catch-up chasing him to get those stinky socks into the laundry hamper, I decided to make it easier for him by labeling our baskets with signs that a pre-reader can use.

The cute labels I originally made when I set up our laundry area wouldn’t work for J, since he hasn’t learned how to read yet. I thought of using pictures for the labels, but we are encouraging him to figure out his letters, so I thought these labels, with both letters and visual cues, would be perfect.

Laundry labels to help the littlest family members pitch in | Jewels at Home  Laundry labels to help the littlest family members pitch in | Jewels at HomeIn truth, I am not sure how much these labels will motivate our little monkey, but at the very least, they are brightening up our laundry room!

“Jewels”

A Simple Fabric Tote Bag for Halloween, Shopping, and Beyond

It seems like you can never have enough bags – we use them for groceries, toys, books, snacks, whatever! And a nice fabric tote bag is a simple sewing project to display your favorite fun prints.

I made these bags for the boys to go with their superhero costumes.

Materials:

  • 20″ long x 34″ wide piece of fabric
  • Ribbon for strap (21″ long x 3.5″ wide)

Instructions:

I folded the fabric in half lengthwise, with wrong sides together, and sewed down the length to make a tube. I flipped the tube so that the right sides were together and then sewed another seam to create a neat hidden French seam.

Quick tote bag pattern - perfect for Halloween and beyond | Jewels at Home

Quick tote bag pattern - perfect for Halloween and beyond | Jewels at Home


Next, I sewed the bottom of the bag closed.

At each bottom corner, I folded the fabric and sewed across the corner to make a flat bottom for the bag:

Quick tote bag pattern - perfect for Halloween and beyond | Jewels at Home


To attach the handle, I ironed a hem at the top and tucked the ribbon for the strap under the hem.

Then, I sewed down the top hem, with extra stitching around the handles.

Quick tote bag pattern - perfect for Halloween and beyond | Jewels at Home


And here are the finished bags! Now, Batman and Superman can be stylish and practical!

Quick tote bag pattern - perfect for Halloween and beyond | Jewels at Home

Quick tote bag pattern - perfect for Halloween and beyond | Jewels at Home


“Jewels”

Tip for Quick DIY Greeting Cards!

So, by now it is no secret that I love beautiful papers and prints. While I am busy discarding and tidying my house a la Marie Kondo’s book,The Life-Changing Magic of Tidying Up, I have held on to almost all my paper, as it does truly spark joy! That being said, all this beautiful paper doesn’t belong stored in a craft room, so I am always looking for ways to use and share it. I made this paper art to decorate my craft studio, and I have a big project cooking up for the holidays.

I also love making cards. While these can get elaborate, with multiple papers and shapes, rubber stamps and ribbons, today I want to share a quick way to make unique cards. All you need for this project is two sheets of coordinating paper, and you will end up with four beautiful one-of-a-kind cards.

Tip for Quick DIY Greeting Cards! It's quick and easy to turn two sheets of scrapbook paper into four unique greeting cards | Jewels at Home

Here’s how:

  • Start with two sheets of 12″x12″ scrapbook paper in coordinating colors and patterns
  • Cut 2″ off both sheets of paper, to create 10’x 12″ sheets
  • Cut the sheets in half in the perpendicular direction, to create four 6″x10″ sheets
  • Fold the sheets in half to make cards that are 5″x6″, which fit easily in envelopes for 5″x7″cards (for some reason, I have a ton of these collected over the years!)
  • Finally, cut the 2″ strips in half lengthwise and glue them on the cards of the opposite paper, to create a simple and pretty design.
  • If you are making more sets of cards, you can switch the 2″ strips around multiple ways, to create even more different patterns!

Tip for Quick DIY Greeting Cards! It's quick and easy to turn two sheets of scrapbook paper into four unique greeting cards | Jewels at Home

One of the things I love about this project is that there are no scraps leftover – just a set of cards ready to brighten a friend’s day!

“Jewels”