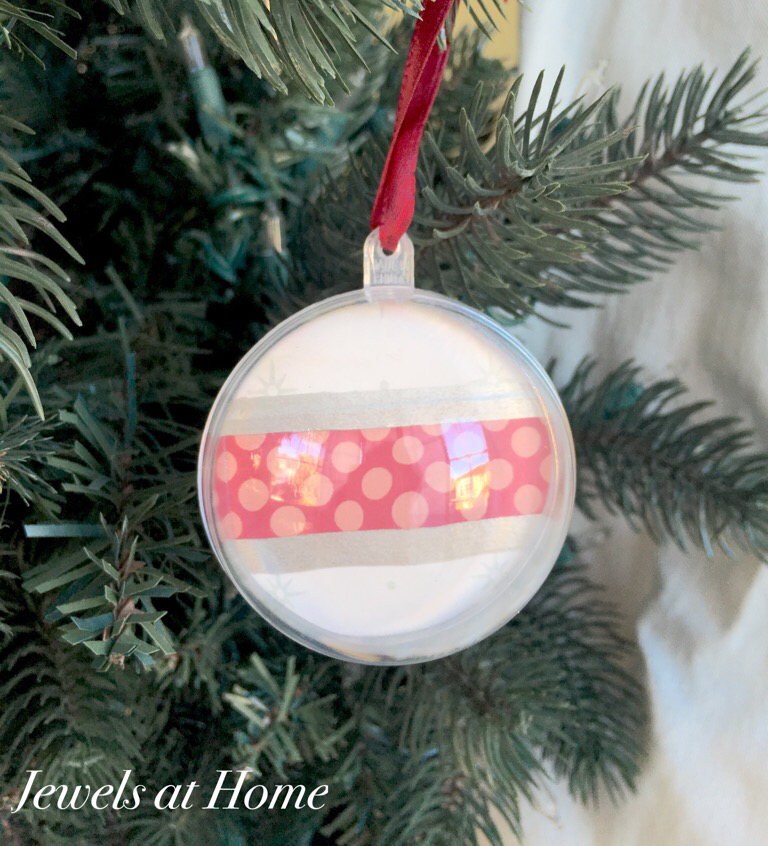
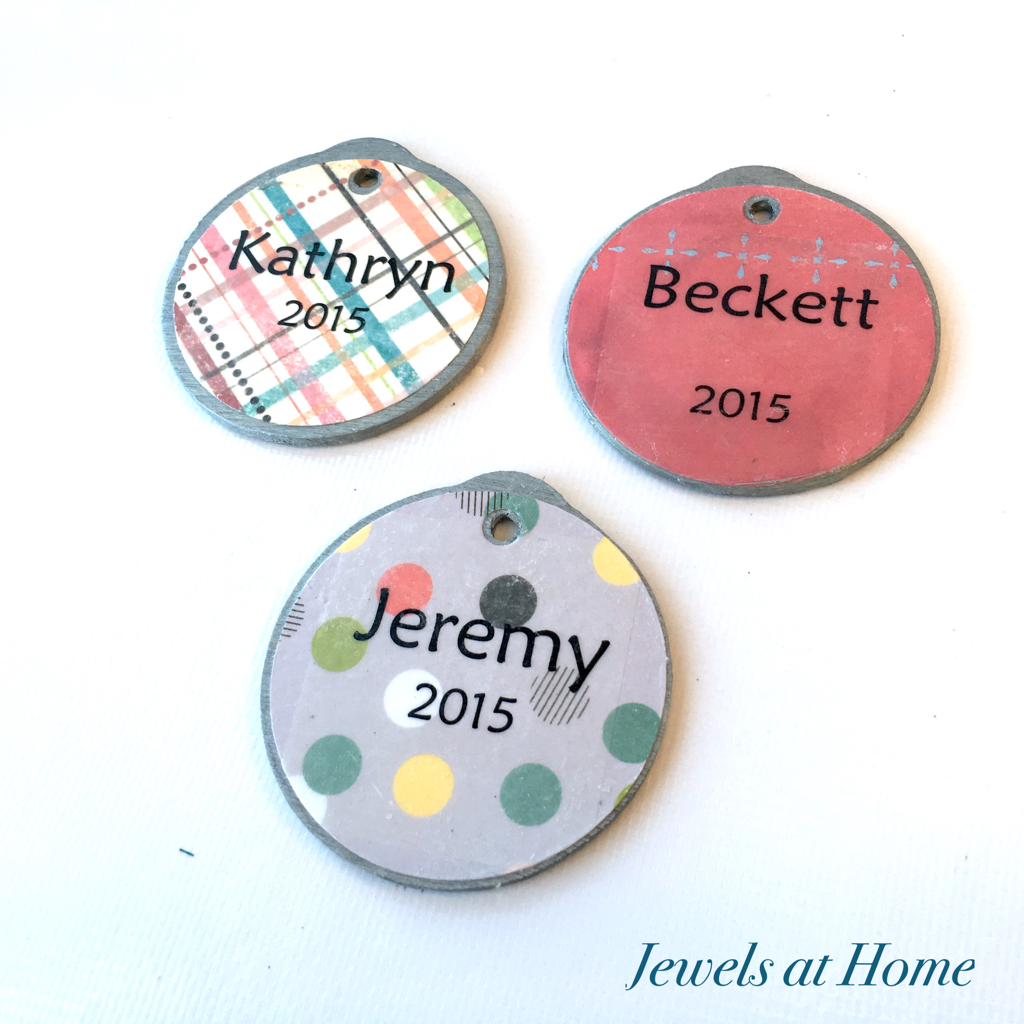
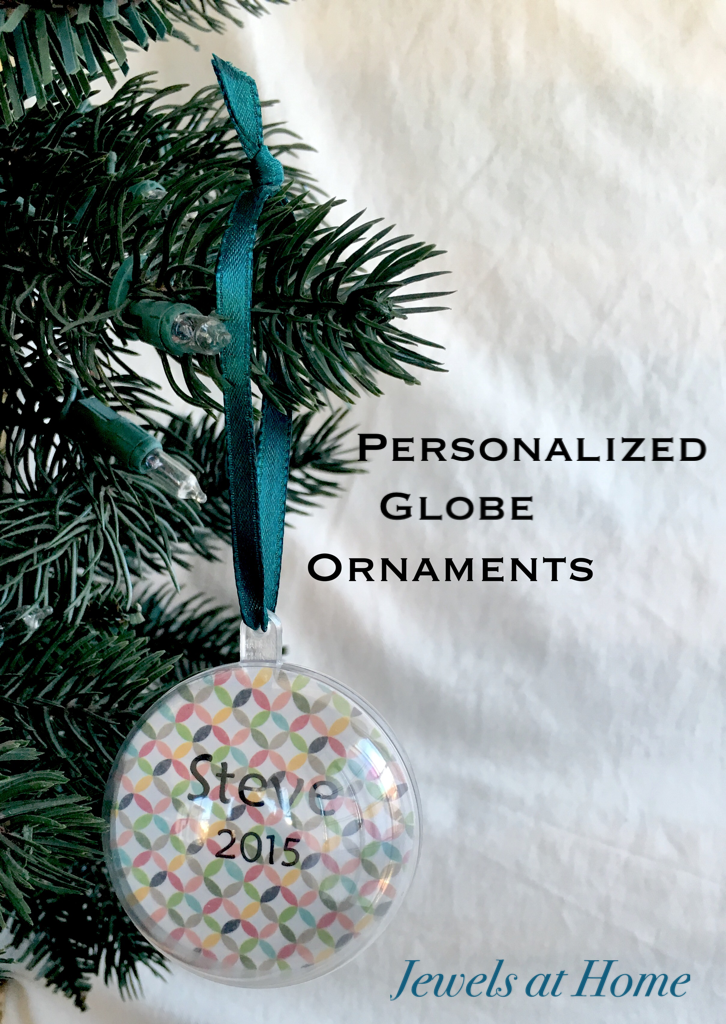
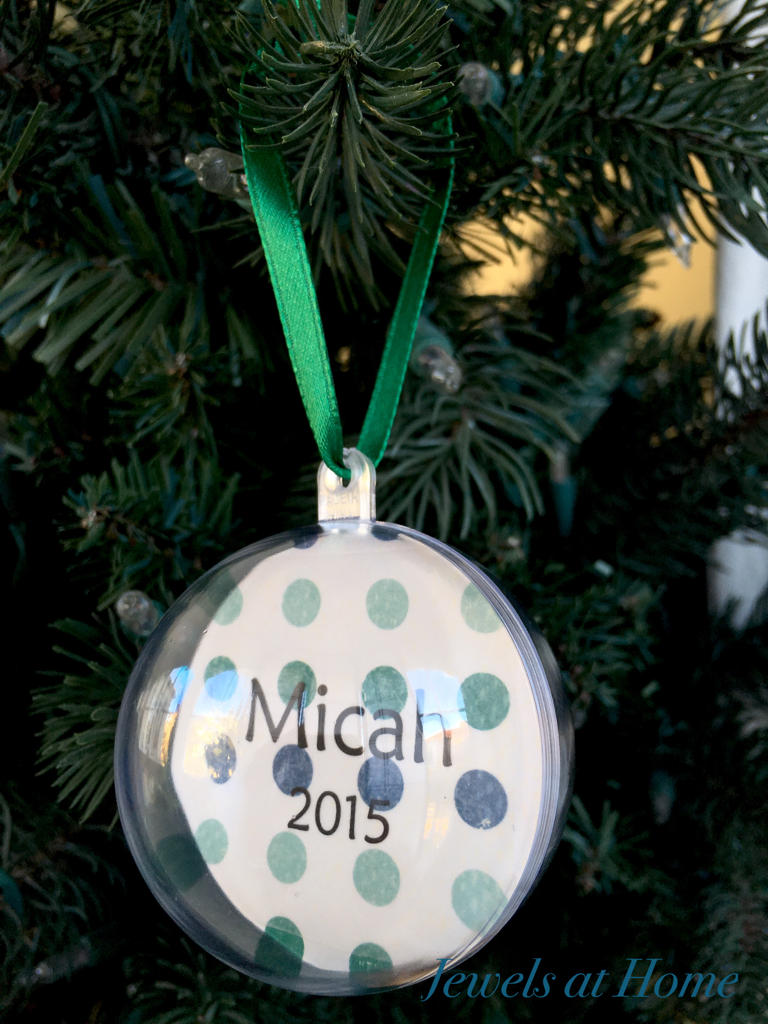
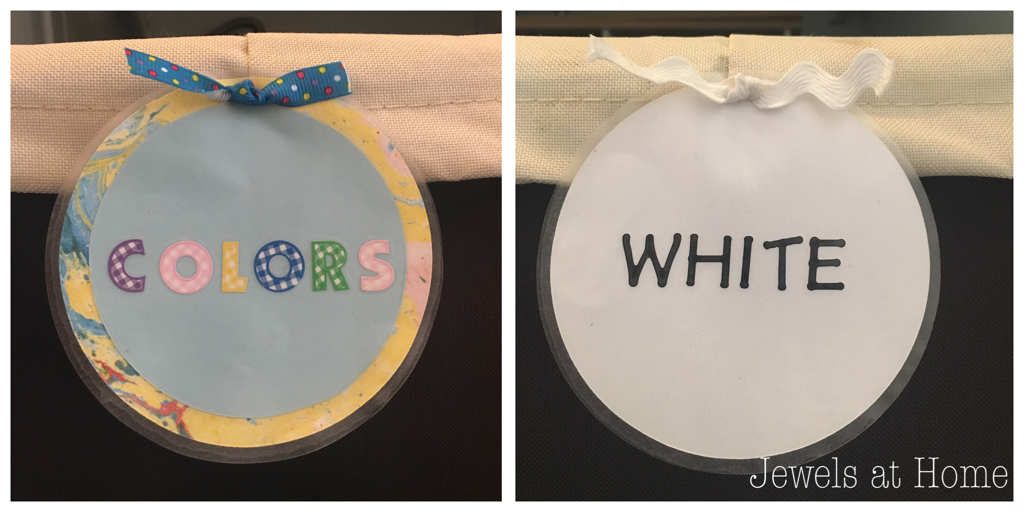
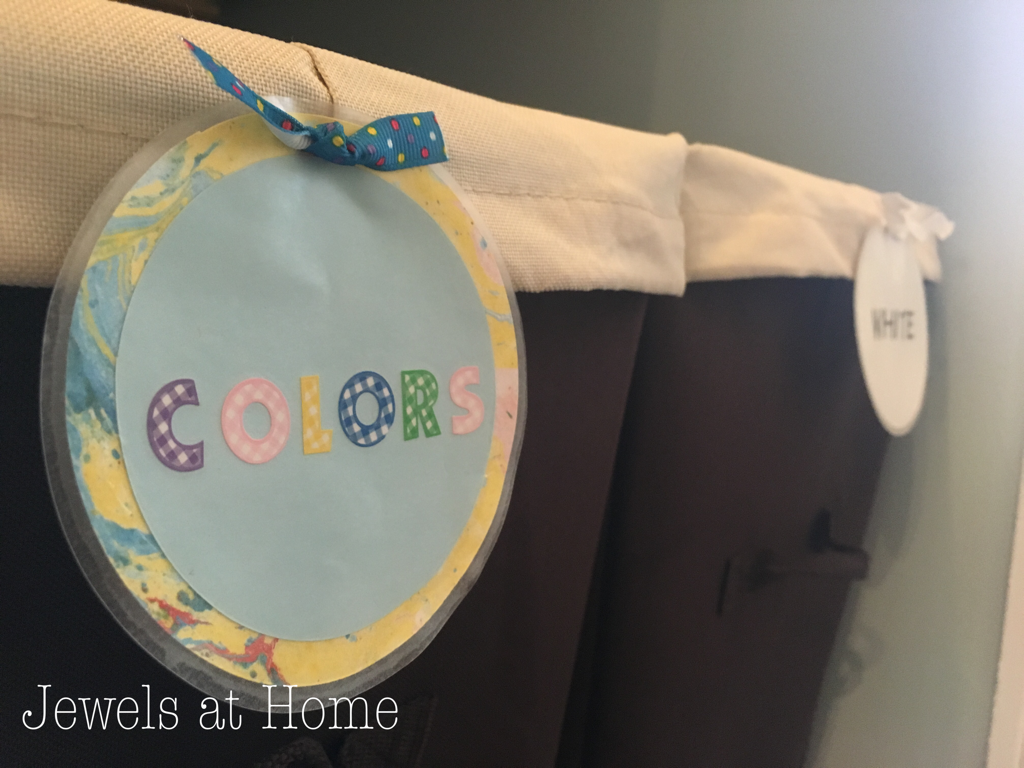
My passion for pretty papers goes way back, but I confess that when washi tape first became popular, I didn’t immediately fall in love – it’s not too late, though! I had so much fun combining patterns and colors to make these pretty ornaments. These lovely decorations are quick to make, and I will be bringing this project to work for our holiday party. I also made a personalized version of these ornaments with kids’ names inside.

To make these ornaments, I used
- Clear Plastic Ball Ornaments
- 2.25-Inch Circle Paper Punch
- Scrapbook paper. This is a great project for using small leftover pieces of paper
- Washi tape and other embellishments
- Glue stick
- Ribbon for hanging
The process is very simple:
- I then cut out two circles in matching paper and glued then back-to-back
- I then added washi tape or other paper scraps to decorate the ornament
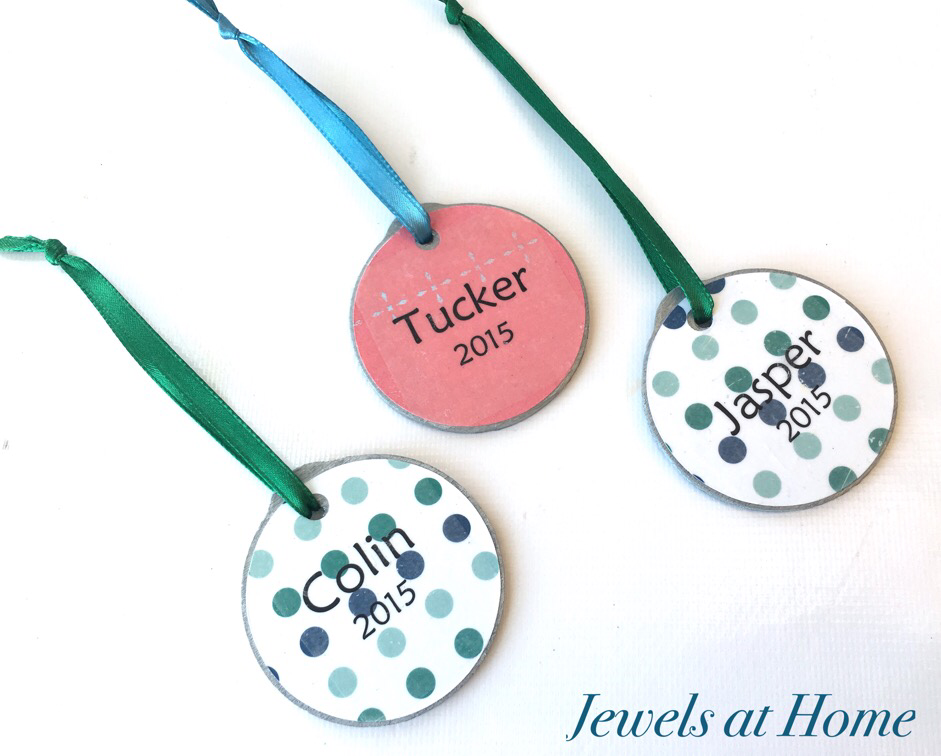
- These circles fit perfectly into the ornaments, which snap together
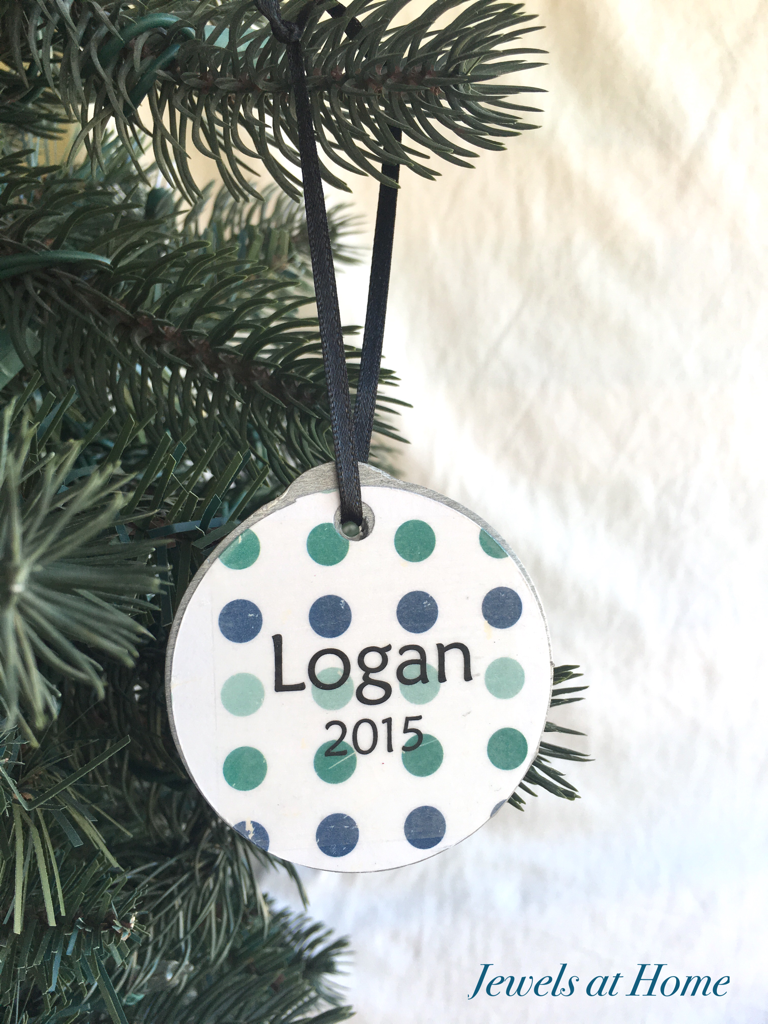
- Add a ribbon for hanging and you’re done!


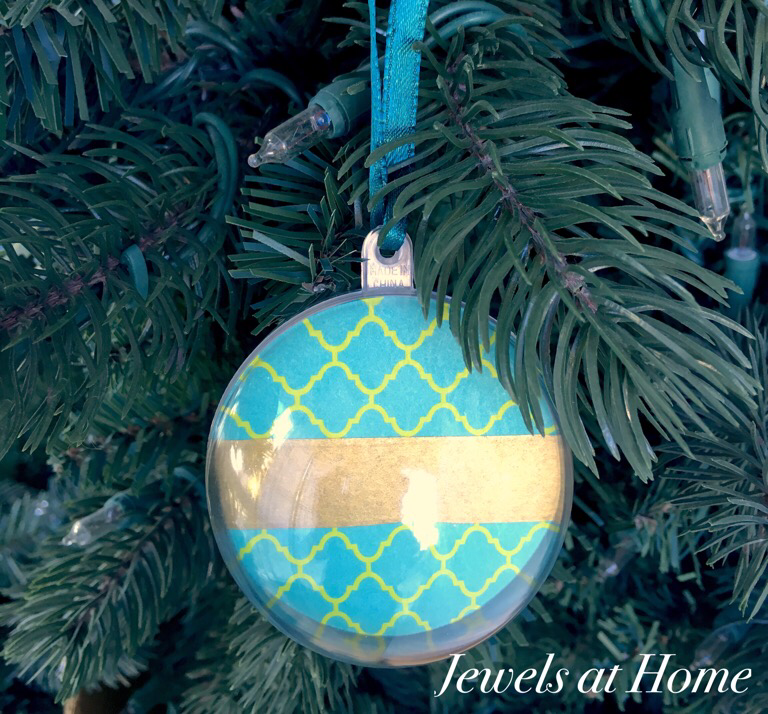
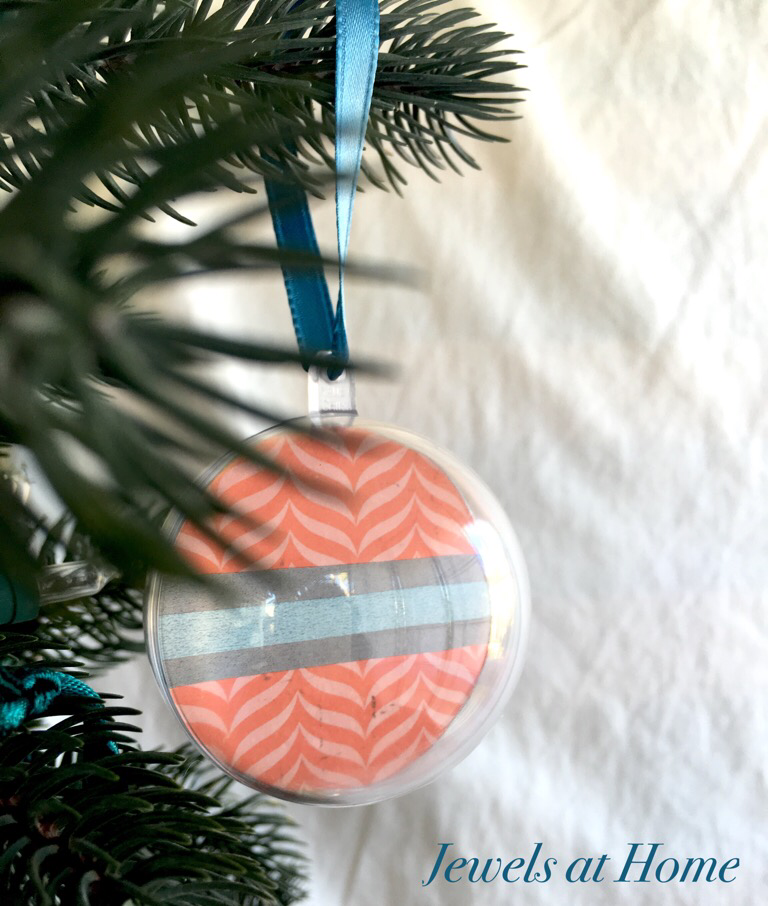


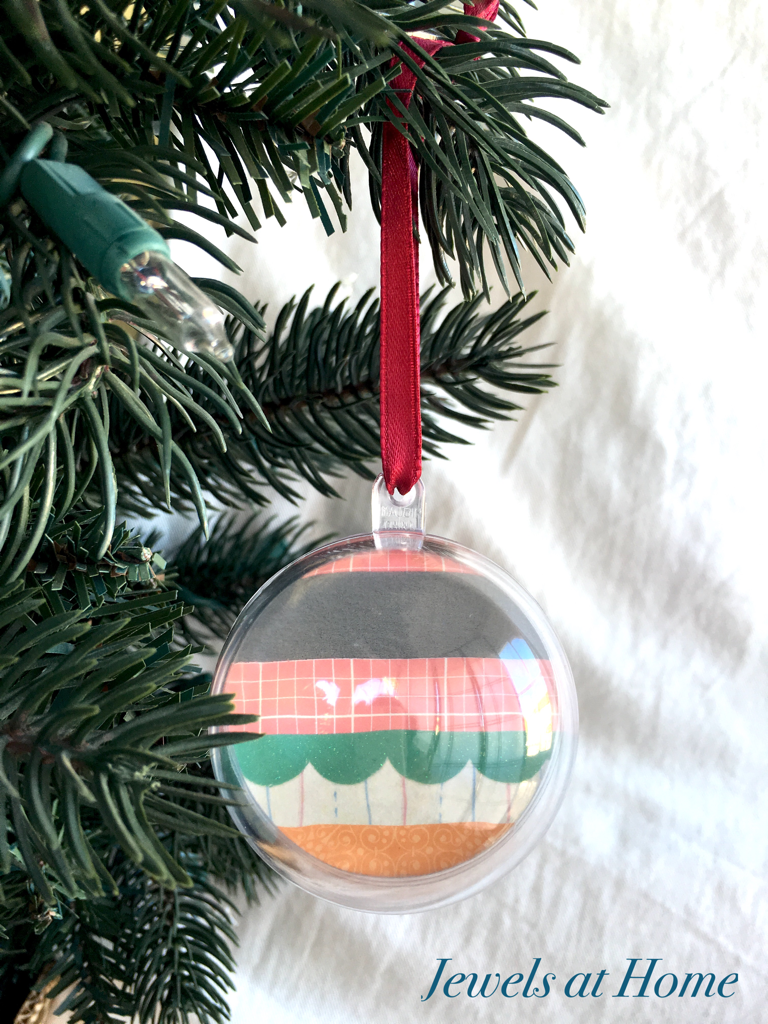
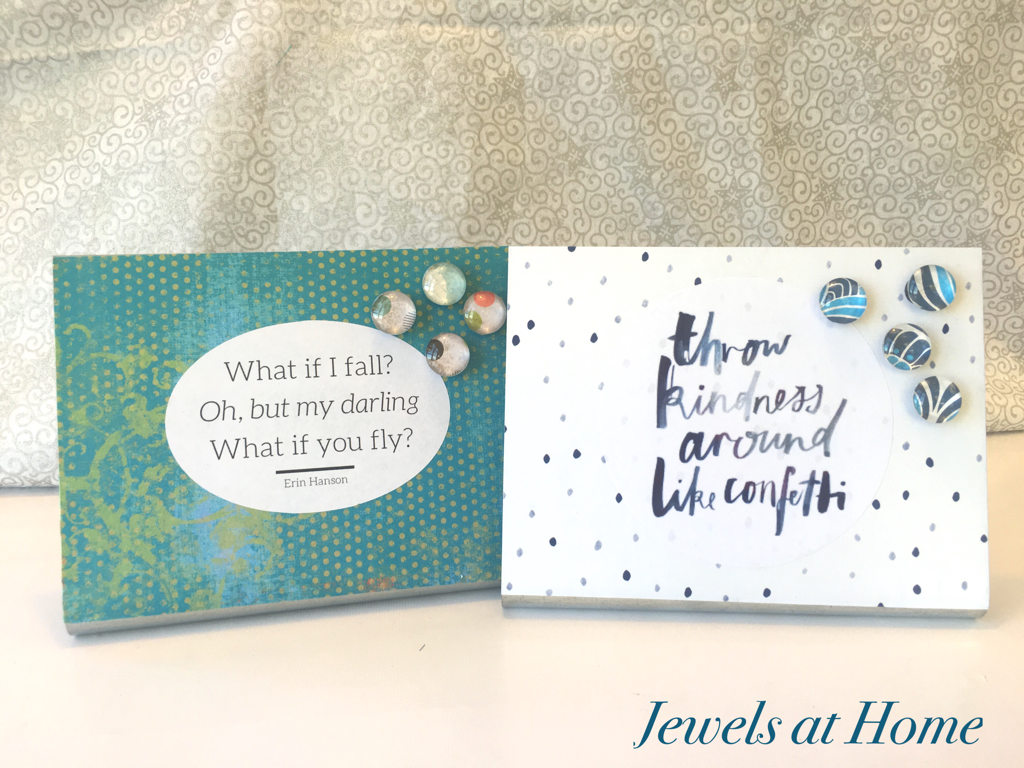
Go crazy with the paper (I did!) and have fun!!
“Jewels”


