
Yup, I have become one of those people who does a themed Christmas each year. I am still not sure if this is a sign of greatness of madness! While I admit to having accumulated many boxes of decorations, I … Continue reading
Yup, I have become one of those people who does a themed Christmas each year. I am still not sure if this is a sign of greatness of madness! While I admit to having accumulated many boxes of decorations, I … Continue reading
This Christmas, I decided to pare down our decorations. When I decided I didn’t need a Christmas tree, it triggered concerned inquiries from not one, but two, trusted friends! Let me assure you, that I am feeling fine! Admittedly, it … Continue reading
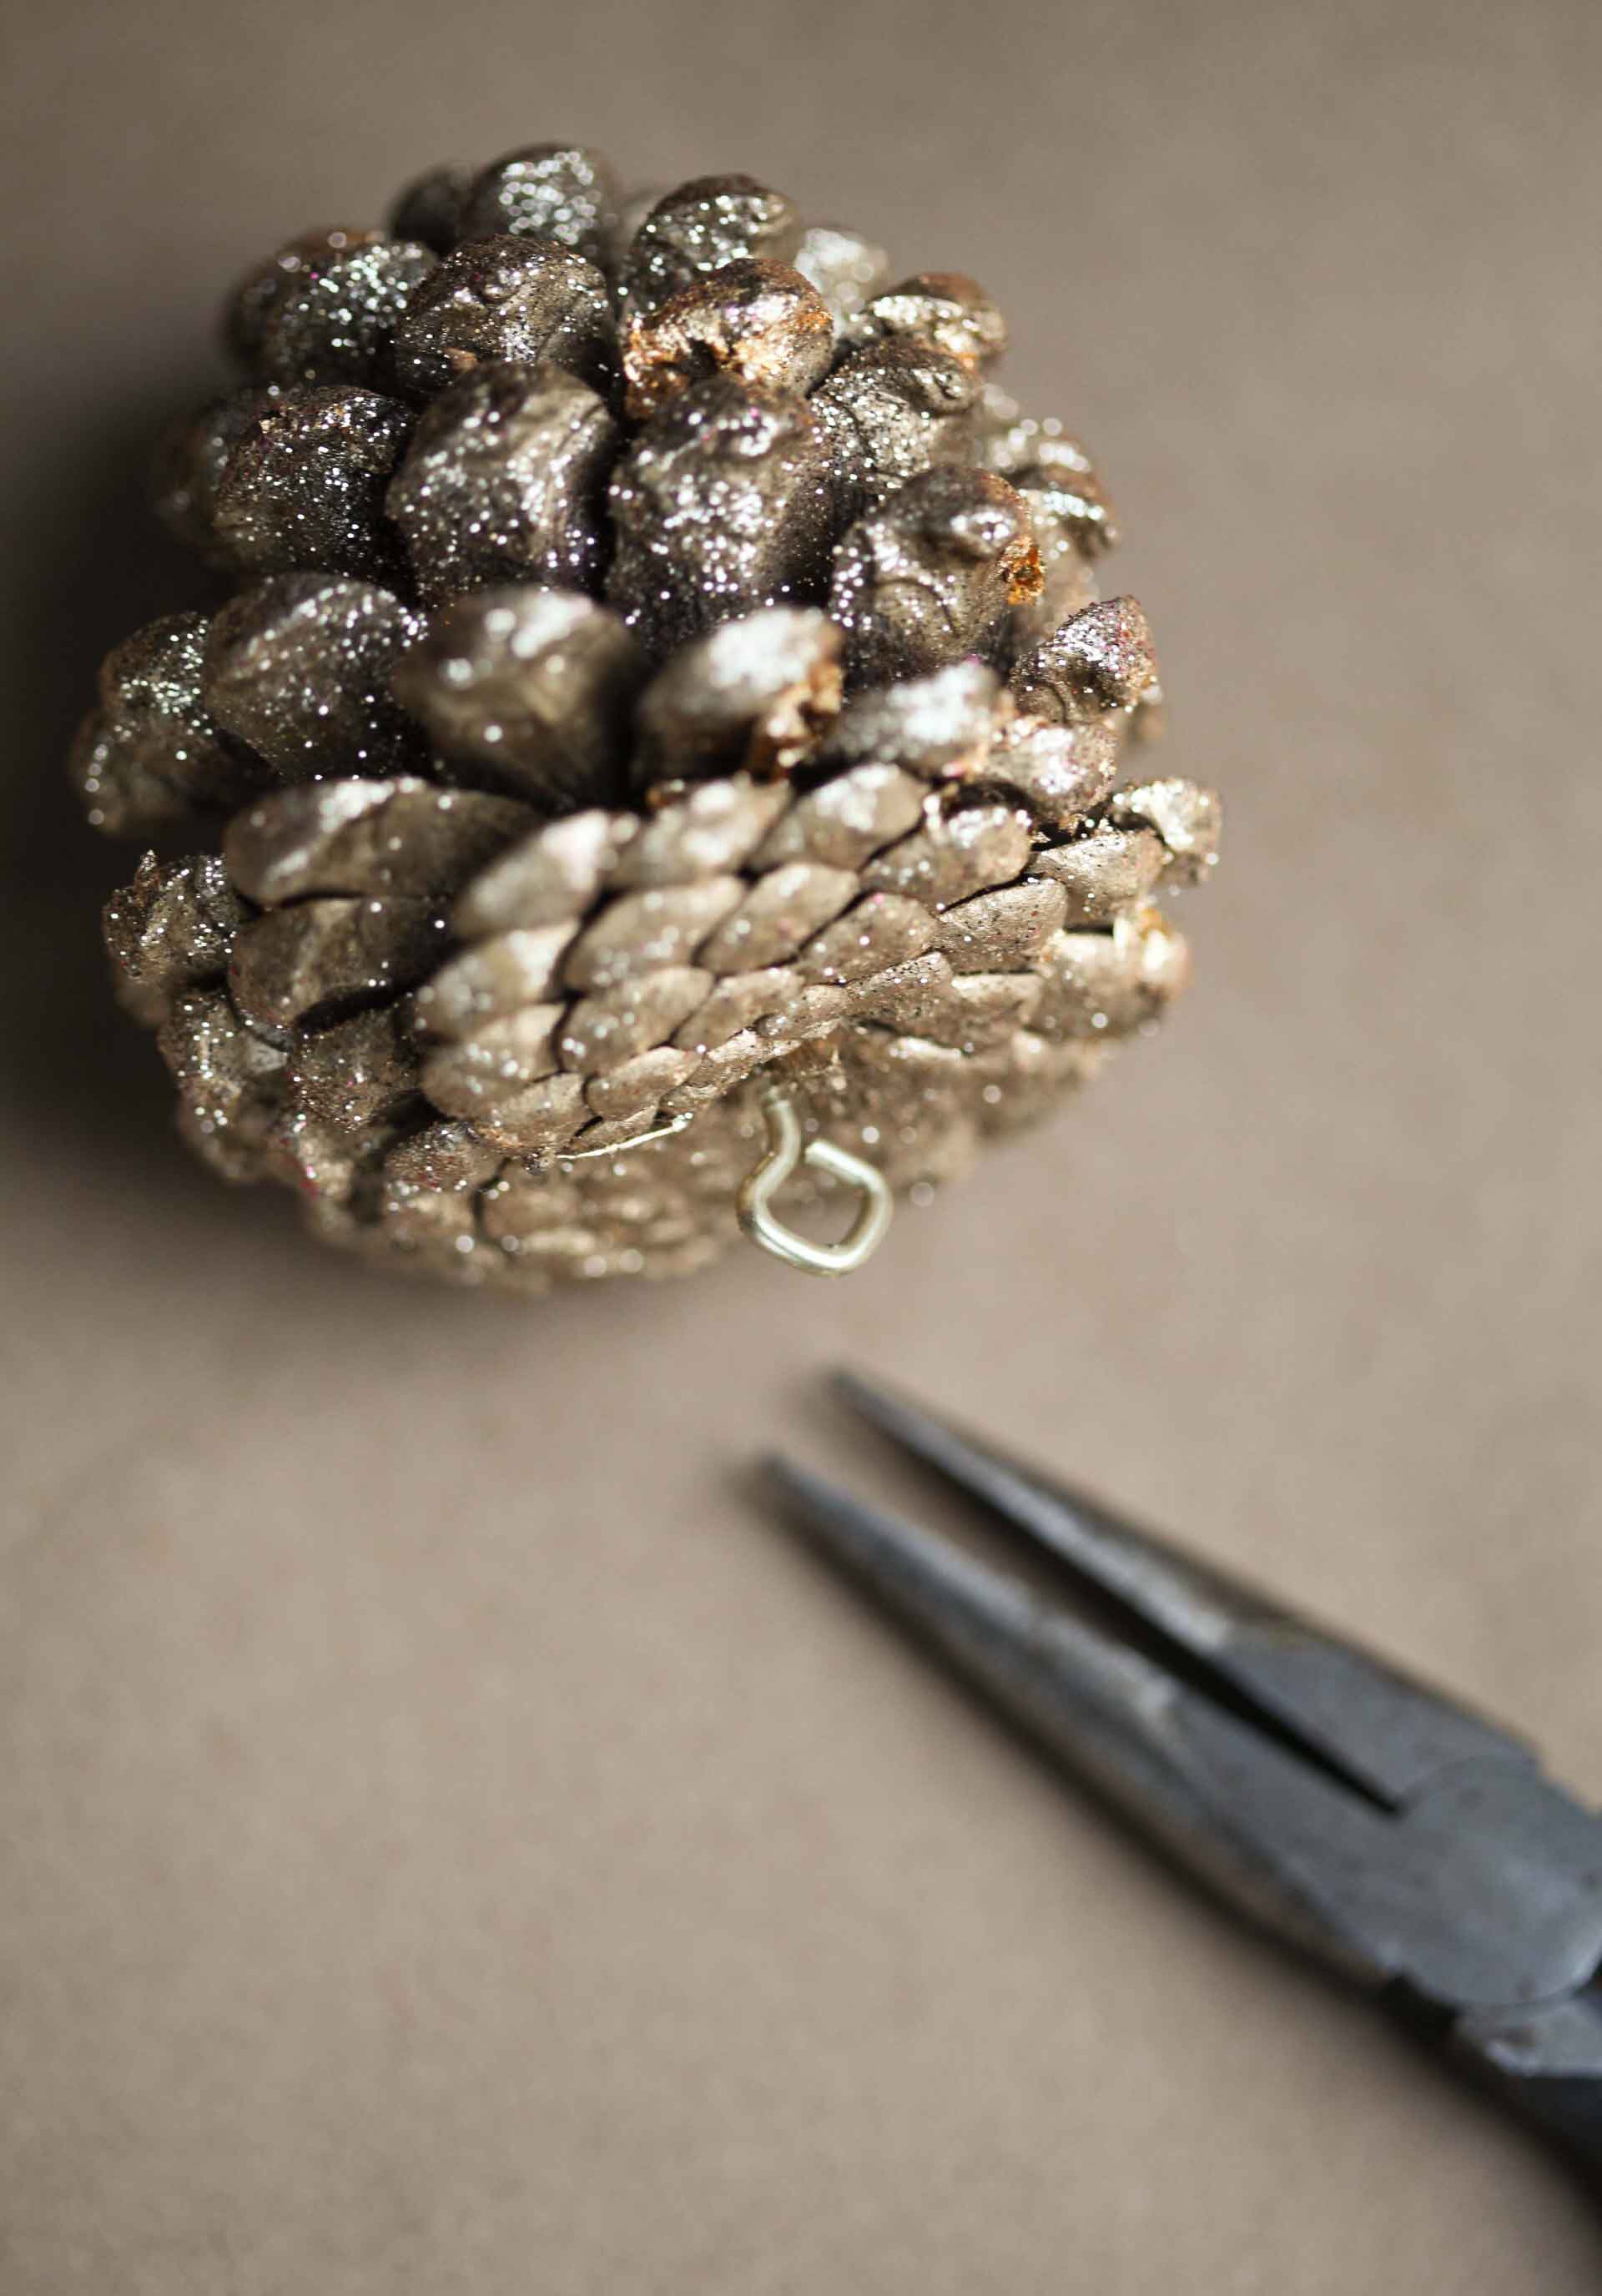
Remember when I made felt Christmas trees and yarn Christmas trees? Way back then I meant to make one with the pine cone scales, inspired by Shauna Mailloux.
Well, I finally made mine!

The new pine cone tree fits right in with his felt and feather cousins!
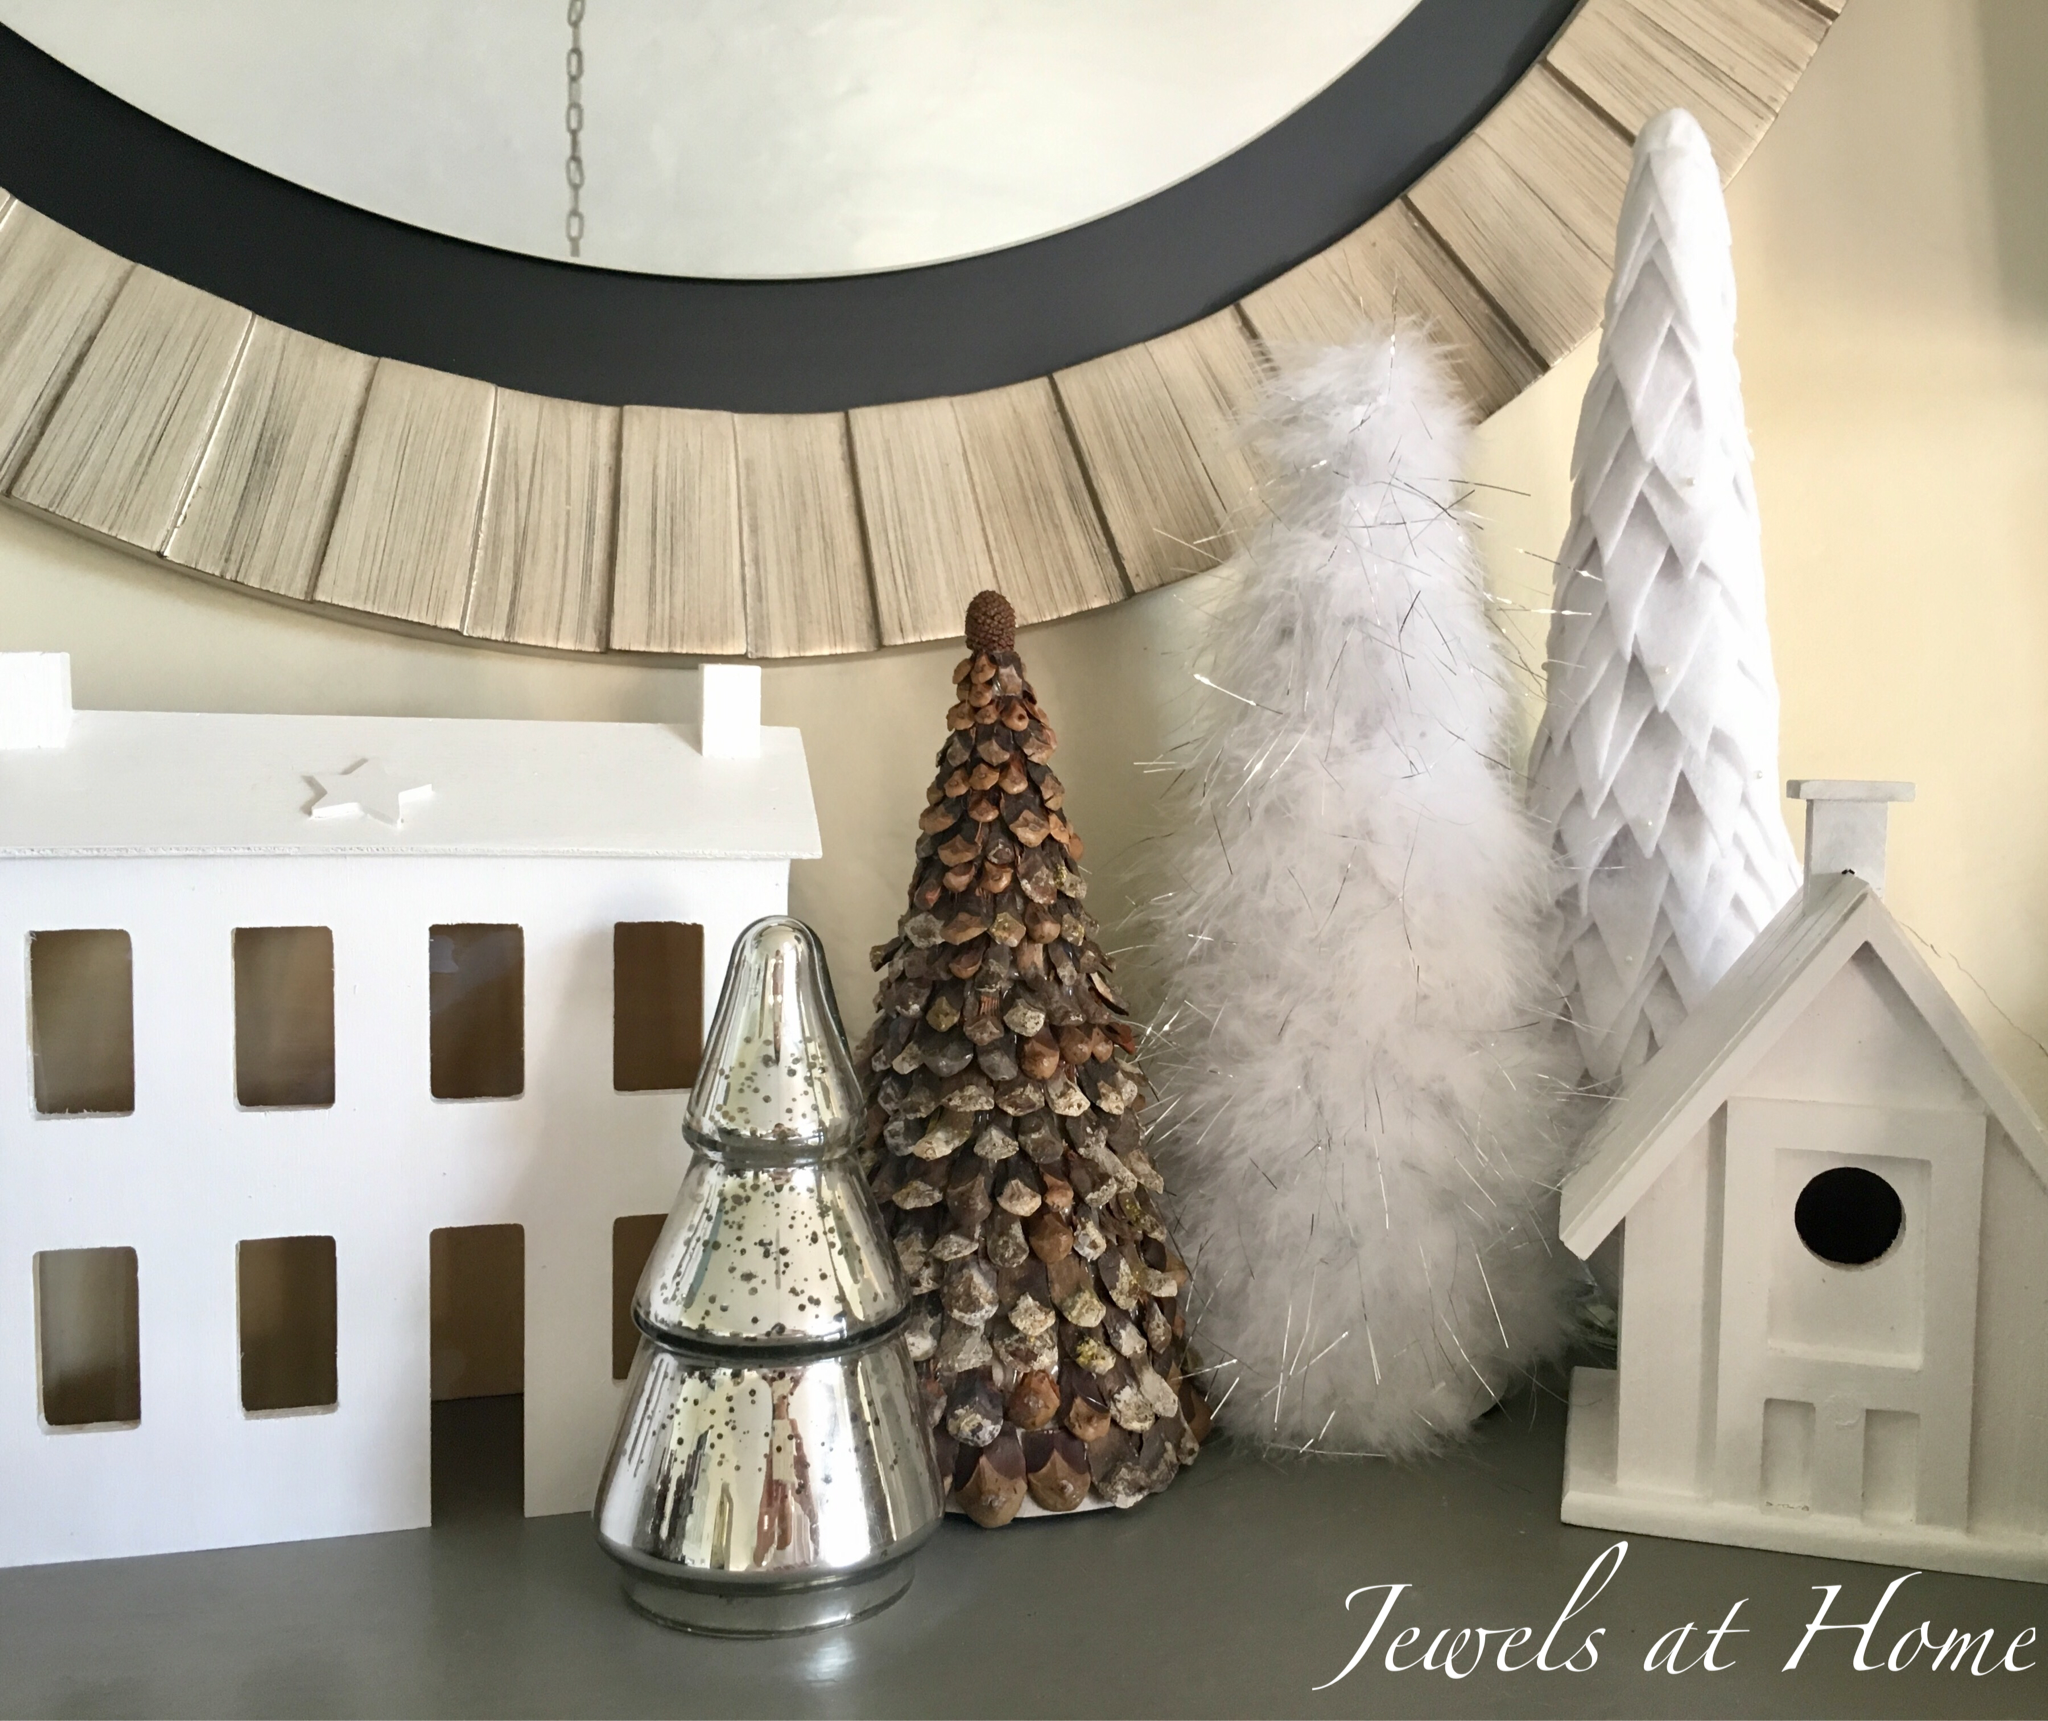
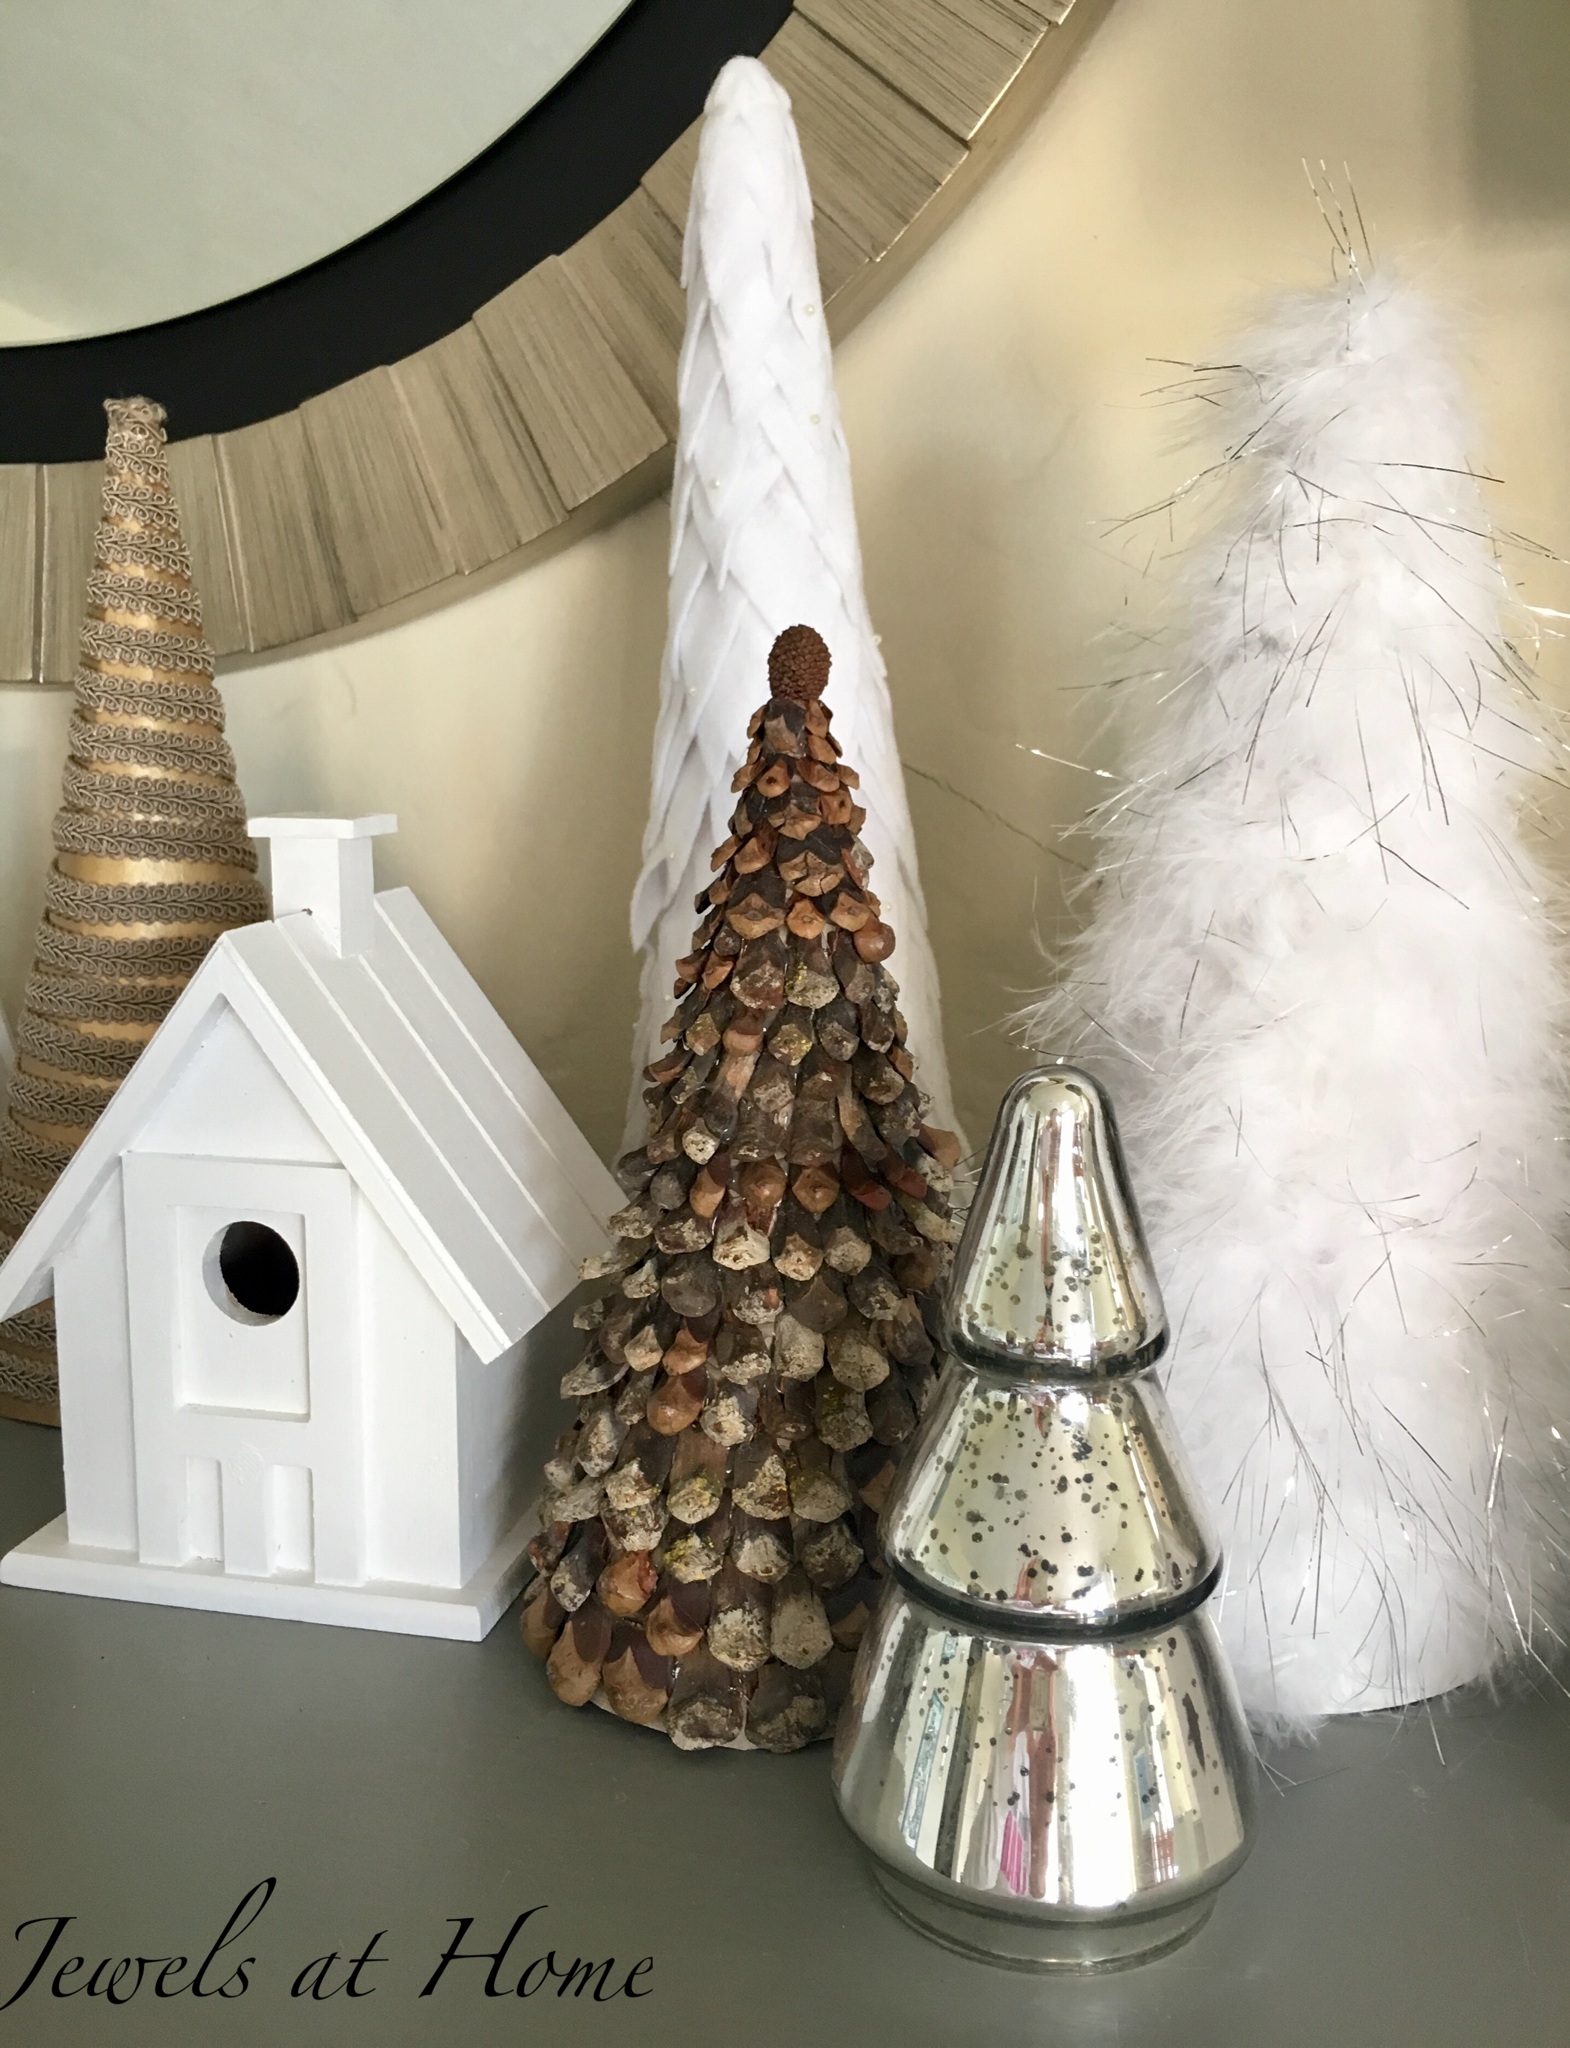
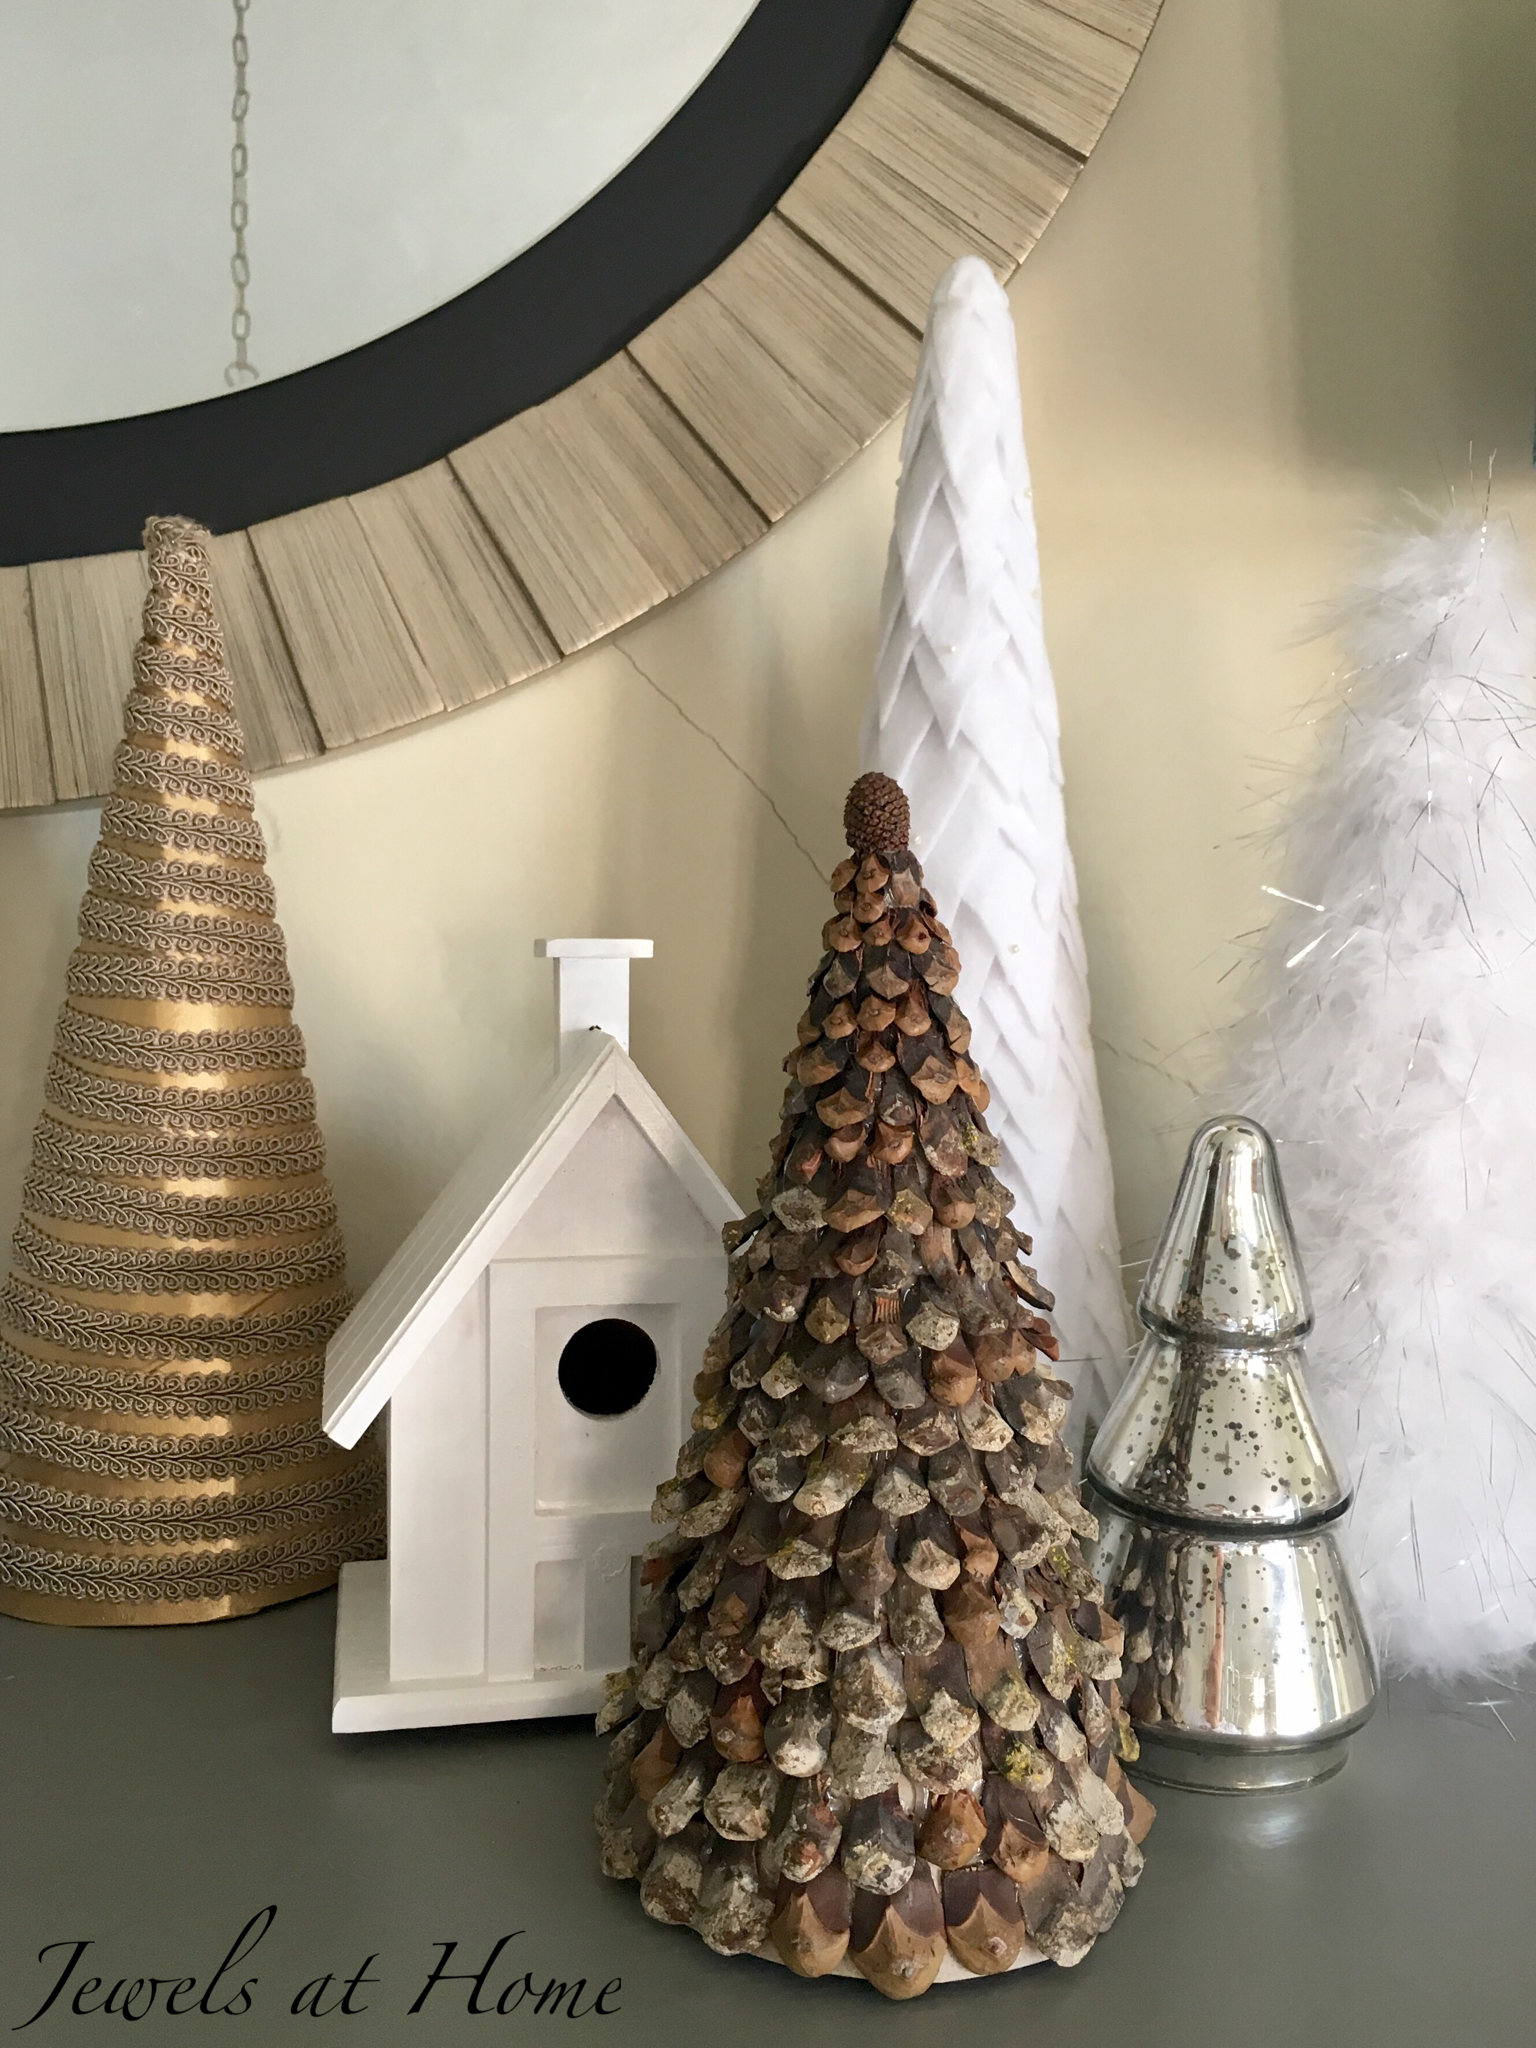
 I might paint it another time, but for this year’s Scandinavian-inspired theme, the natural finish seems perfect! It took a while to put together, and Steve took the opportunity to make about two zillion conifer-inspired puns, so I have multiple reasons to be glad that project is over:)… but I’m really happy with the results!
“Jewels”
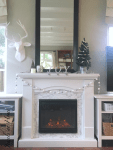
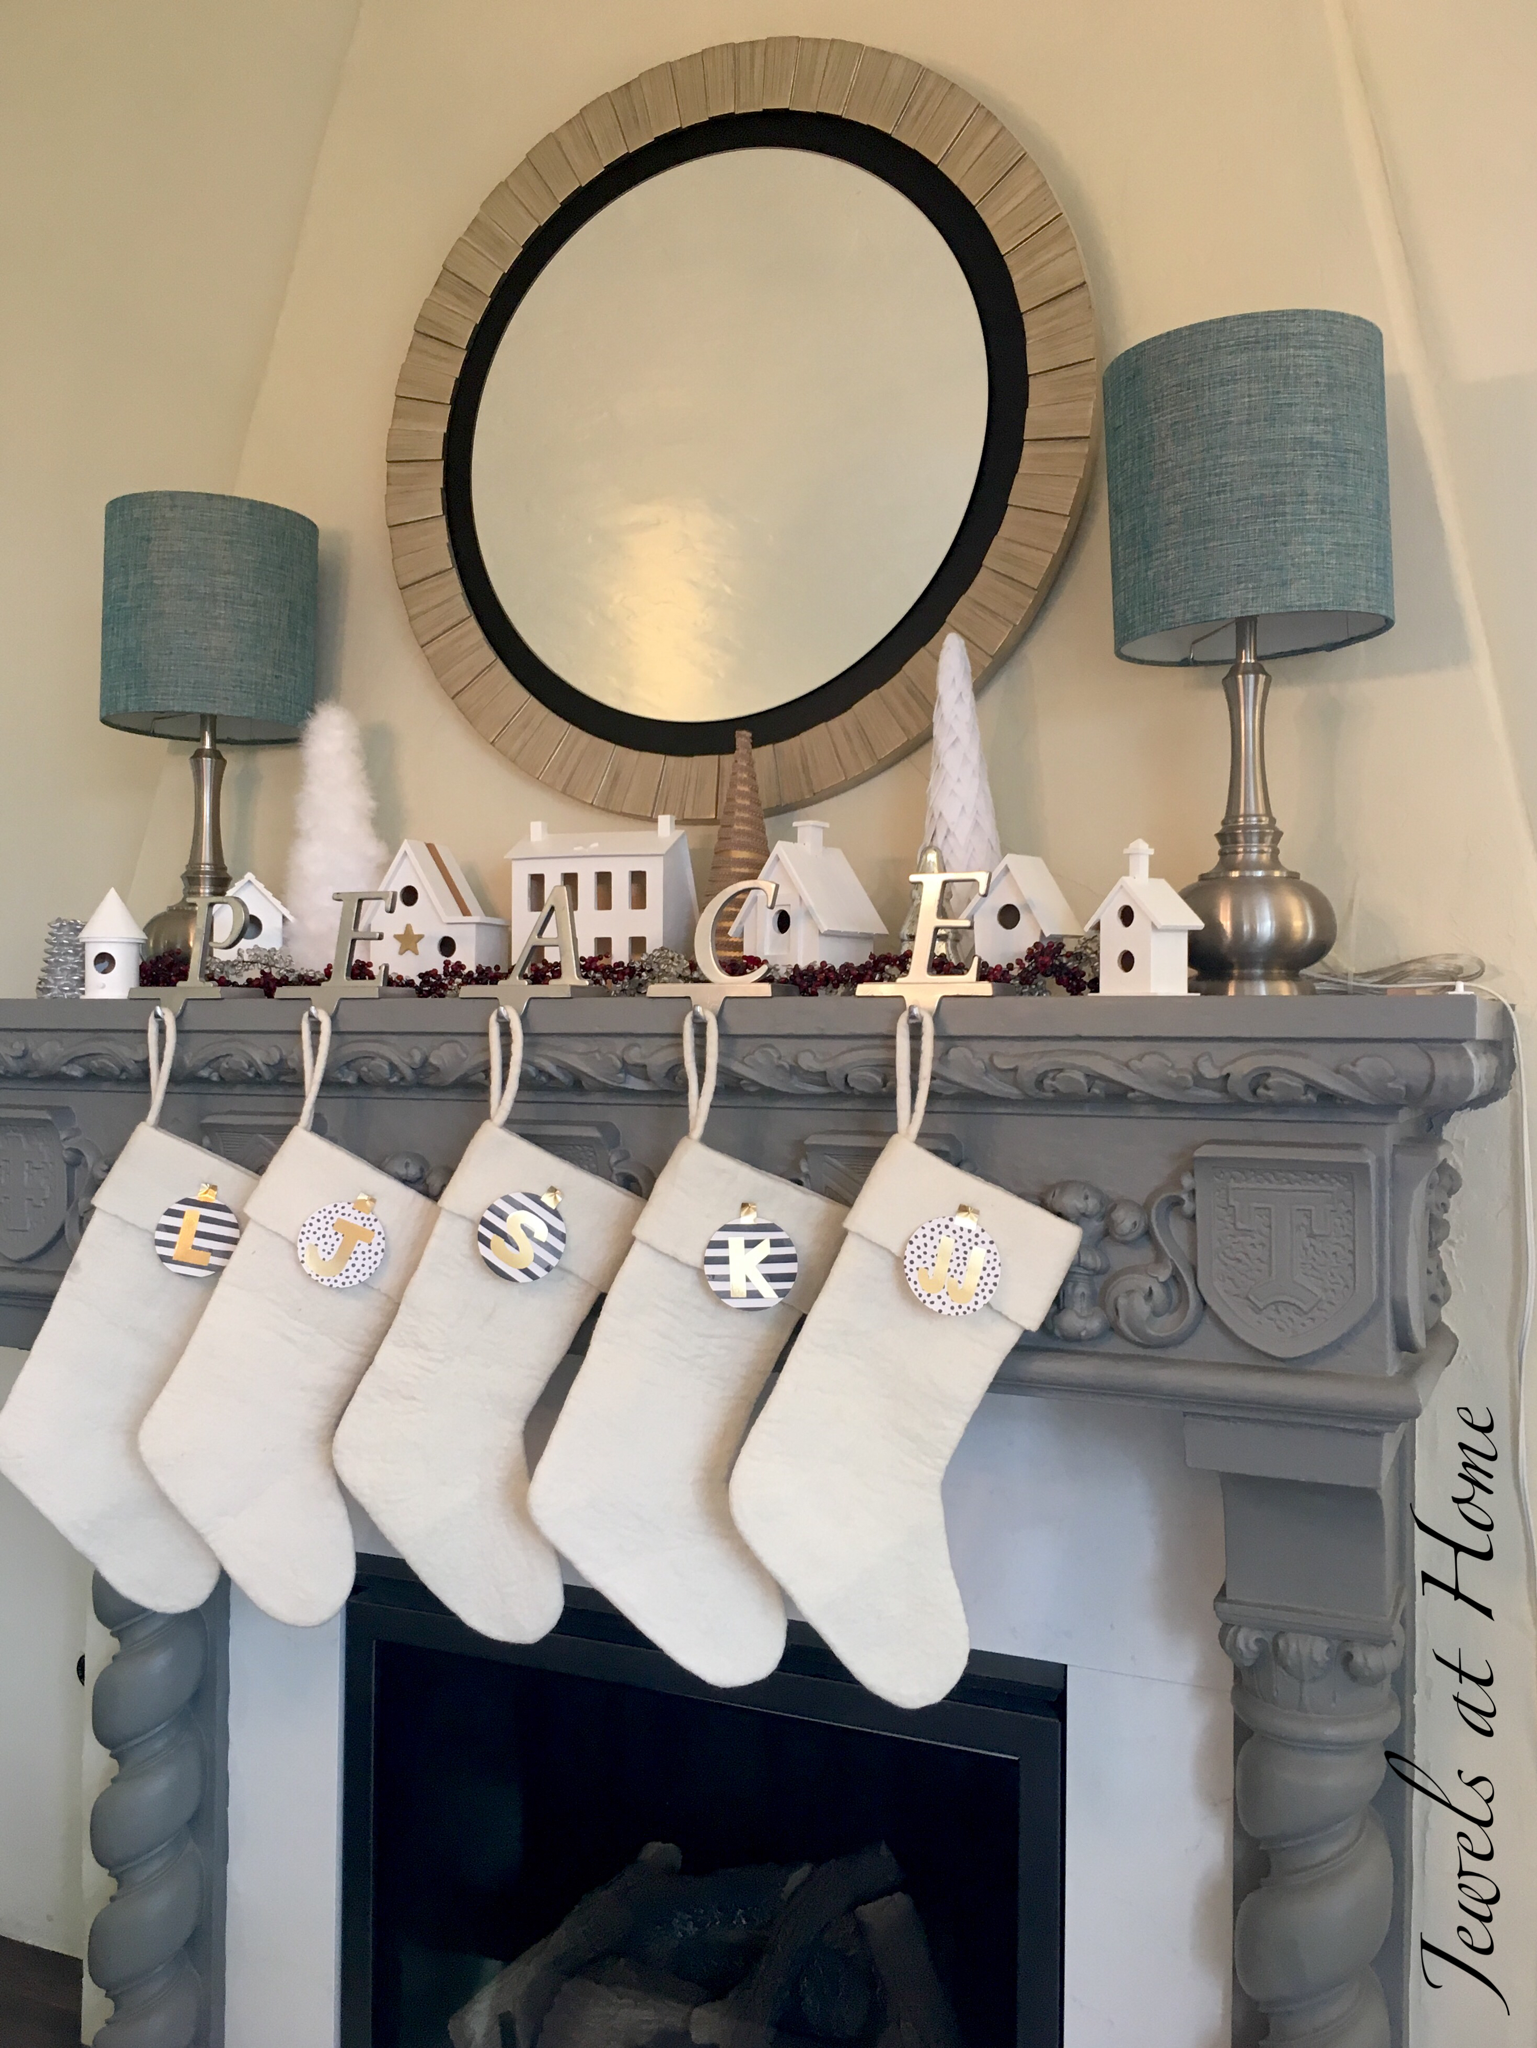
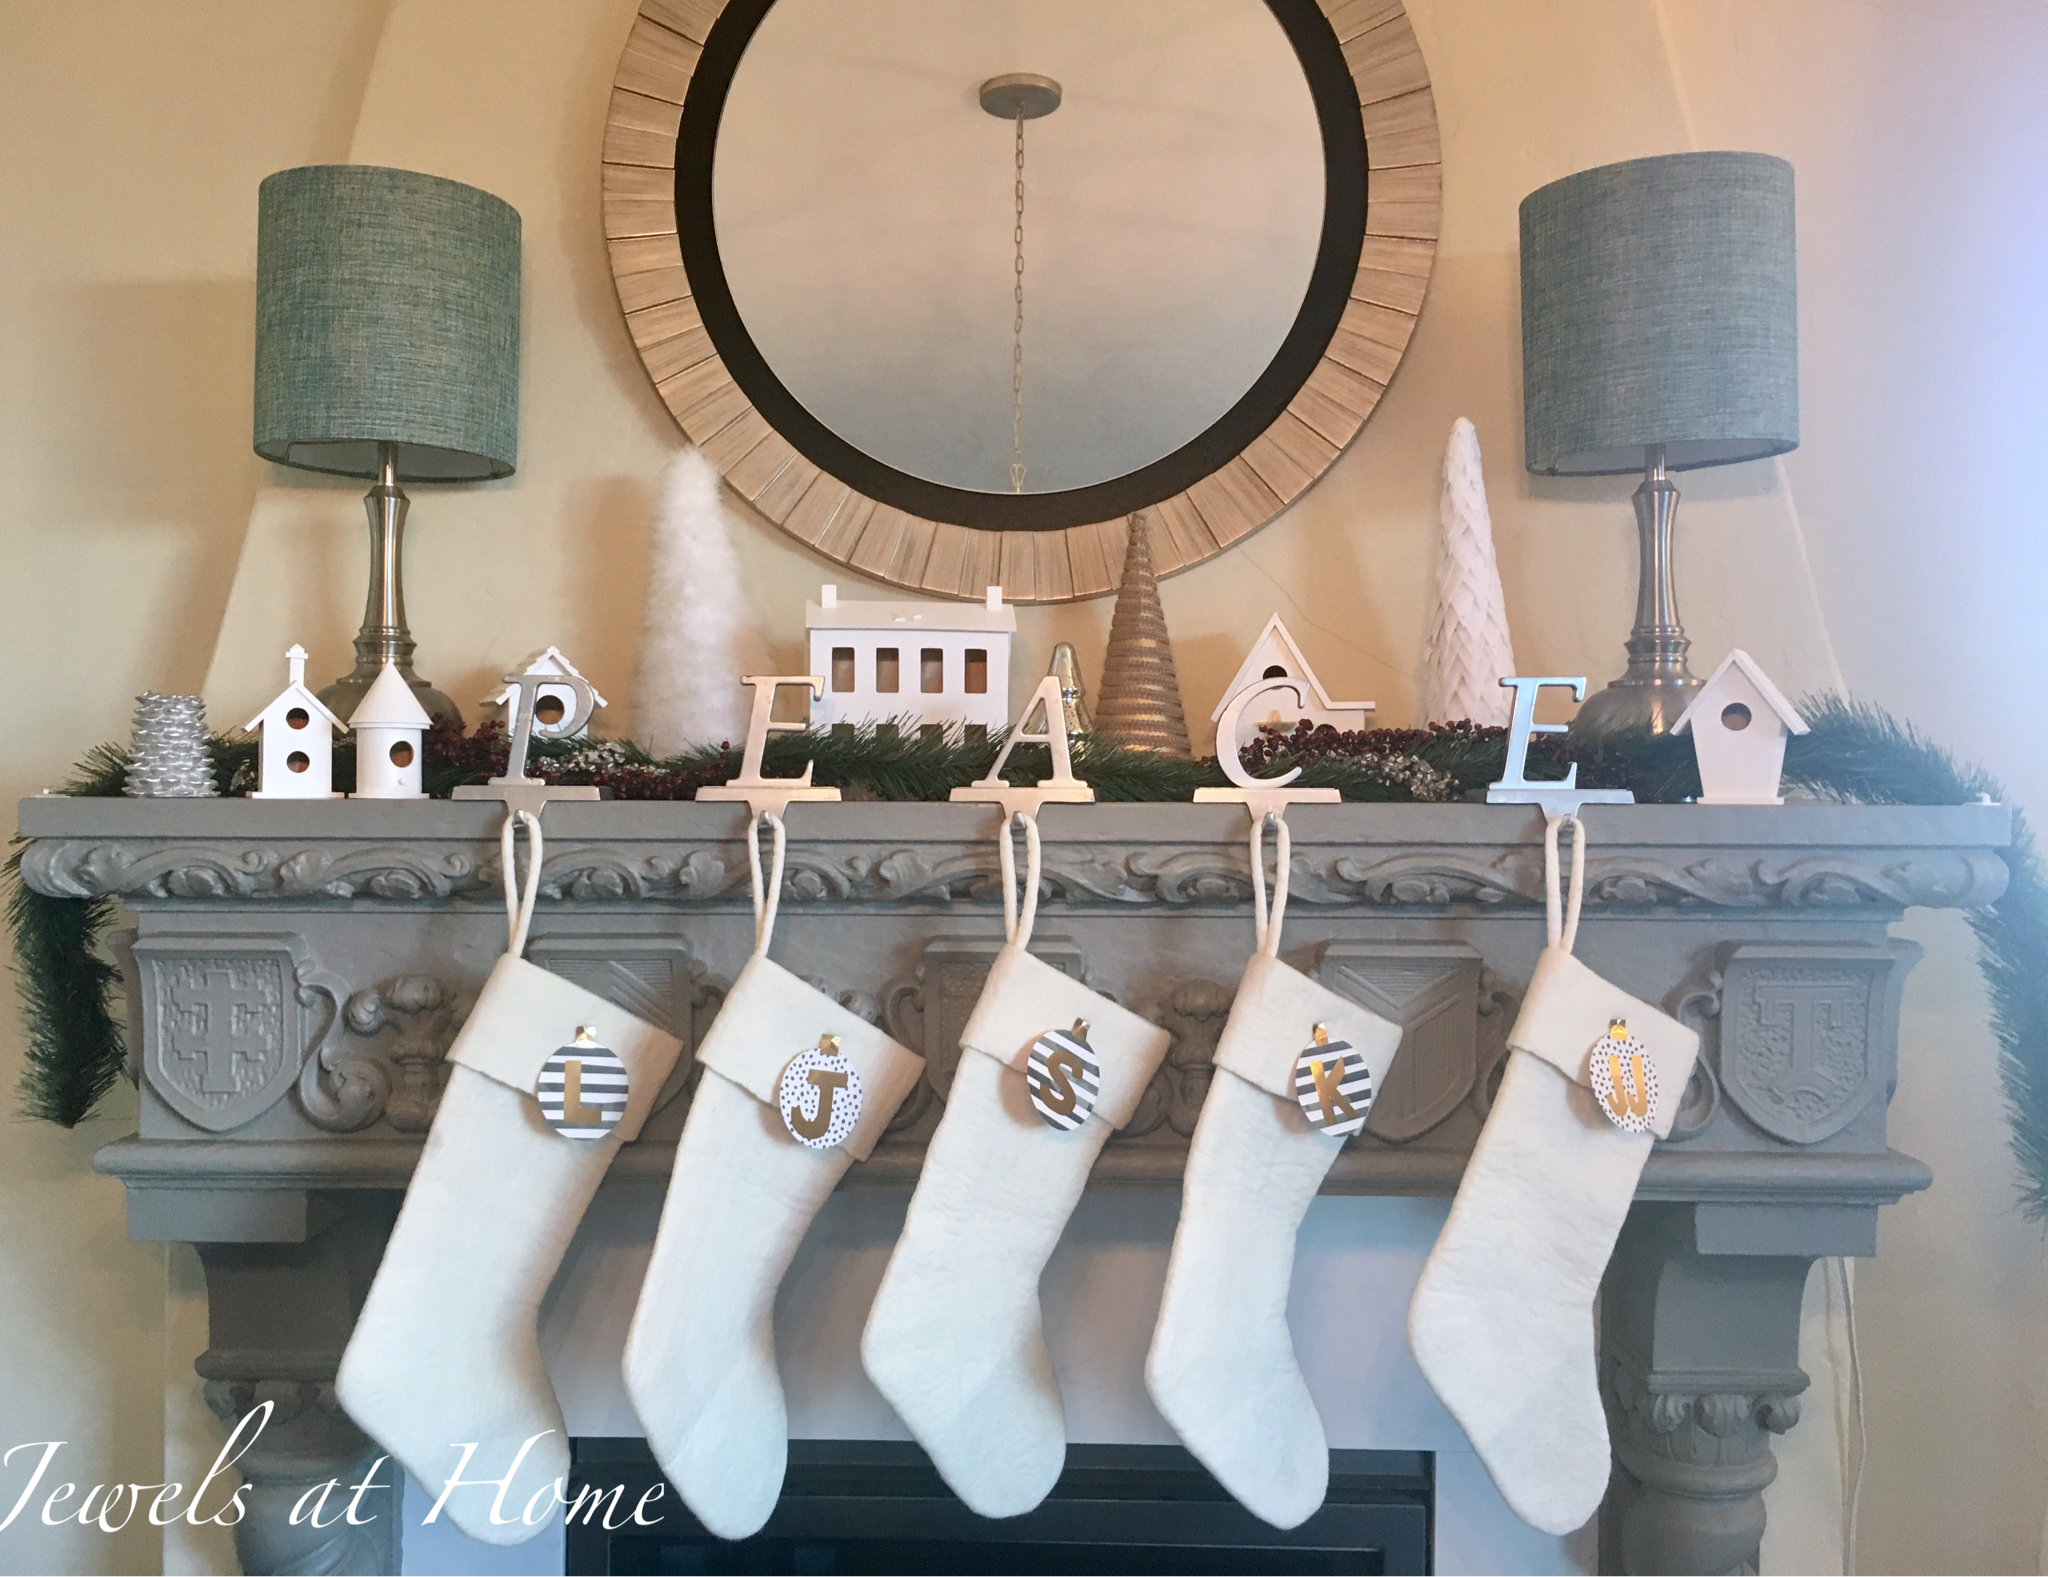
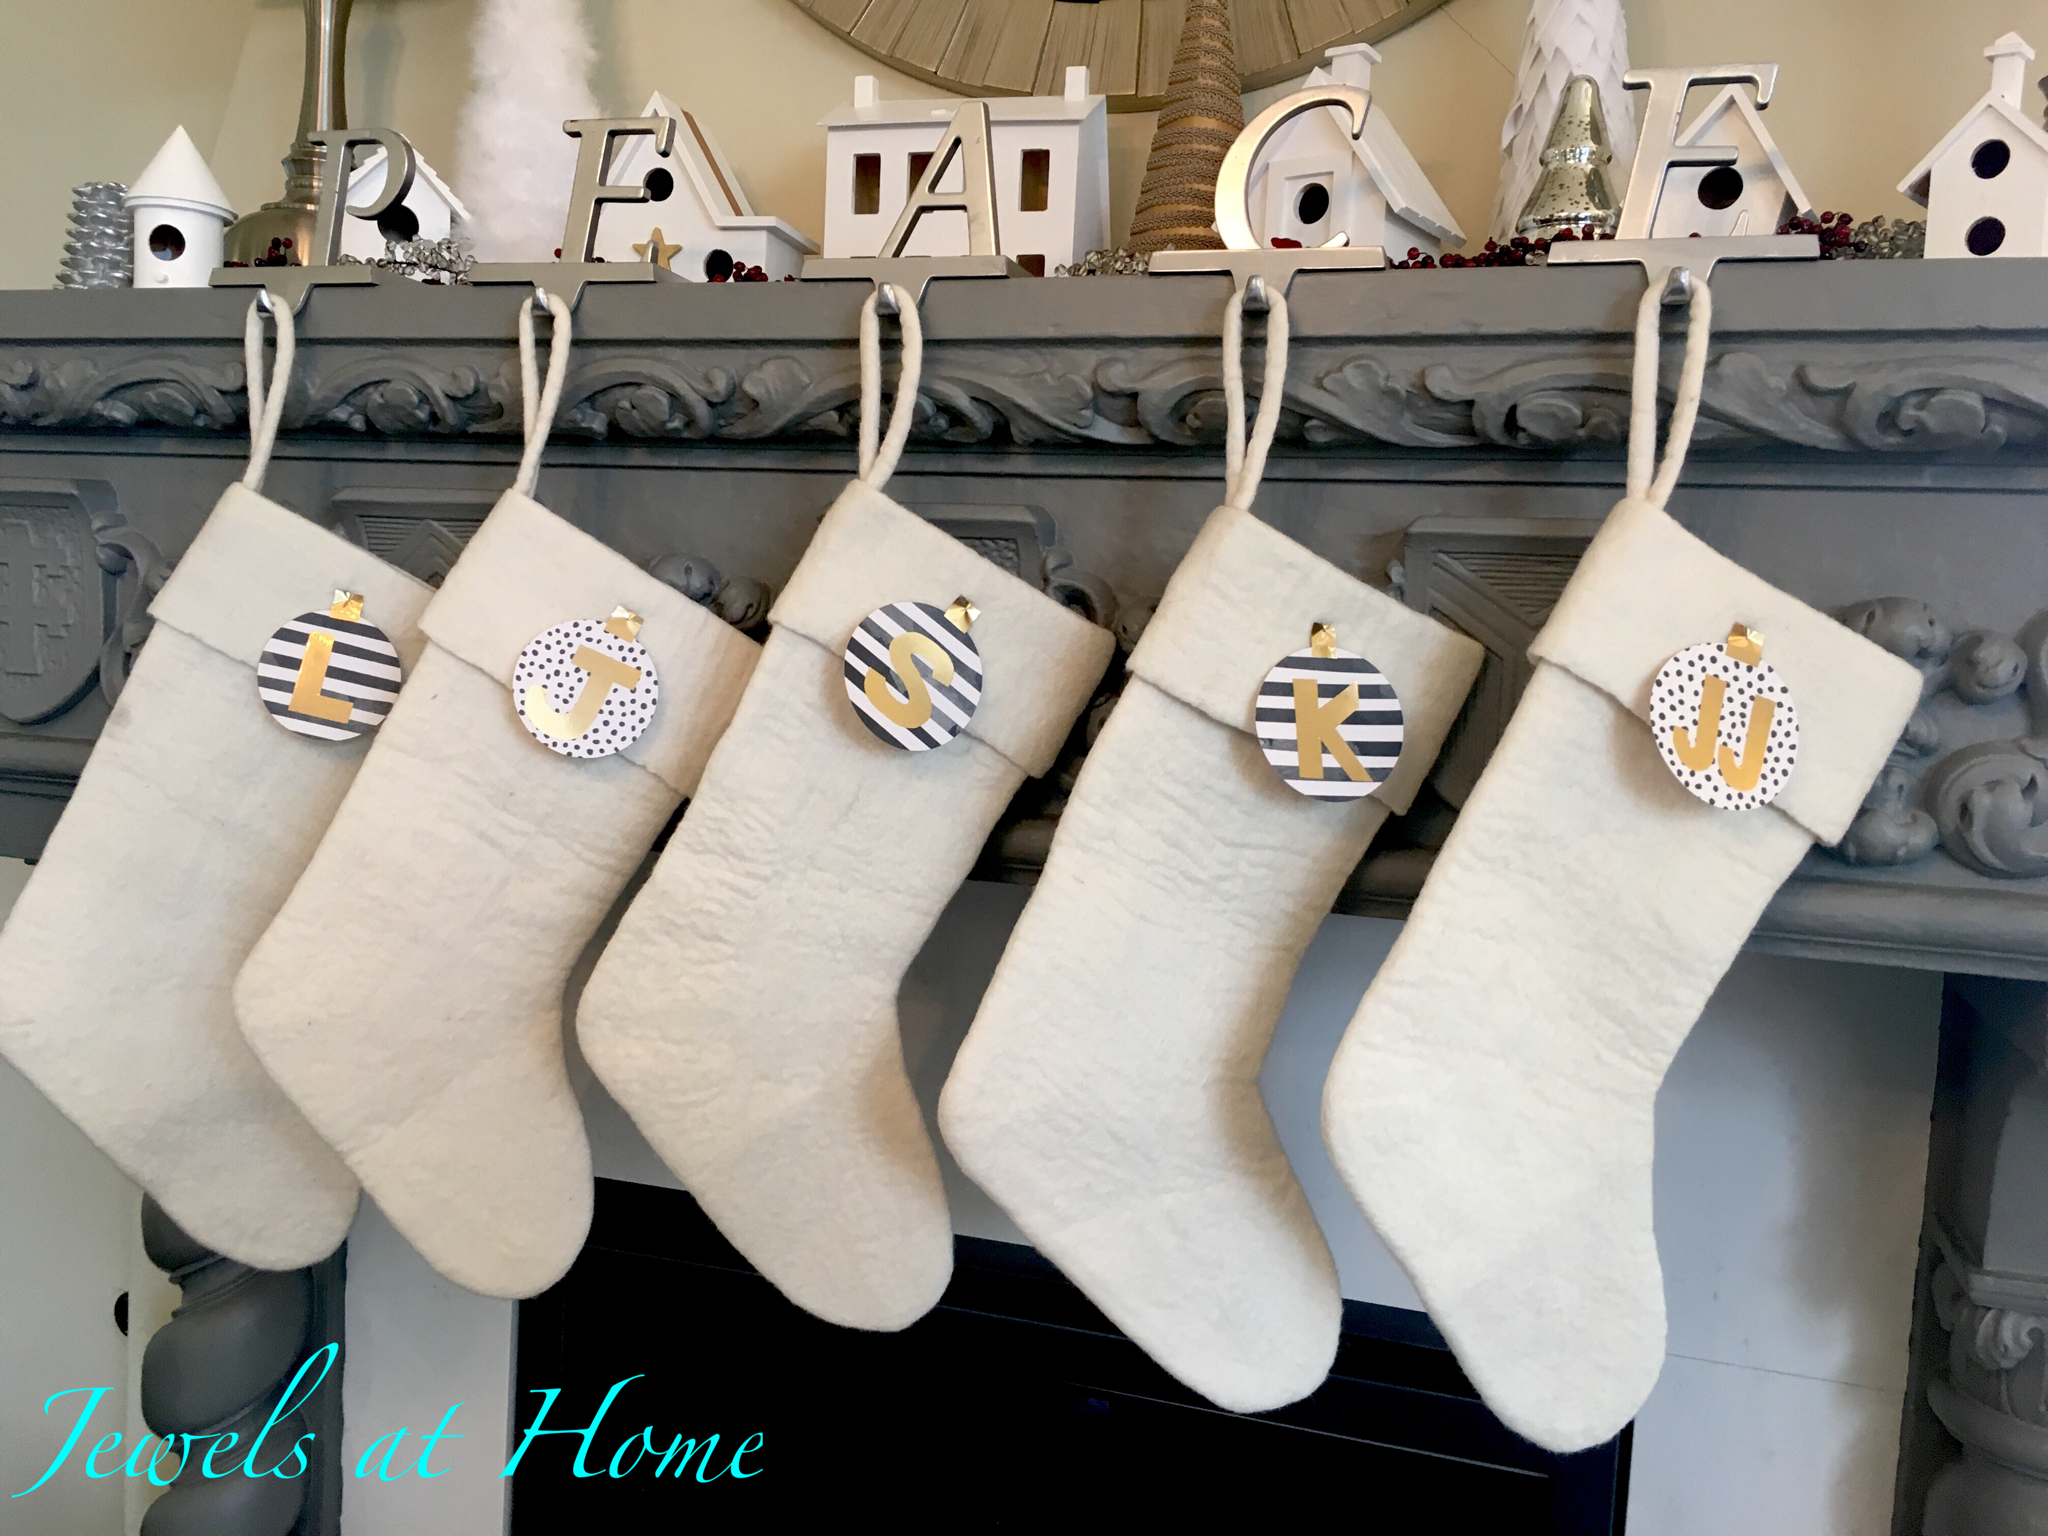
This year’s Christmas is pared-down and pretty (if I don’t say so myself!). Most of our decorations are white, with touches of gold and silver.

I love how our simple white felt stockings from West Elm have fit into all of our Christmas themes, just by changing the ornaments. Here are the links to the past years’ mantels:
And this year, I used scrapbook paper and gold contact paper to make these ornaments that add a bit of gold and glam to our mantel. The stripes and dots make me think of a beautiful Kate Spade look.

And a few more looks at our mantel this year. Like the simple Christmas branch, it came together so quickly, which is a relief this busy season!

 Have a cheerful and glamorous weekend!
“Jewels”
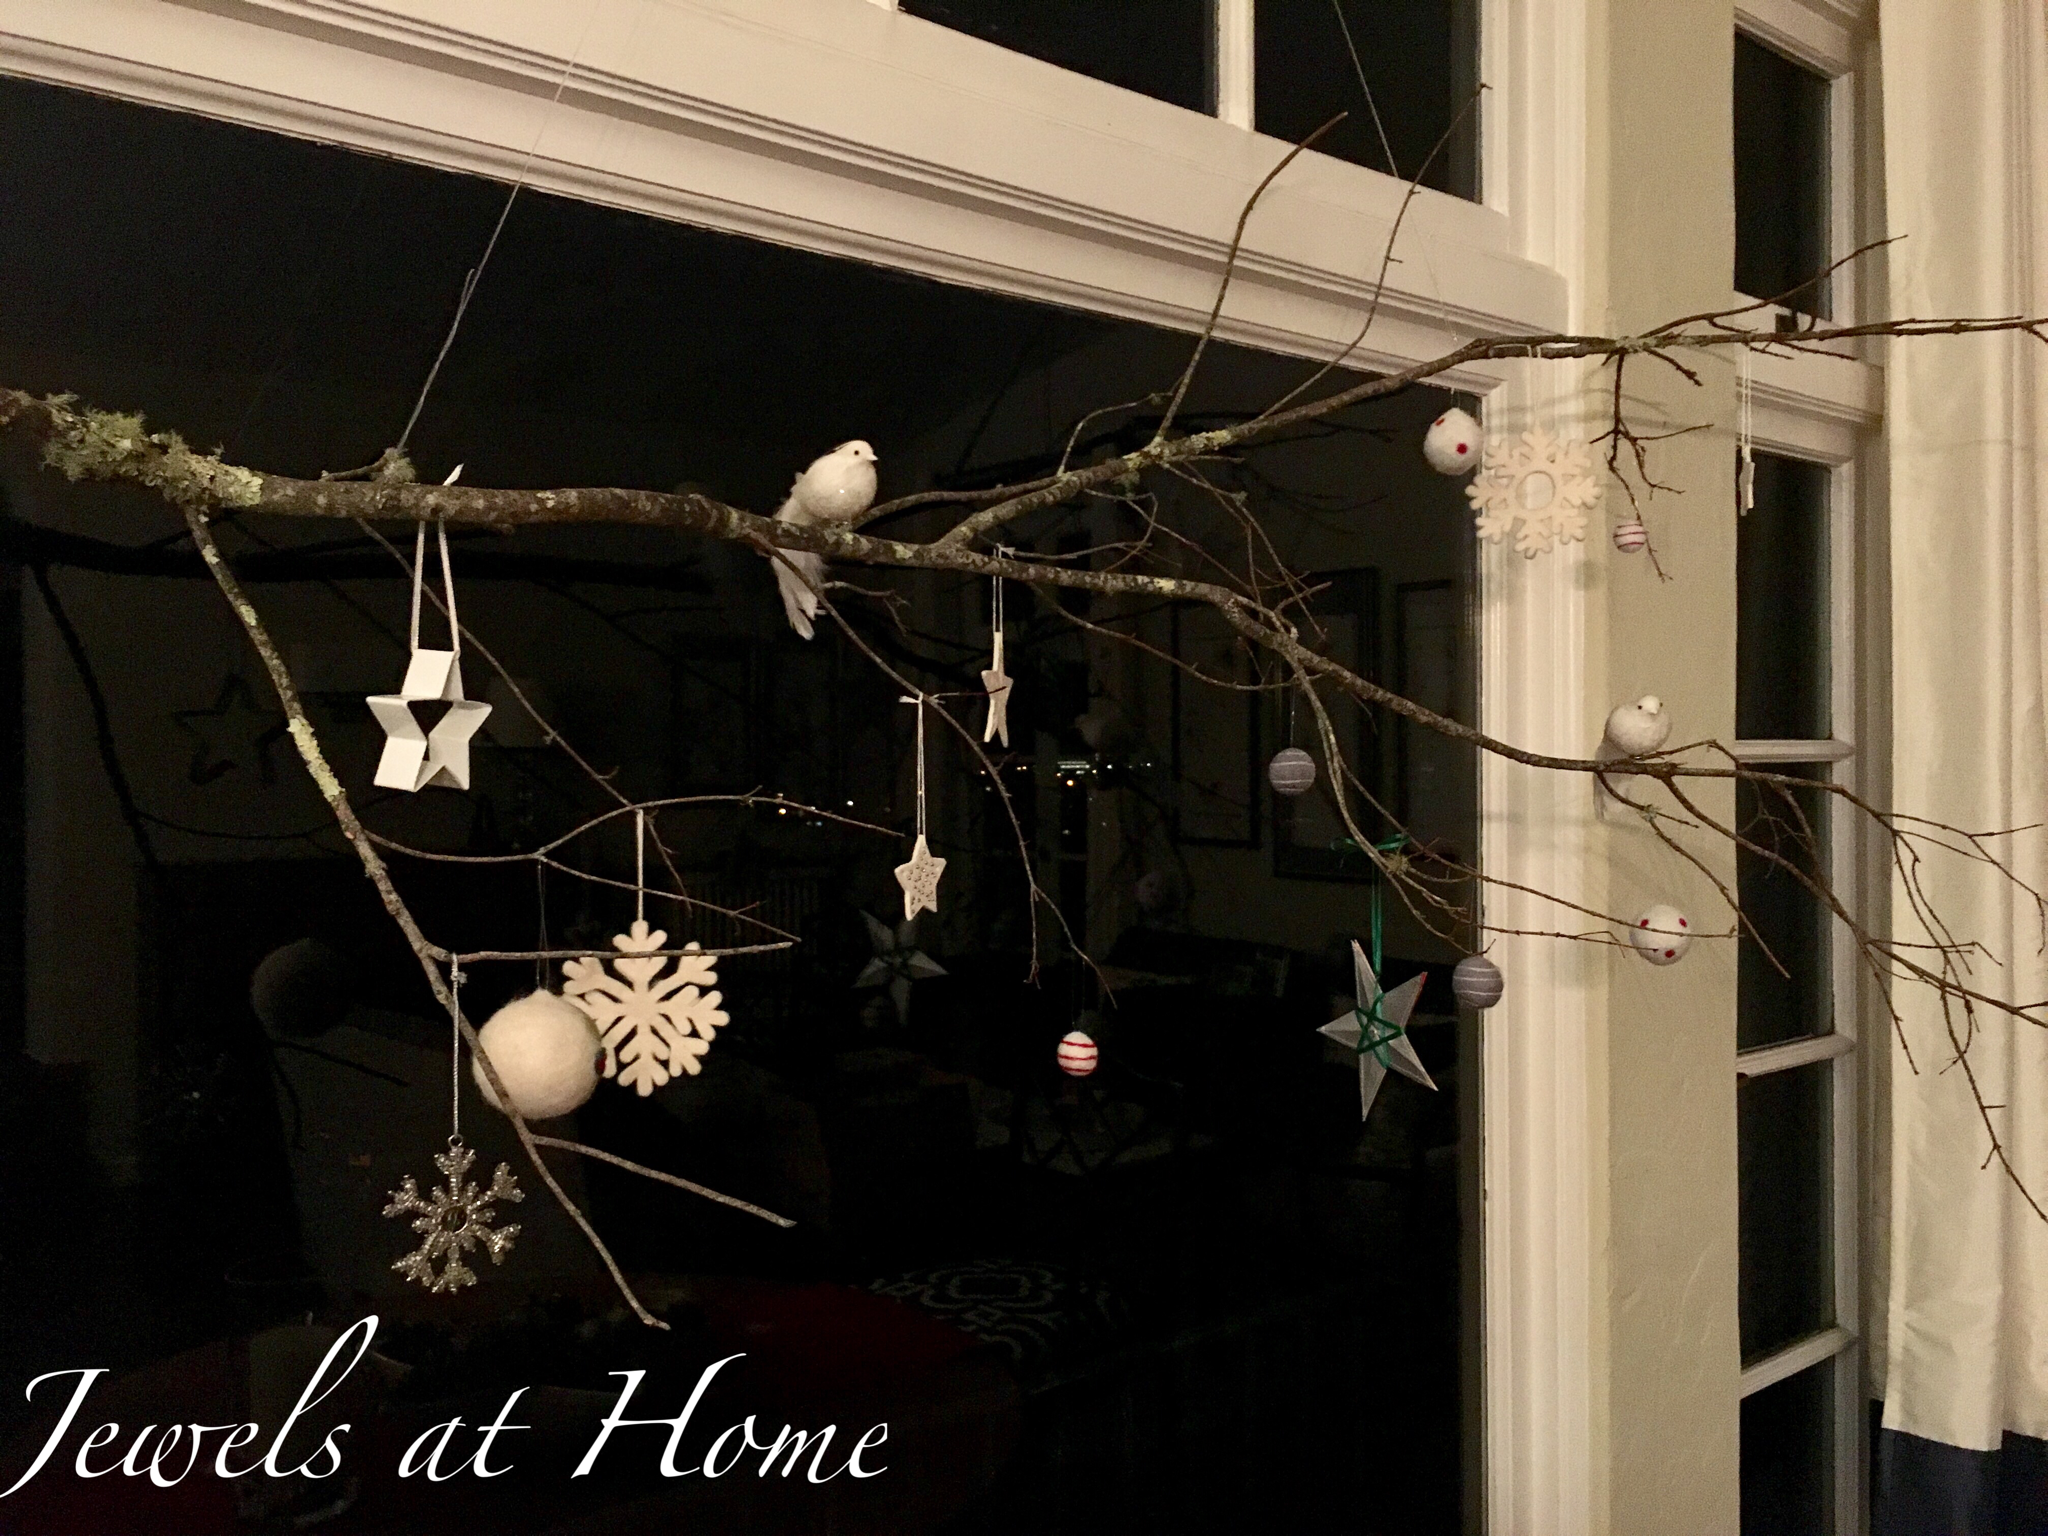
Last year, we celebrated a fabulous and fun retro mid-century Christmas with lots of over-the-top colors and decorations. This year, I’m going in a different direction with a pared-down Christmas.
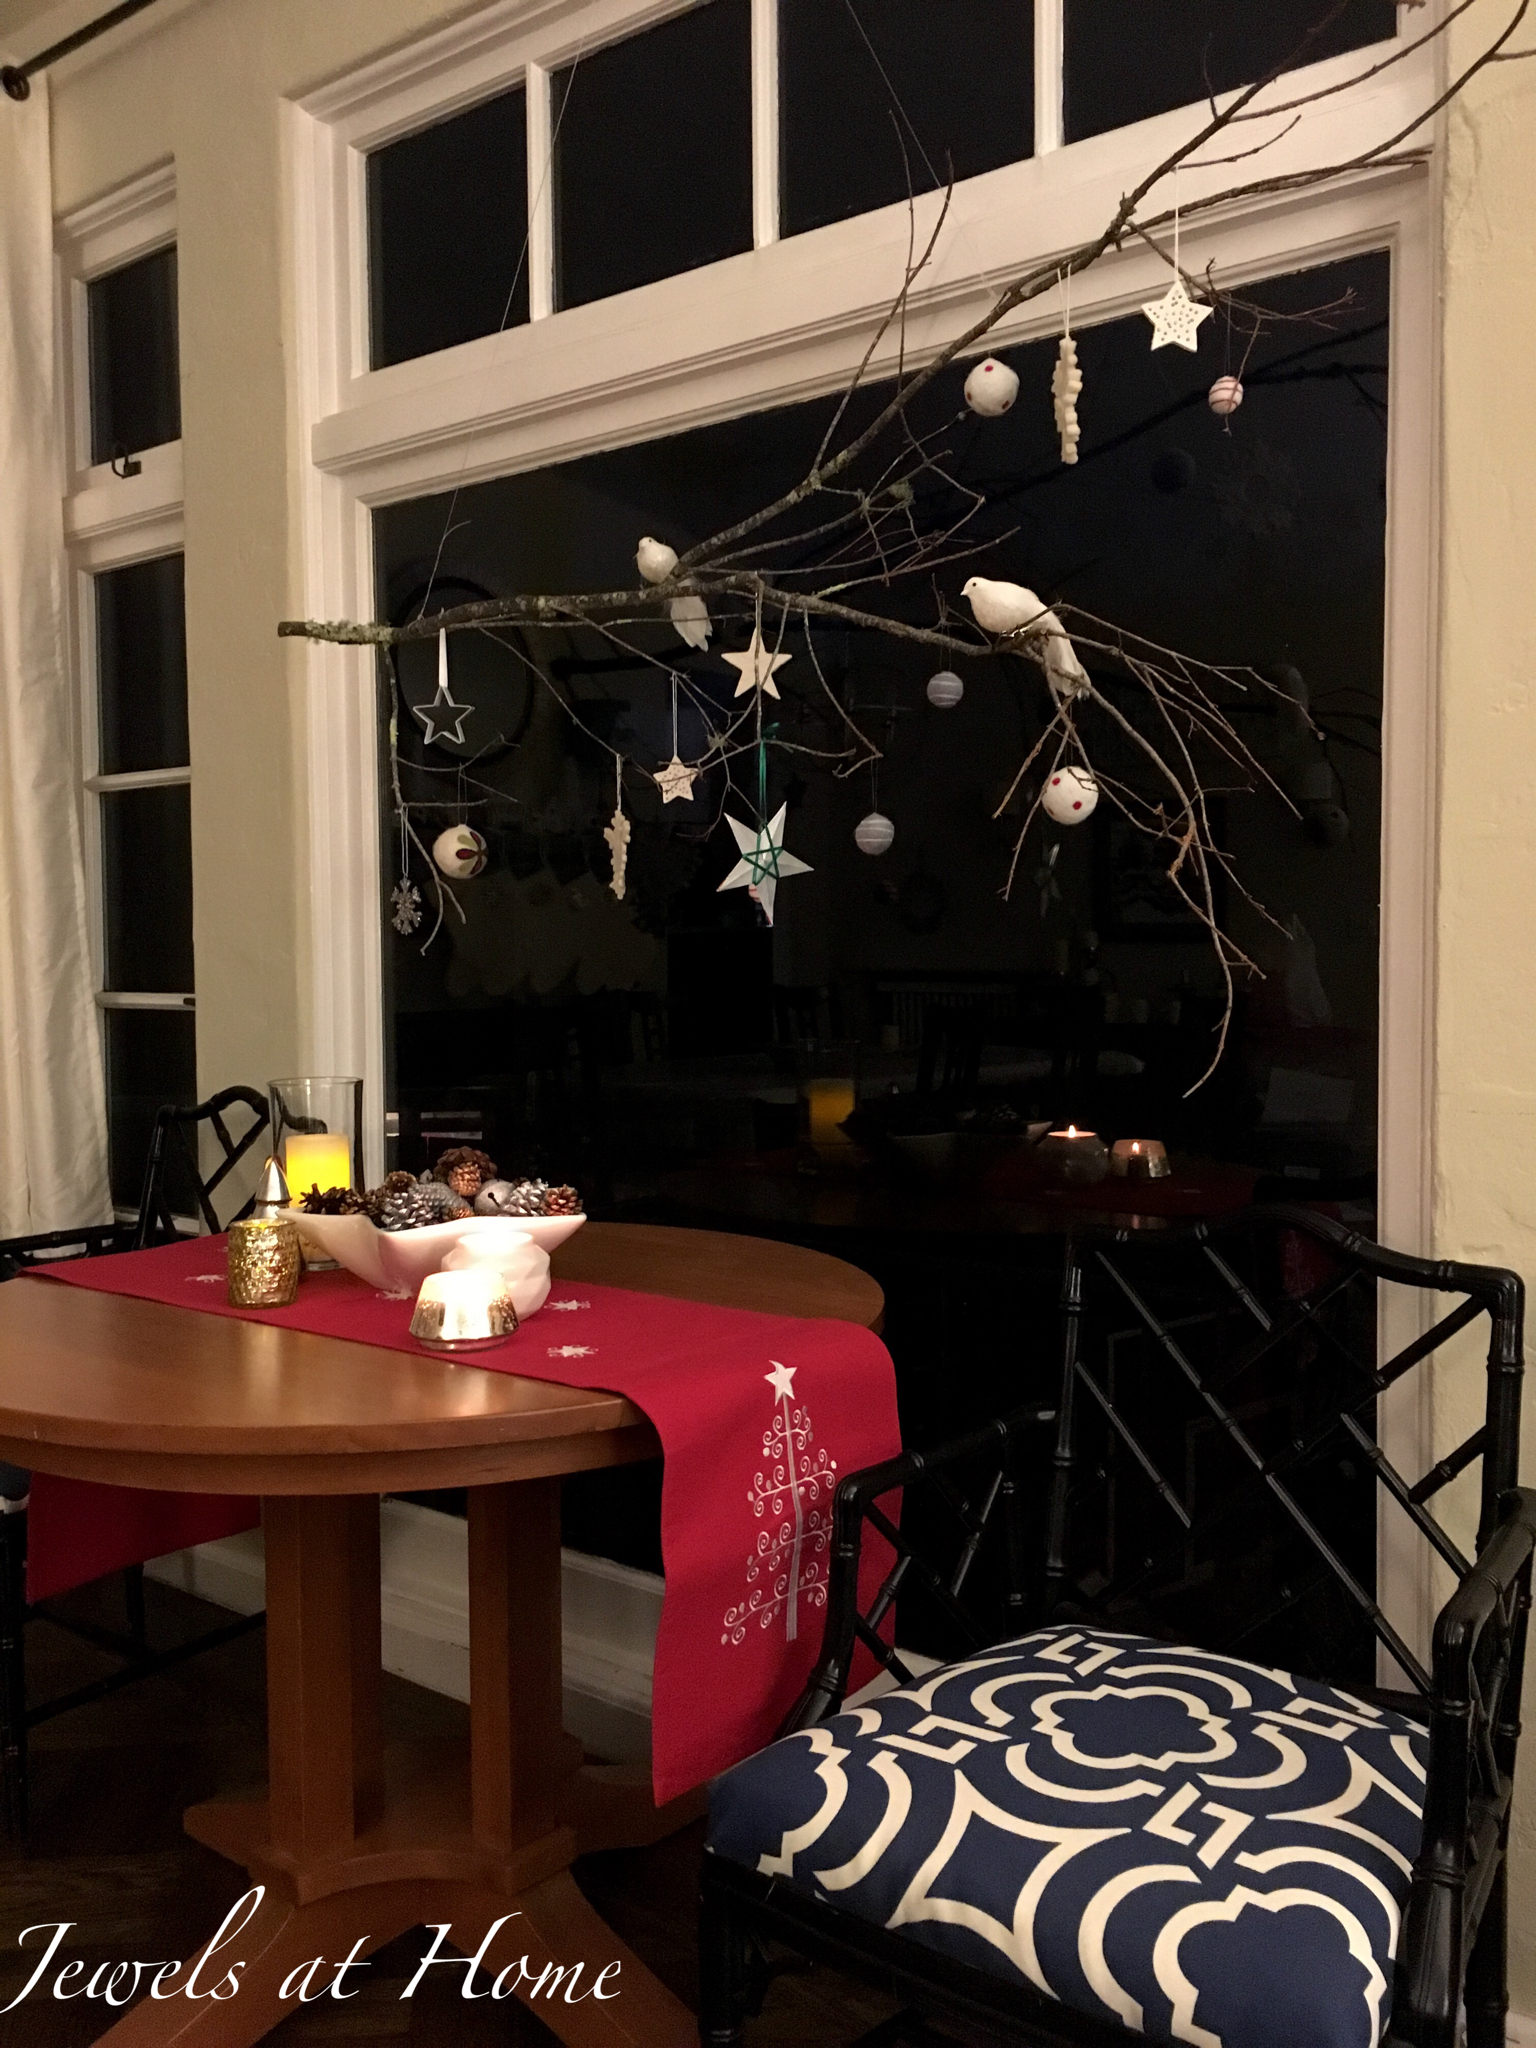
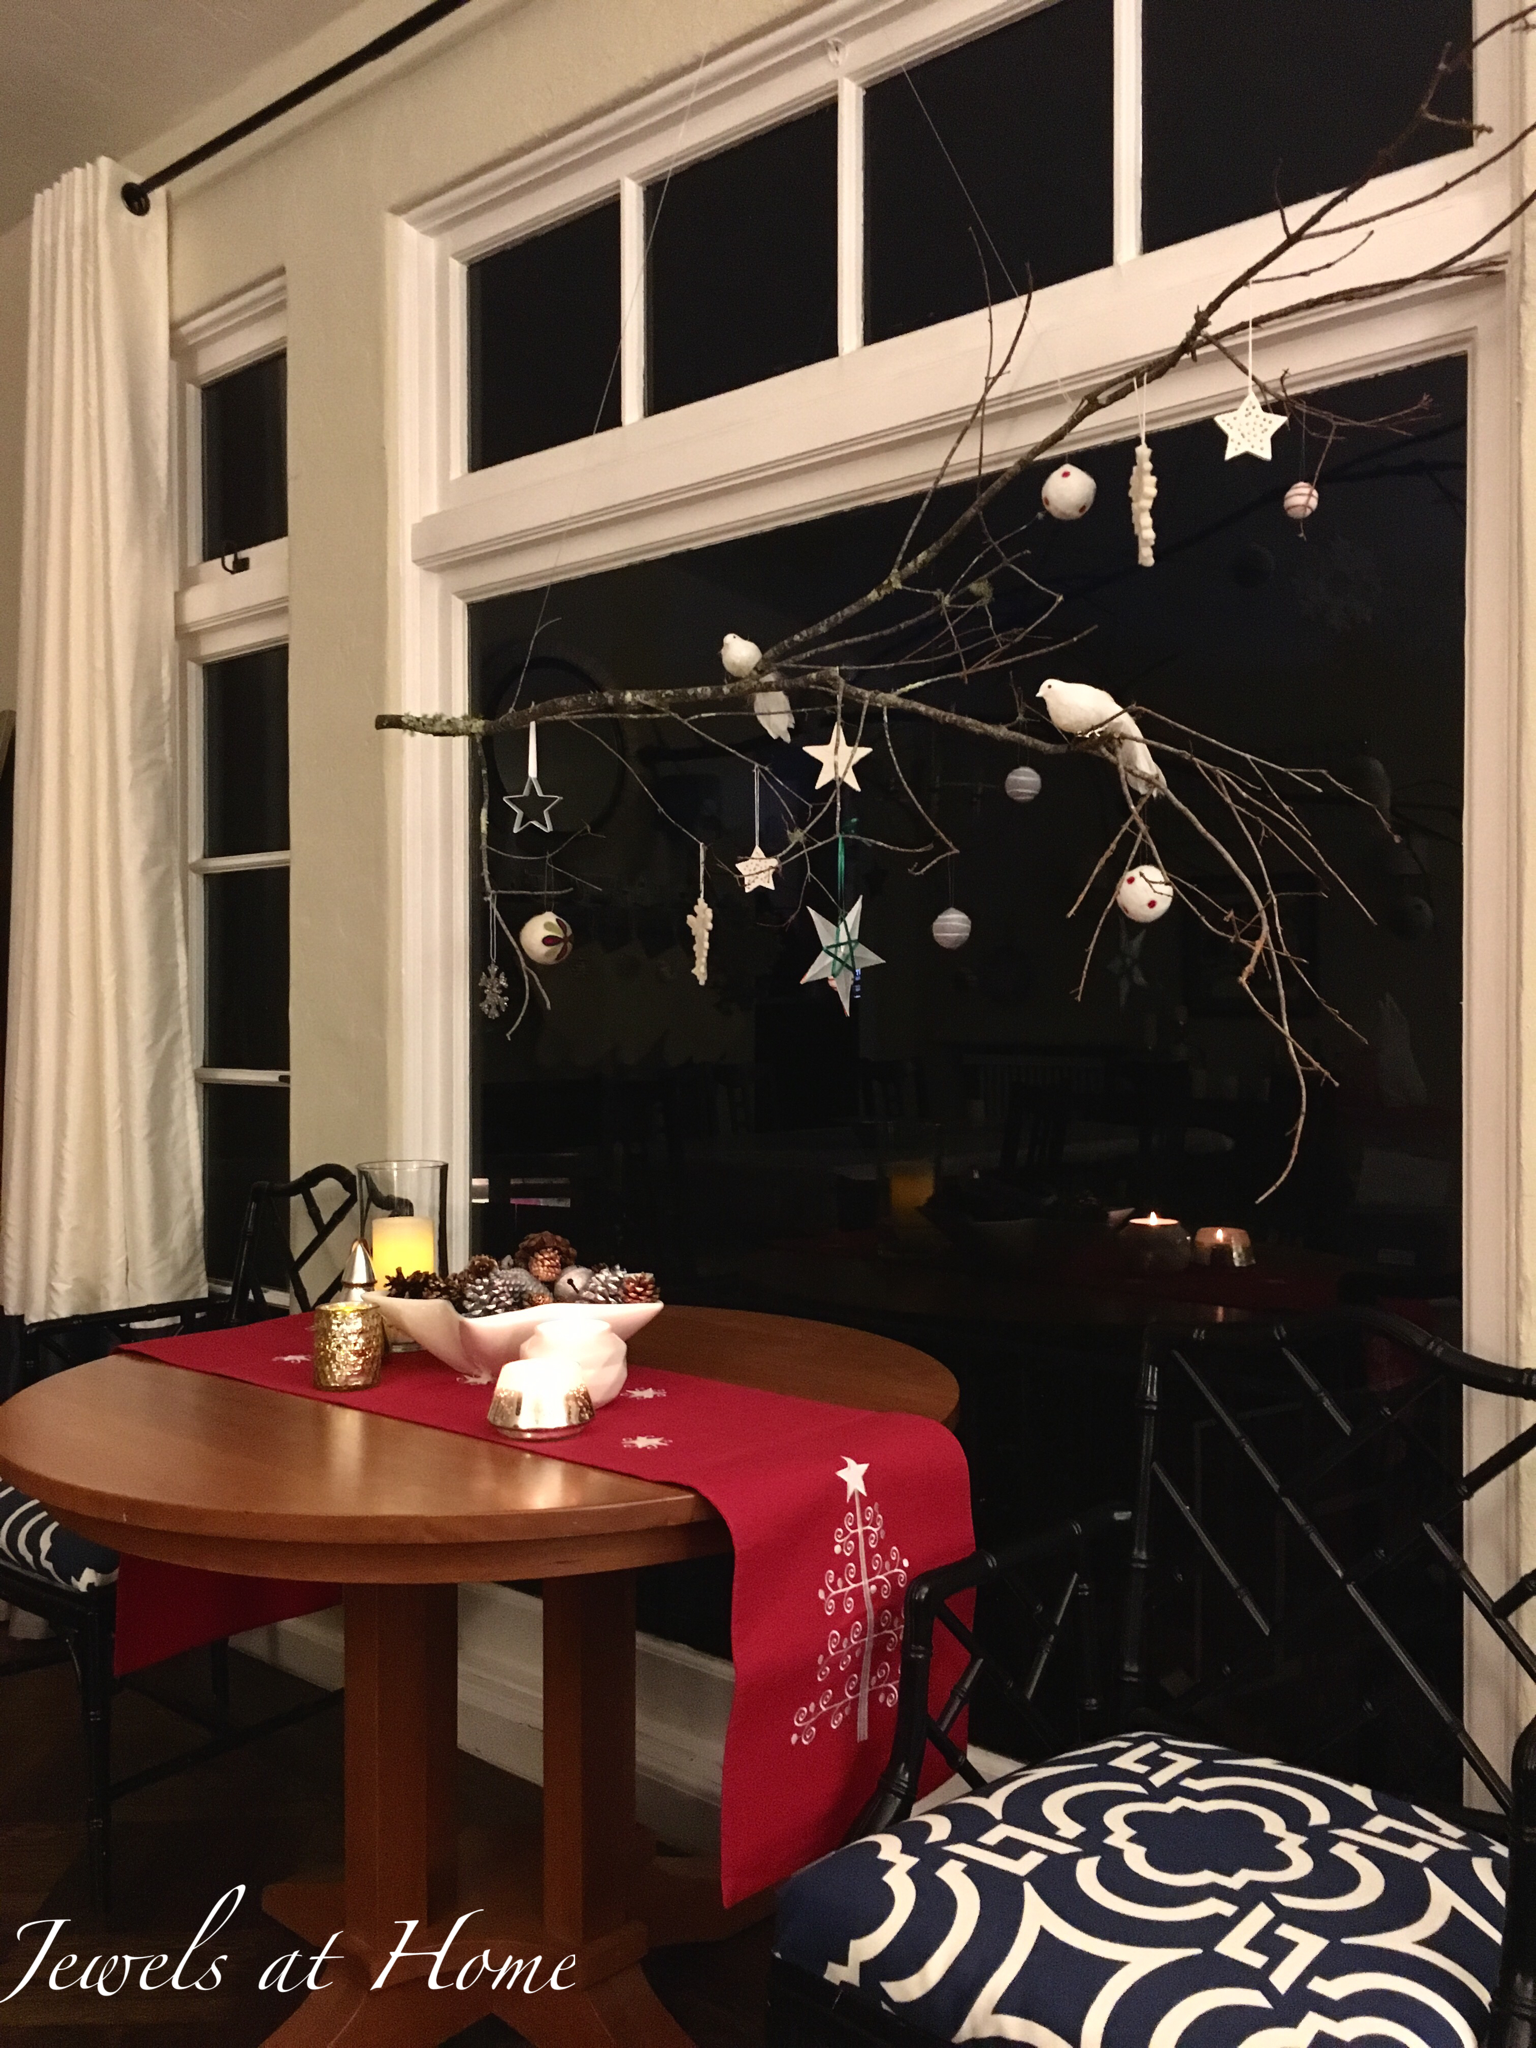
I was inspired by pictures of simple branches hung with ornaments. I was going to do this in addition to our Christmas tree, but I’ve decided to do it instead of a tree, and it feels very liberating! This idea is great for people who live in small spaces or just want to simplify.
Our overall look this season is Scandinavian-inspired with touches of gold and glam, and our centerpiece here fits tight in.
Enjoy!


Hope you’re feeling cheerful and warm this season!
“Jewels”
You know decorating for Christmas is a serious thing in our house, and to keep my sanity, I usually try to start planning early. This fall, though, every spare moment outside of work and basic survival has been consumed with stuff for the boys’ school and birthdays! Now, I’m starting to feel a bit of breathing room – or I’m forcing myself to maintain some sanity.
I honestly had so much fun with last year’s retro Christmas that I thought about recreating it. I’ve decided, however, to try a new variation I’m going to call a “Mod Metallic Christmas.”
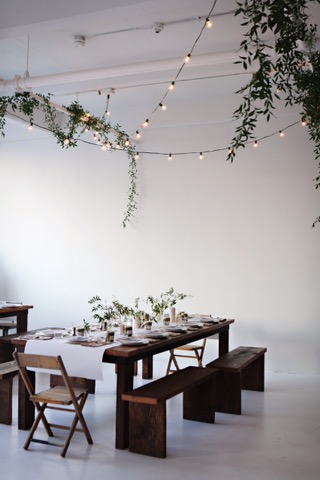
Here is an inspiration photo (source):

Three years ago, I did simple white and grey Christmas theme, and I’m excited to add some glitter and glam this time around!
Taking inspiration from The Design Cookbook, I created a “recipe” to help me focus my vision for this project and keep it on track:
Some projects I’d like to work on include:
Metallic garland (source):

Tin can luminaries (source):

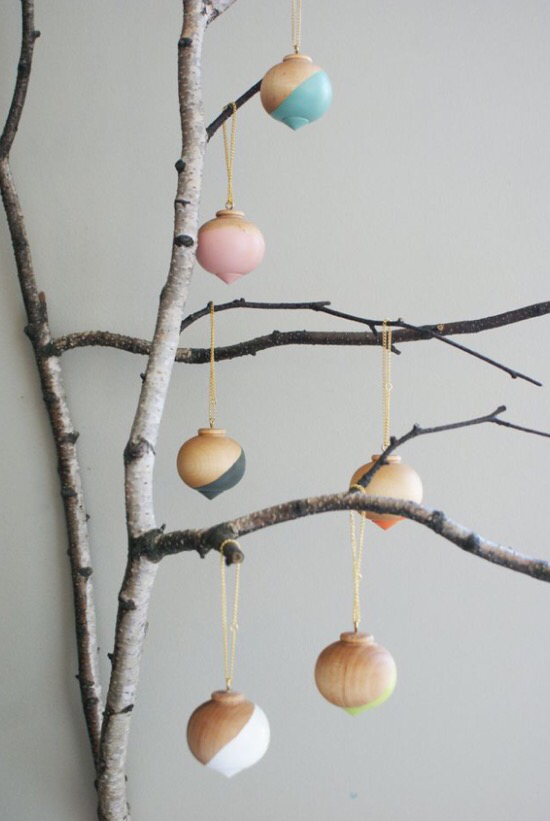
Dip-painted wooden ornaments (source):


Painted pine cones (source):

Felt garland (source):

And here are some more inspiration photos (source):

What do you have in mind for holiday decorating?
Cheers,
“Jewels”
As you know, this Christmas, I’m decorating with a retro mid-century theme. Our tree is trimmed with globe ornaments in red, turquoise, and pink, including these scrapbook paper and washi tape globe ornaments.
I was looking for the perfect tree topper and saw this fabulous atomic topper from Over the Top Finials on Etsy. They have lots of fun products!!

Since I had all the supplies in the house already, I thought I’d try a DIY version, and I’m pretty excited with how it turned out!
Here’s what I rounded up to make the tree topper:
Here’s how to put it together
Ta-da!


And here’s how the tree has come together, including the retro Christmas Ornament tree skirt!

I think our Christmas tree looks far-out and groovy with its new topper!
“Jewels”
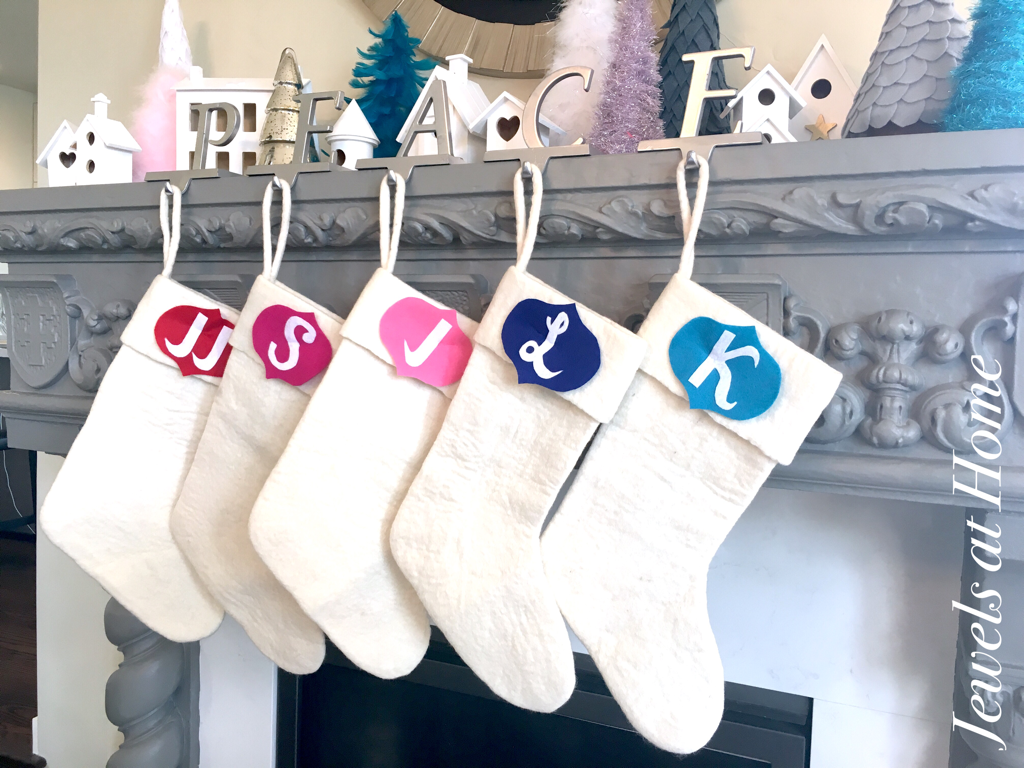
For the last few years, I have had a different theme for Christmas decorating each year. Of course, that doesn’t mean that I need to change all my decorations! I’ve gotten creative about re-purposing and adapting our ornaments and other decor to fit each theme. When I did my white Christmas two years ago, I bought lovely white felt stockings from West Elm. They worked just as well for last year’s white and red Christmas. For this year’s nostalgic retro Christmas, all I had to do was change out the initials on the stockings.

I used felt in our Christmas colors of red, pink, and blue and added white felt monograms. I attached them to the stockings with safety pins, so it will be easy to change them again, when needed! It’s amazing how this small project completely transforms the look of our stockings and mantel!
Here’s a look at last year:

And this year:


While we’re enjoying this year’s cheerful nostalgic Christmas, I’m already thinking about themes for the future – Scandinavian Christmas or a metallic Christmas – and it’s good to know I’ll be able to re-use these stockings again!
“Jewels”
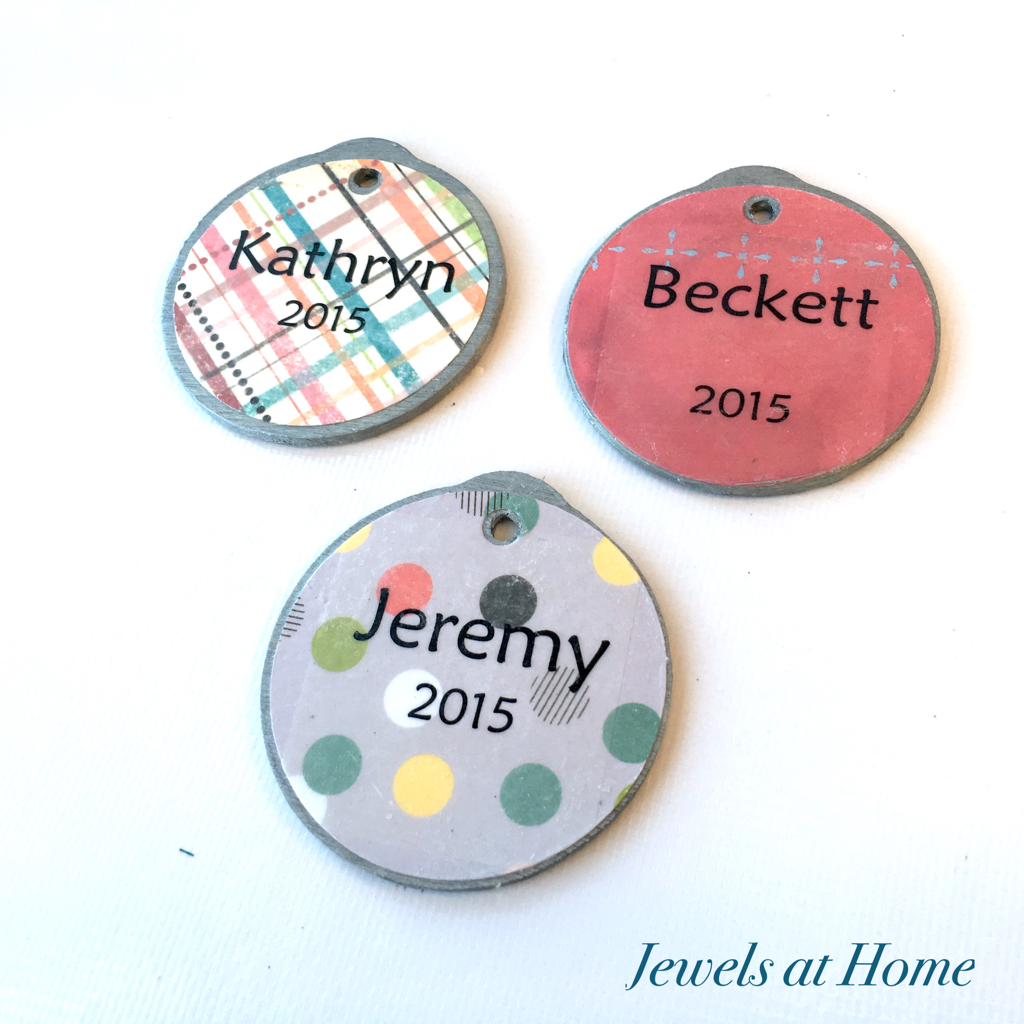
My passion for pretty papers goes way back, but I confess that when washi tape first became popular, I didn’t immediately fall in love – it’s not too late, though! I had so much fun combining patterns and colors to make these pretty ornaments. These lovely decorations are quick to make, and I will be bringing this project to work for our holiday party. I also made a personalized version of these ornaments with kids’ names inside.

To make these ornaments, I used
The process is very simple:
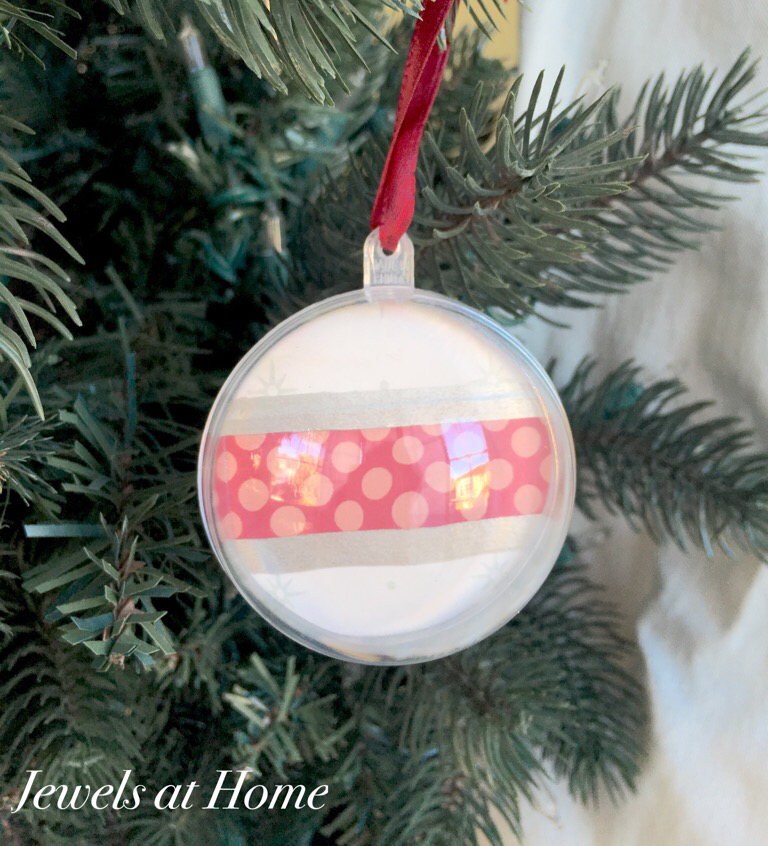


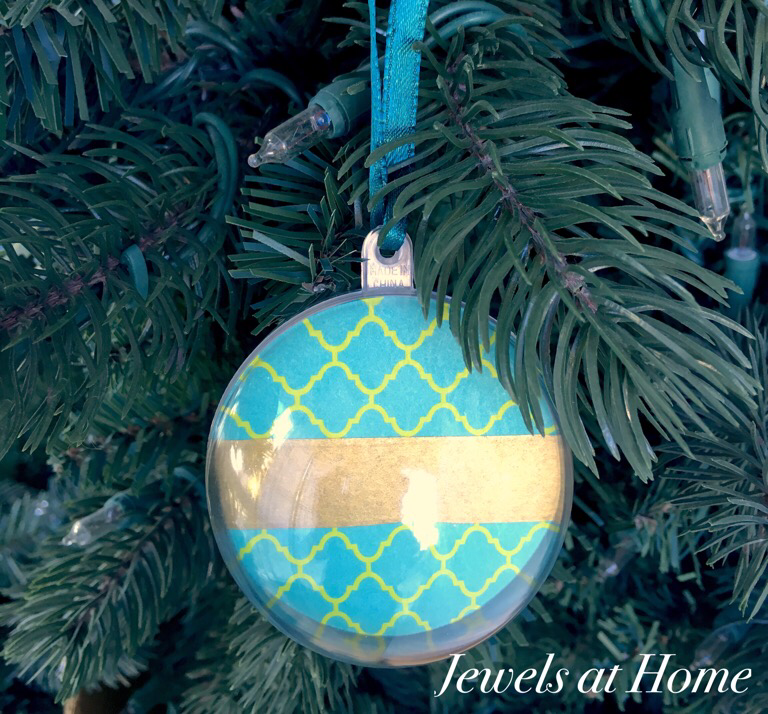
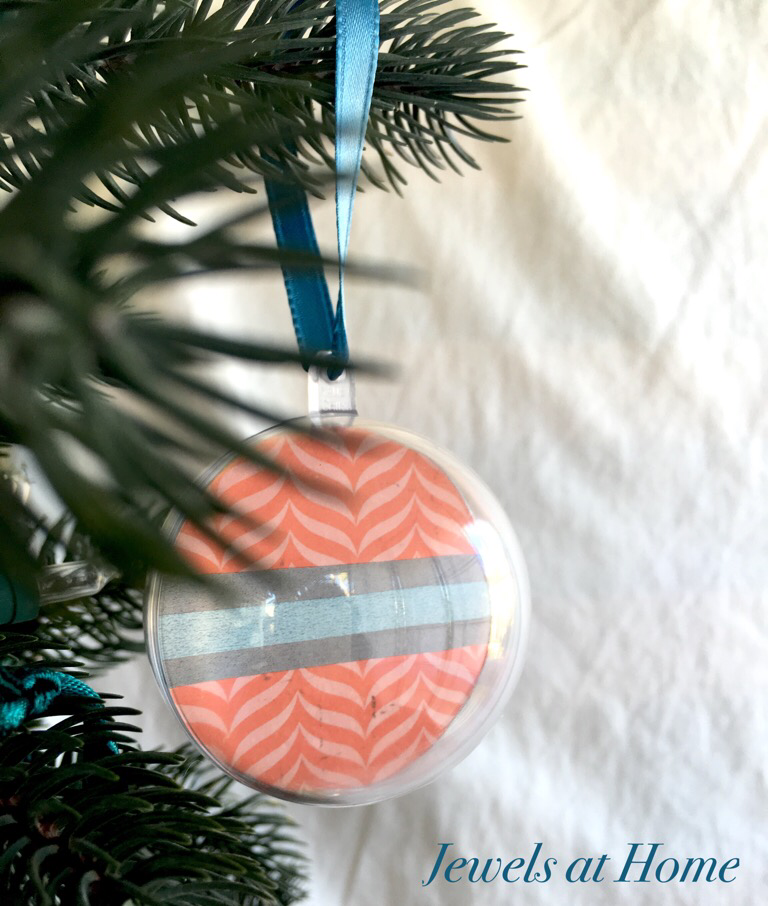


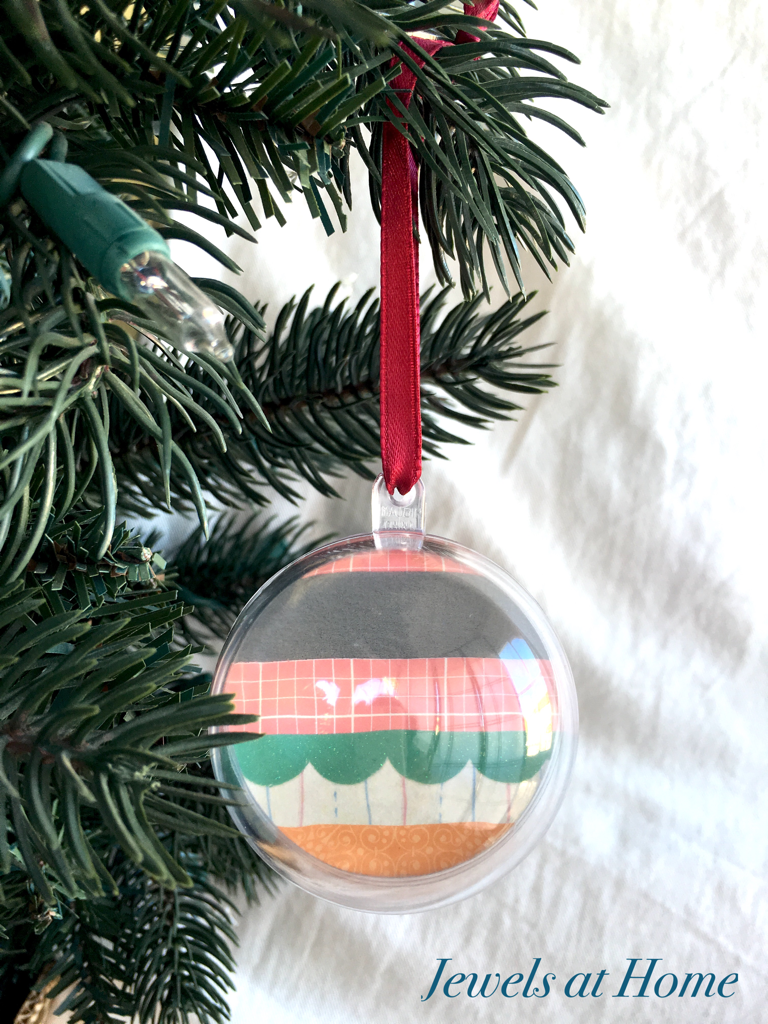
Go crazy with the paper (I did!) and have fun!!
“Jewels”
Every year, I make personalized Christmas ornaments for our family and friends. This is usually a simple project with store-bought ornaments. This year, I’m doing a little DIY, because I didn’t find anything quite right for our retro mid-century Christmas.
I’m making some clear globe ornaments to give to our local friends. For those that live further away, I wanted something easy to mail, so I was excited to find this inspiration for ornaments covered in scrapbook paper. Besides being pretty, these ornaments are lightweight, flat, and sturdy, so they’re perfect for sending to friends!

Here’s how to do this cute project:
 To finish off, I added ribbons for hanging.
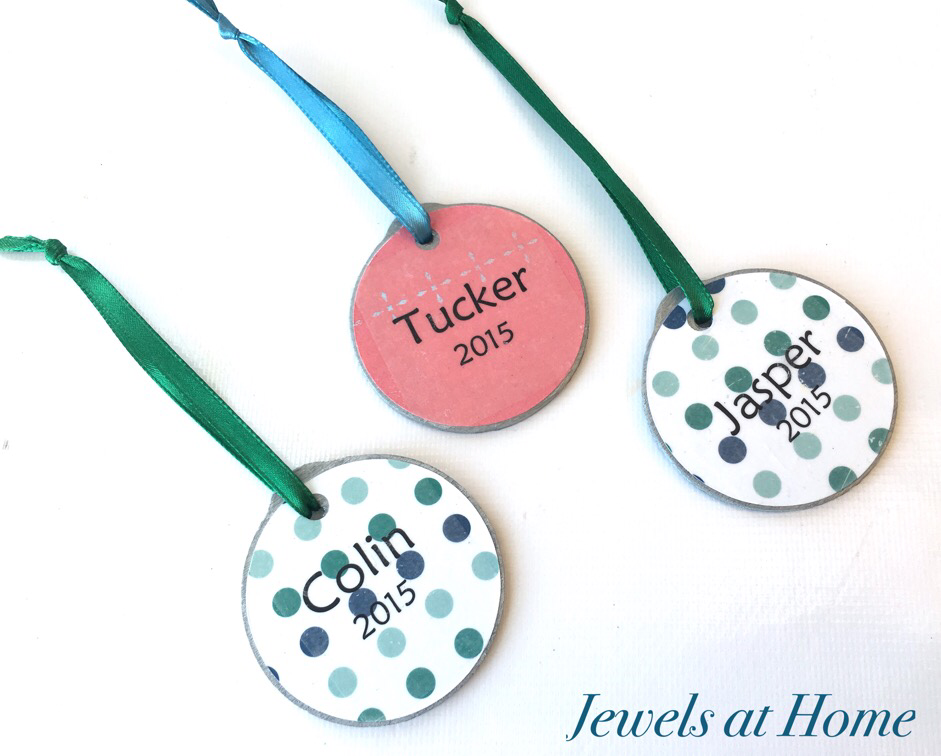


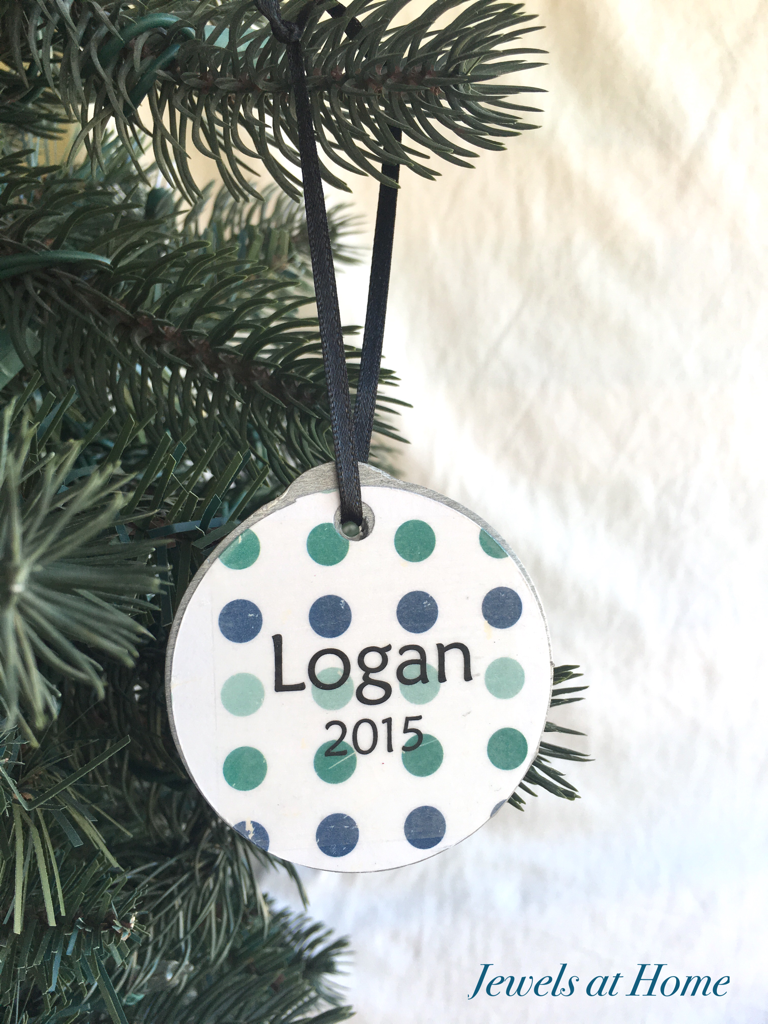
What fun to be able to send a bit of holiday cheer!
“Jewels”

