
I had to skip posting week six of the challenge – it took me a long time to put together this desk area, because I was making it up as I went, not to mention all the normal activities of … Continue reading
I had to skip posting week six of the challenge – it took me a long time to put together this desk area, because I was making it up as I went, not to mention all the normal activities of … Continue reading

Our pup Finn howls when he hears sirens, so I thought he would be super cute in a firefighter costume for Halloween. Of course, I decided this three days before Halloween, so I figured out how to make him a … Continue reading

I love the relaxed feeling of enjoying a meal and good company while lounging on a comfy banquette. I’m so excited that I have finally built our deep dining bench. Now, I have to add the cushions! I could not … Continue reading

The Fall 2023 One Room Challenge is underway! In the spring, I decorated our entryway, including turning our closet into a mini-mudroom. This fall, I am working on our dining room! One element I have been planning for some time … Continue reading
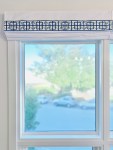
“Elegant and Airy” is my inspiration for our dining room. One of the projects was to switch out the Roman shades. I wanted something more formal-looking, and I also wanted to install my shades above the windows – a classic … Continue reading
Modern and classic. Elegant and streamlined. This is the balance I was looking for in a dining room chandelier. I also wanted an open design, so we could make the most of our views. This week, I will show you some of my favorite options, as well as what I ended up DIYing for ~$50! Along the way, I’ll show you my favorite gold spray paint and how to add a DIY cord cover to a chandelier.
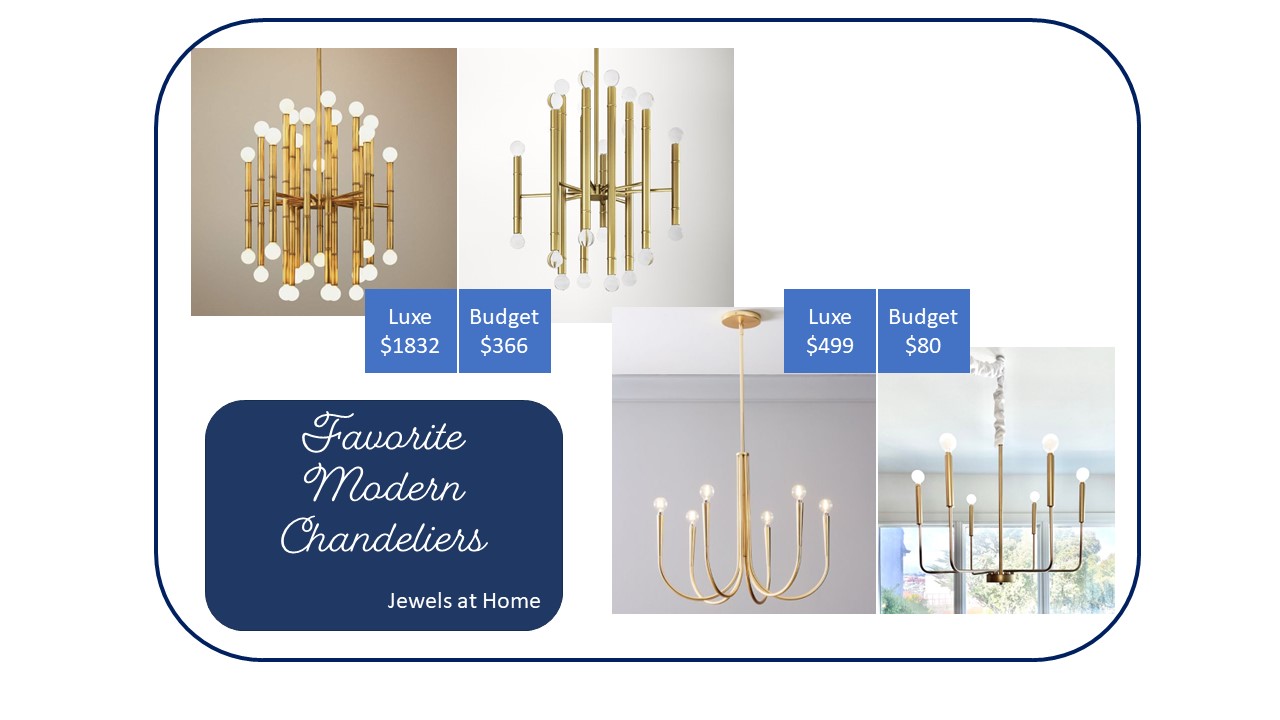
My top two choices were the West Elm Swoop Arm Chandelier (below left) and the Hammons Sputnik Modern Chandelier (below right) (a dupe for the Jonathan Adler Meurice chandelier):

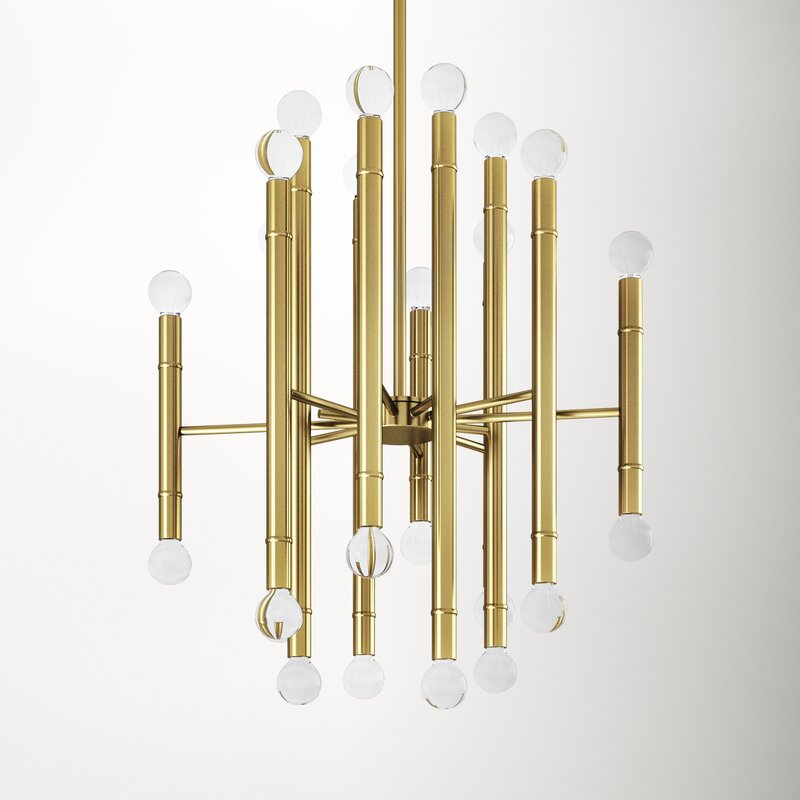
I was getting ready to buy one of these beautiful lights when, at the last minute, I decided to take a quick peek on Craigslist, and I came across a chandelier with a similar shape for only $25! I’m pretty sure it is this Modern 6-Candle Chandelier shown below which is less than $100, even if you buy it new!

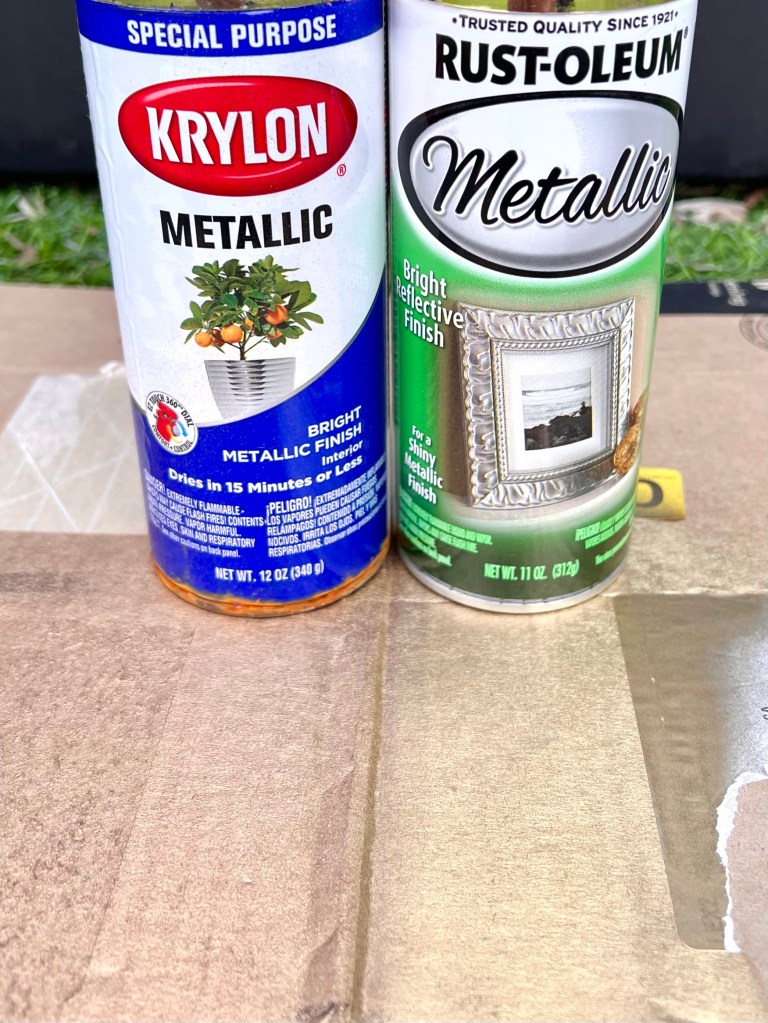
The light I found was a mix of black and gold, so I prepared to spray mine gold. Not all gold spray paints are the same. I happened to have the Krylon paint (left) in the garage, but it is a reddish color, more copper than gold, so I went to our neighborhood hardware store to pick up a can of my favorite gold paint, Rust-oleum, shown on the right, and it is perfect!

I added these frosted globe bulbs, which I think look more modern than the flame-shaped bulbs.

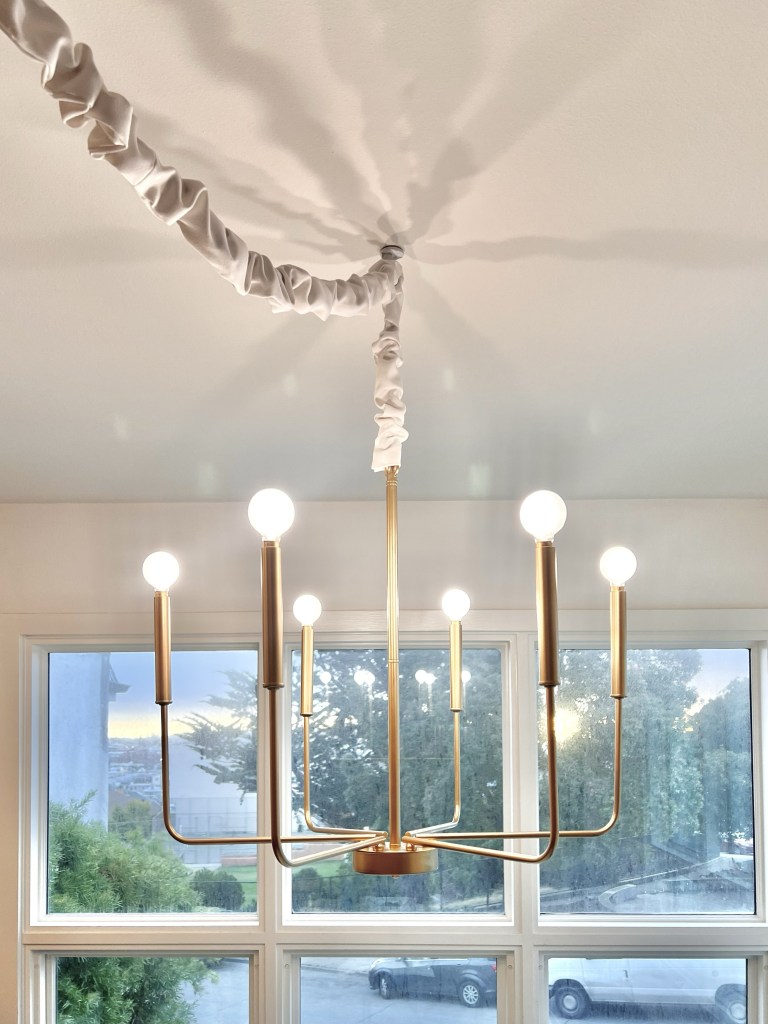
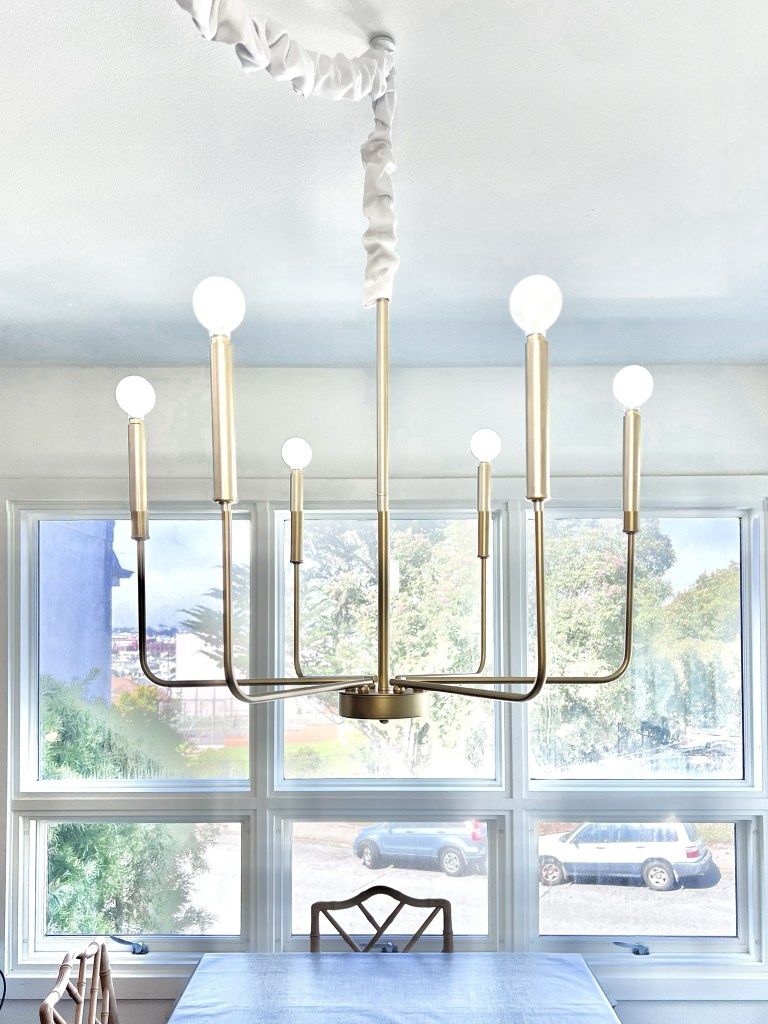
The last step was to was to add a cord cover. This is a 5″ wide strip of fabric about 1.5x the length of the cord. I ironed down a 3/8″ seam along the two long edges, and then I used hot glue to close the “seam” around the cord.


I’ll keep posting progress updates on Instagram and a weekly post here with more details! I’m looking forward to the next steps of this project, as well as enjoying the other participants’ posts. You can follow the whole event on the One Room Challenge website!
Julie AKA “Jewels”
Welcome to the Fall 2023 One Room Challenge! This is such a hectic time but also such a fun one, with lots of projects to do and explore and a great supportive community! In the spring, I decorated our entryway, … Continue reading

You know how much I love faux bamboo furniture! My collection includes these Chippendale chairs and this Thomasville dresser-turned-bar cabinet. When I recently acquired an older bookcase, which I chose for its solid wood construction and low price, I noticed … Continue reading

There are a few furniture painting projects that I’ve always wanted to do, like this mid-century dresser, or this faux bamboo bar cabinet. A big Chinese-style wedding armoire has been on my list, and my chance finally came! I found … Continue reading

I love the look of built-ins, and Ikea Hemnes furniture pieces make a great base for semi-DIY built-ins, because they are made of solid wood and have flush sides to line up neatly with each other. At our last house, … Continue reading
