My kids have so much in the way of toys and games – proving it is indeed possible to have too much of a good thing. Not only do I worry that this makes it hard for them to learn the true value of things, but the ubiquitous toys and trading cards simply make a mess in a house that is already cluttered, and when the boys start arguing over a toy, then I’ve really had it!
So, this post on “Less is More” at My Modern Asian Family blog really resonated with me. I’m sure a lot of us can relate to this mom’s frustration with kids’ clutter, including the little plastic bags of little plastic toys that accompany a lot of birthday parties.
Over the years, my friends and I have tried a variety of innovative alternatives to birthday gifts and to the treat/loot/goody bags that are given out as party favors. Quick summary: for parties, you can try having no gifts, gift exchanges, donations, or gift/donation hybrids; for treat bags and gifts, think of some truly useful items or ones that can be used up and not leave a little trail of plastic crumbs…
As for the parties, I’ve been lucky that my kids have always been receptive to these alternatives. I explain that their birthday party itself is a gift and that they will still get some presents from their grandparents and aunts and uncles, and I haven’t had any arguments so far. I try to rotate the ideas around – sometimes we’ll do a standard party with gifts, especially if it’s small; sometimes we’ll do an exchange, and I plan to try the donations soon.
No Gifts
We’ve thrown several parties where I simply asked for “no gifts, please.” This works, though only to an extent. I think we are all so accustomed to bringing a gift to a birthday party that some parents don’t notice the request and others just really want to bring something for the birthday boy. This is very kind, though I do worry that it might be awkward when some guests bring a gift and some do not. If you try this, I would recommend putting it in big bold print and really emphasize it, eg. “Please do not bring a birthday gift. Our children are already fortunate to have so much, we would like to spend this day focusing on the celebration, rather than gifts.” A little cheesy but also to the point, you could add: “Your presence is your present.”
Gift Exchange
This is a favorite idea at our house. We’ve done both book and puzzle exchanges, in which each guest brings an unwrapped book or puzzle and each child takes one home. This can substitute for both the birthday present as well as for the treat for guests. You can let the birthday boy or girl pick first, so he or she still feels special, and I always put a few extra books or puzzles in the pile, so there’s lots of choice and a little bonus for the birthday boy. I find the exchanges get more universal uptake than simply requesting “no gifts,” because the parents all feel like they brought something. Another great thing about this idea is that a book or puzzle makes a more substantial and useful treat to take home, without breaking the bank for the party host… Though admittedly I have a lot fun with the treats and sometimes still do them.

Instead of birthday gifts and party favors, do a book exchange!
Donations
We have some friends who have done a wonderful job throwing “pay it forward”-themed birthdays for their daughter. One year, they collected change in a jar to donate to charity; other years, they have collected canned goods for a food bank. Again, I think this satisfies people’s sentiment that they want to bring something to a party, and what a wonderful lesson for all the children! I’m ready to try this idea with the older boys, now that they are at an age where they can appreciate the concept.
Gift/Donation Hybrid
My friend Betsy co-founded this clever organization called Clover by Clover. You should check them out for the details, but the idea is that your child can pick a charity and a single gift. Then, people donate to a fund, and the money will be divided between the gift and the charity your child picked. What a good way to make your birthday child feel like they got a special gift while also teaching about the value of sharing.
Innovative Gifts to Give
No doubt, the kids love toys and gadgets, and I’m happy to indulge that for a special occasion. For those times I’ve felt like doing something different, here are some non-toy options that will still be fun for the kids:
- Magazine subscription – There are lots of fun kids magazines that could be suited to a child’s interest, and we know kids love getting mail with their name on it. Some titles they might enjoy are Ranger Rick from the National Wildlife Foundation or American Girl magazine.
- Adopt an animal – Almost every child has a favorite animal, and you can find an organization that helps these animals and make a donation on their behalf. Many have “adoption” programs where you’ll get a certificate and maybe some information about the animal and a small toy. Some examples are the World Wildlife Fund and the San Francisco Zoo.
Inspirations for Treat Bags
Into each birthday party, some plastic junk must fall, but I do try to minimize it. Here are some examples of great small gifts we’ve given or gotten at kids’ parties. My favorites are items that are can either be used for a long time or consumed right away, so all my mommy friends will not be left with an unpleasant birthday aftermath.
Ideas for enduring party favors:
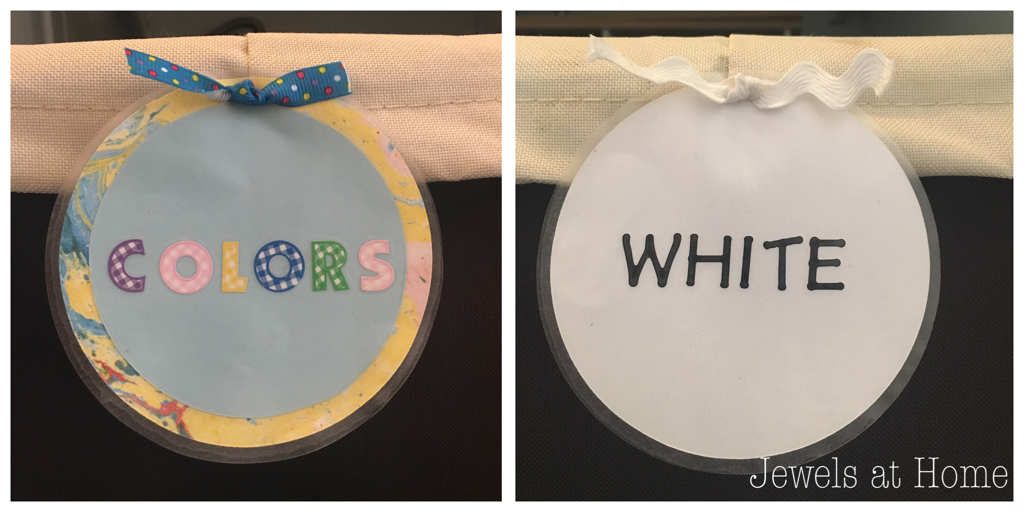
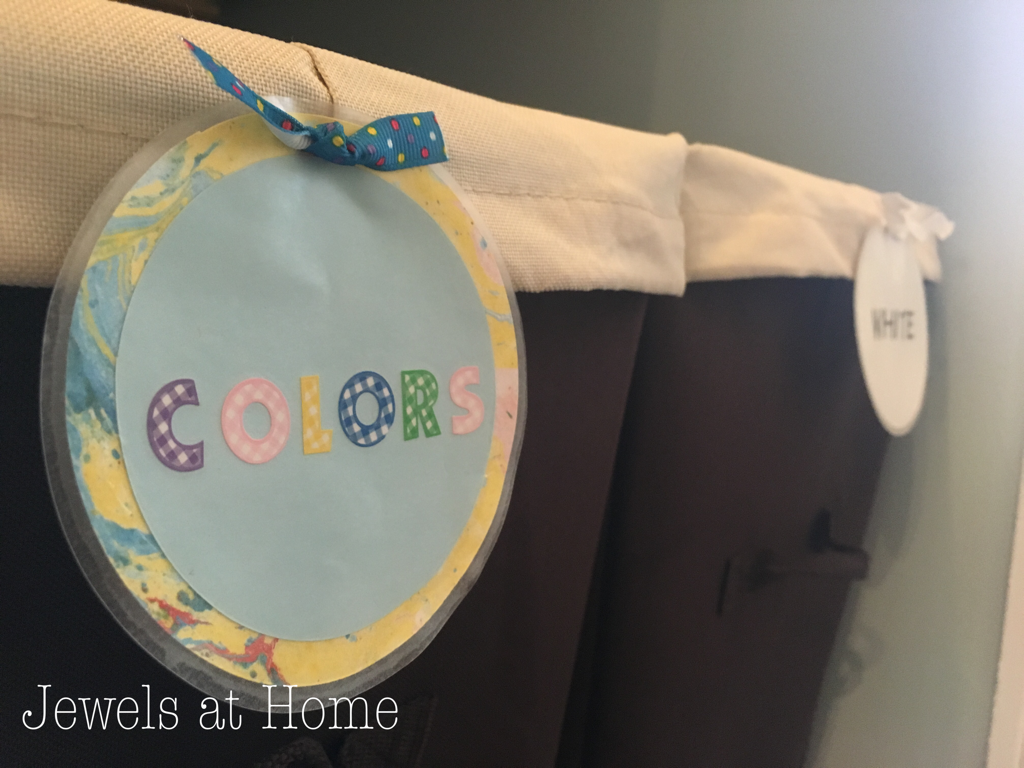
- Cloth bags – I’ve decorated these cotton canvas drawstring bags/backpacks for several of our parties, and I know people often use them for taking toys on a trip or to a restaurant. I add an iron-on appliqué to fit the theme of the party and write each child’s name in puffy fabric paint. Kids love seeing their names on things! We’ve also received some of the larger tote bags from parties, and we reuse those for groceries or bringing toys to the beach.
- High quality toys and books – I usually pick just one or two high quality things to give away rather than a lot of smaller items. Examples are the small paperback books, which I have sometimes found in the Target dollar zone, or the wooden-handled skipping rope I gave away at our Pioneer-themed birthday party.

Decorate cloth bags for a birthday party favor that can be put to good use.
Ideas for party favors that won’t linger and clutter
- Healthy snacks – dried fruit or healthier types of crackers and cookies can make a nice addition to a treat bag. For our bug-themed party, I made these cute butterfly snack bags to go with the theme of the party. We also did a book exchange at that party.
- Stickers or art supplies – these almost always get used up, at least at our house, so they make fun little gifts that won’t end up as immortal clutter in the toy bin.

Butterfly snack bags for a bug-themed birthday party.
So, for Modern Asian Mom and the rest of us drowning in clutter and tripping over small toys, go ahead and try some of these ideas for the next birthday party you give or attend.
Love,
“Jewels”

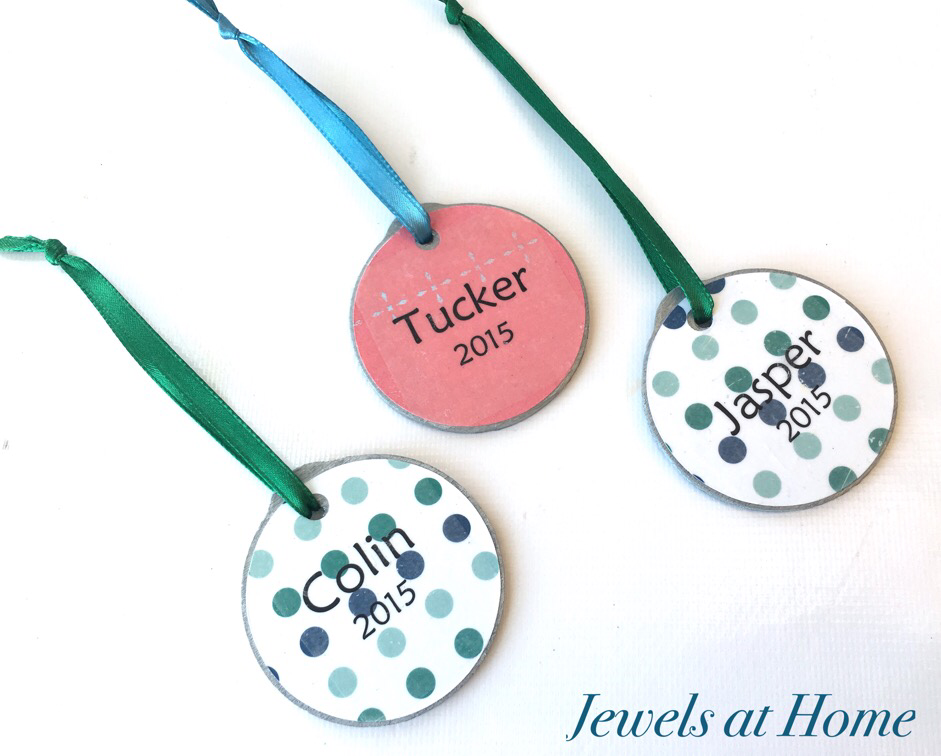
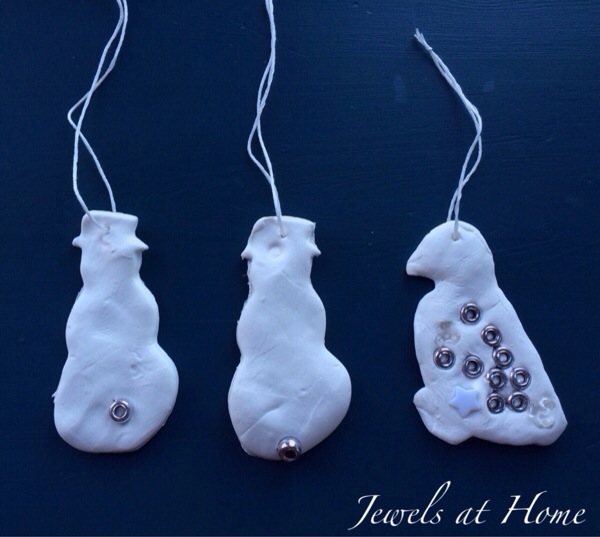
with silver craft paint. The center will be covered in paper.
and then stick them in craft paper and cut them out. I cut matching circles for the back.
to glue the paper to the ornaments
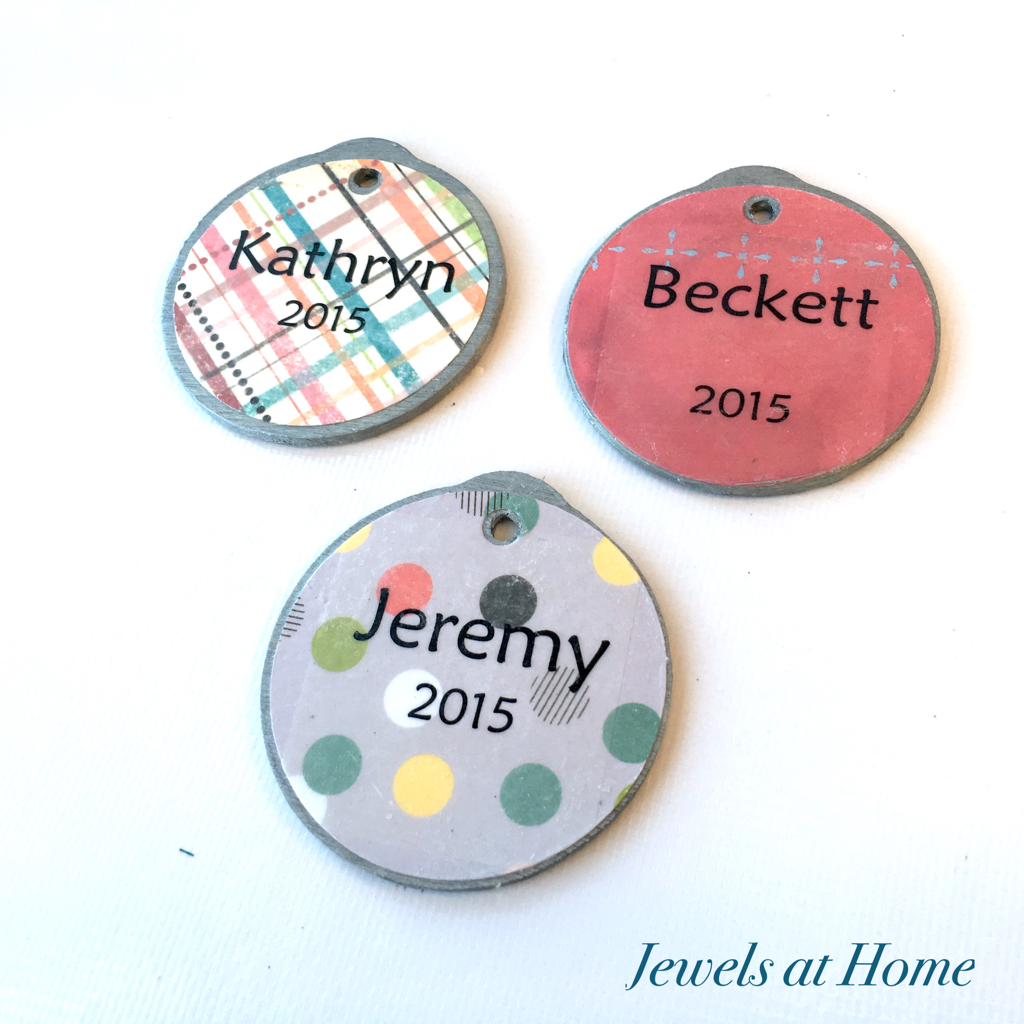
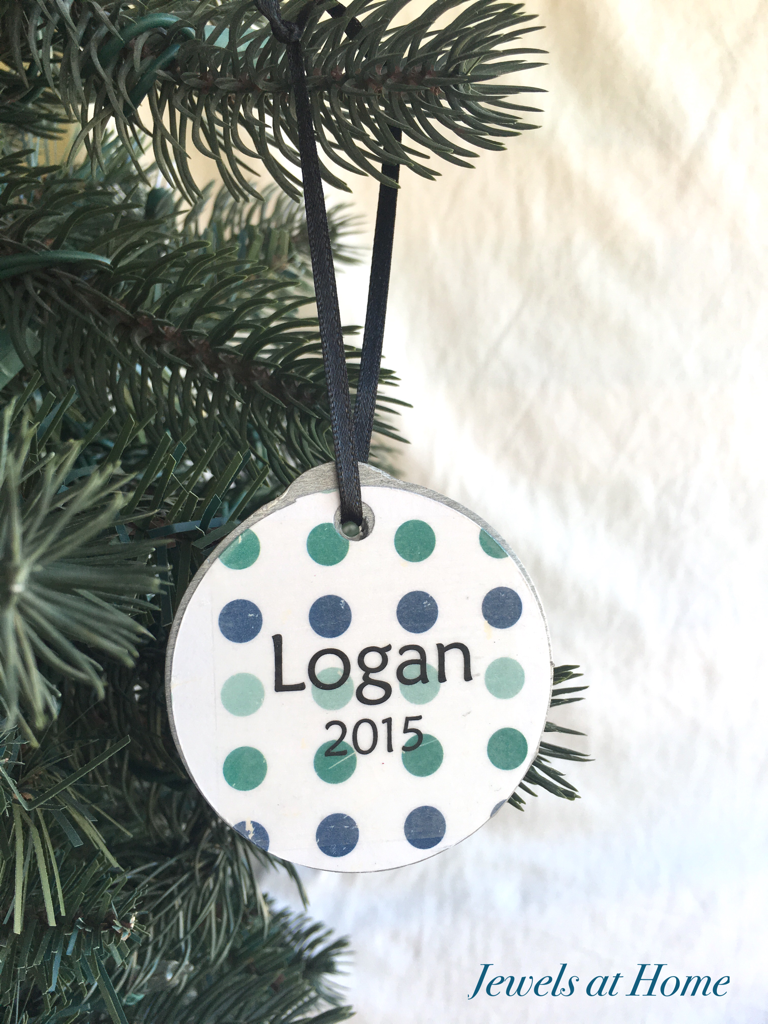
 To finish off, I added ribbons for hanging.