
My work family is getting ready to welcome the fourth baby this year! I decided to change it up from the rainbow scrap quilts, and I thought this Swiss cross pattern would be a great fit for Caitlin’s style. I … Continue reading
My work family is getting ready to welcome the fourth baby this year! I decided to change it up from the rainbow scrap quilts, and I thought this Swiss cross pattern would be a great fit for Caitlin’s style. I … Continue reading
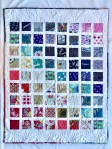
There’s a mini baby boom going on in my work family. For our last work baby boom, I made these “stacked coins” quilts. Looking for a new pattern, I adapted a rainbow sampler quilt pattern into a simpler rainbow scrap … Continue reading
As I started making bags this spring, I have learned so much from Anna Graham’s patterns. My first bag was her 2-4-1 tote, and next, I discovered the trail tote pattern! Following these patterns taught me a lot about bag- making, and it has allowed me to try some of my own patterns, like the origami bento bags 1, 2, and 3, and panel tote.

I made the small size of this pattern, and I omitted the exterior zipper pocket, partly because I wanted to really feature the fabric, and partly because I am intimidated by zippers – but I have a feeling, I will learn somewhere along this bag-making adventure! This pattern did inspire me to make my own piping for the first time, so I am not a total wimp!
This is a free pattern available on the Robert Kaufman Fabrics website. I made it in two versions – from a gorgeous turquoise vintage kimono and a bespoke version for my friend Stephanie, who loves cartoon birds – a perfect fit for this cute fabric I had collected years ago!


Happy trails!
Julie aka “Jewels”

Crafts are definitely calming for me, and this extra time at home has been devoted to learning to make purses and tote bags. I started with the Noodlehead 2-4-1 tote by Anna Graham, followed by her Trail Tote. With some … Continue reading

I know I am not the only one who has taken up more biking during this pandemic. Lucas is now my height or a smidgen taller, so he has been riding my old bike, and I decided to take the … Continue reading

I thought my bag-making mania might be slowing down after three Noodlehead 2-4-1 totes, four Noodlehead Trail Totes, origami bags versions 1, 2, and 3, a panel tote, and a foldover bag, but then I discovered the completely adorable ring … Continue reading
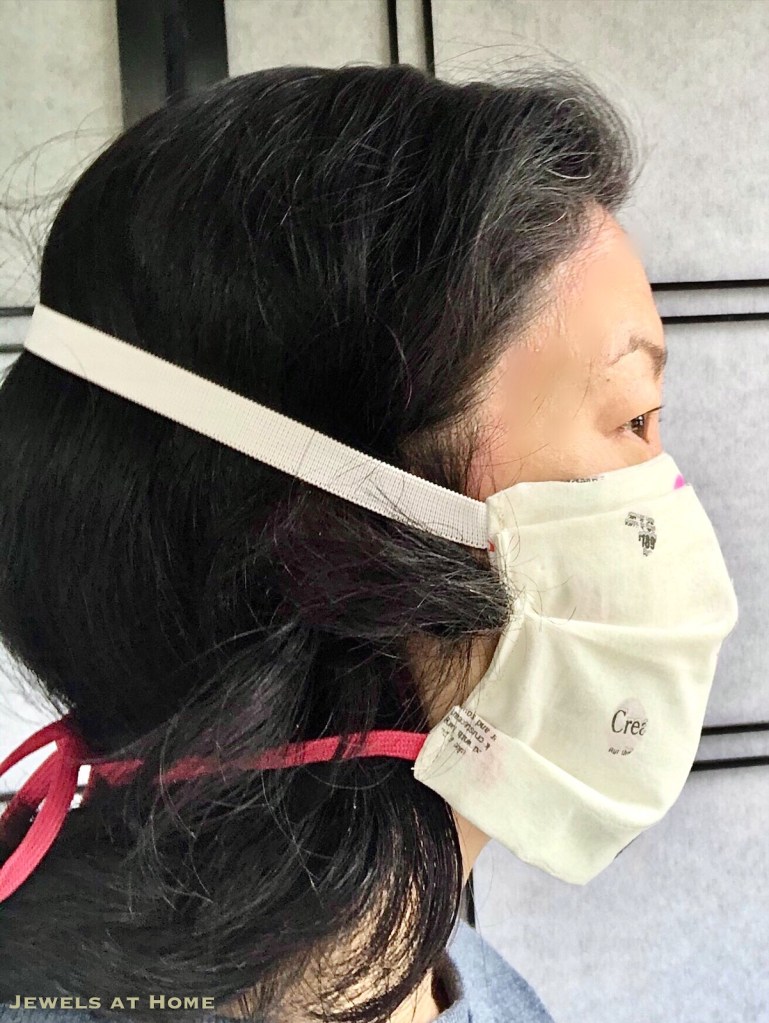
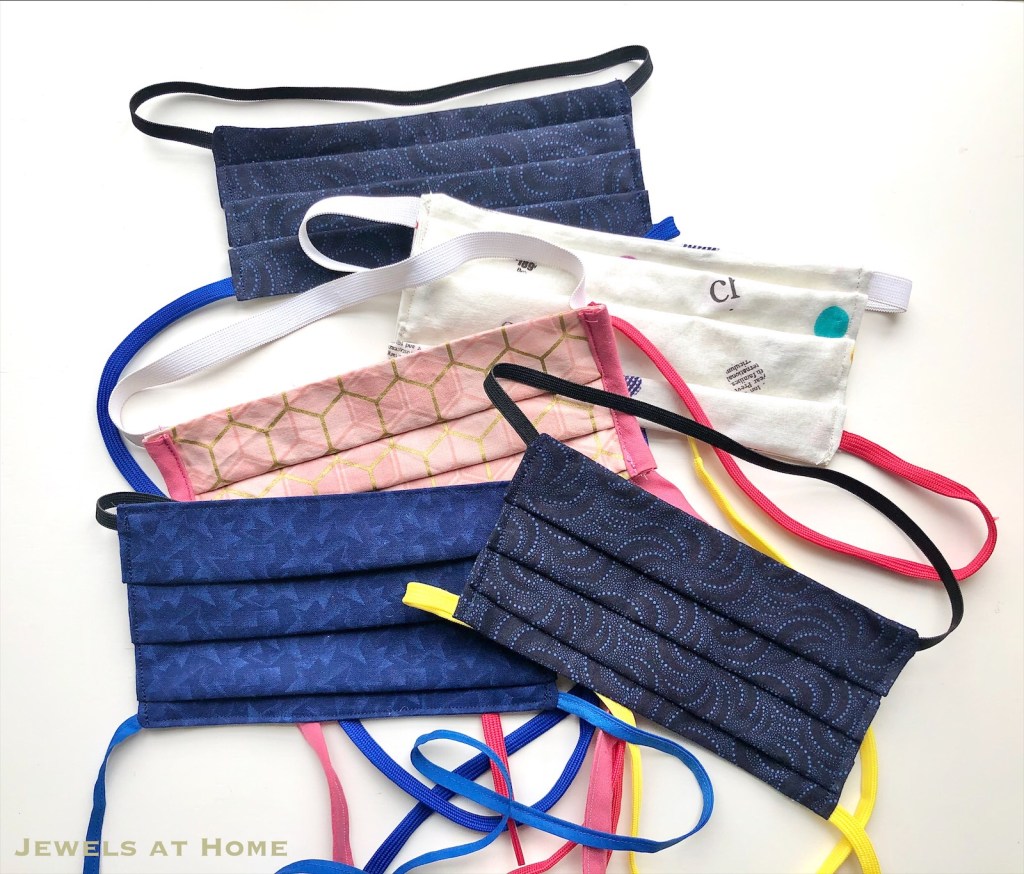
Mixed feelings seem to be the norm these days, so – I am both sad that we need to wear face masks, and happy that I can make them. Now that I have tried a few different variations, it’s gotten pretty quick and easy to put these masks together. They are a satisfying way to use small scraps of fabric, and several have been going out by mail or on the doorstep to my friends. I’ve gotten some lovely chocolate treats in return – it’s a great feeling, when people know you so well!
The original mask pattern I made is in a prior post. Now, I have made a few updates that I think make it more comfortable (nose dart) and practical (opening at the bottom, if you want to add additional filter material).


Here’s how I wear these masks and some of the fun fabric and color combinations I tried:


Hope that helps others who are sewing masks. Stay safe, friends!
Julie aka “Jewels”
As you may have noticed, my Shelter-in-Place theme is sewing bags. Up next is my first version of an origami bento tote. I found these fabrics in my mother’s stash, and I thought the origami cranes were perfect for an origami bag!

I’ve researched a ton of variations on these origami bento bags and look forward to experimenting with my own versions. There are two main techniques for these origami bento bags. One uses two overlapping triangles and the other uses a long folded rectangle. They look very similar when finished. This bag pattern was made with triangles, which results in a heavier bag, because the pieces are overlapping. I’ll try to put up a general post about the construction of these bags. I found it really helpful to make models of the pattern pieces with scrap paper, to see how they fit together and what direction the pattern would run.
This bag is built from triangles, so the dimensions come out somewhat unexpected. Here’s what I learned from making three different sizes:
Here what you will need:
Prepare the pattern pieces:


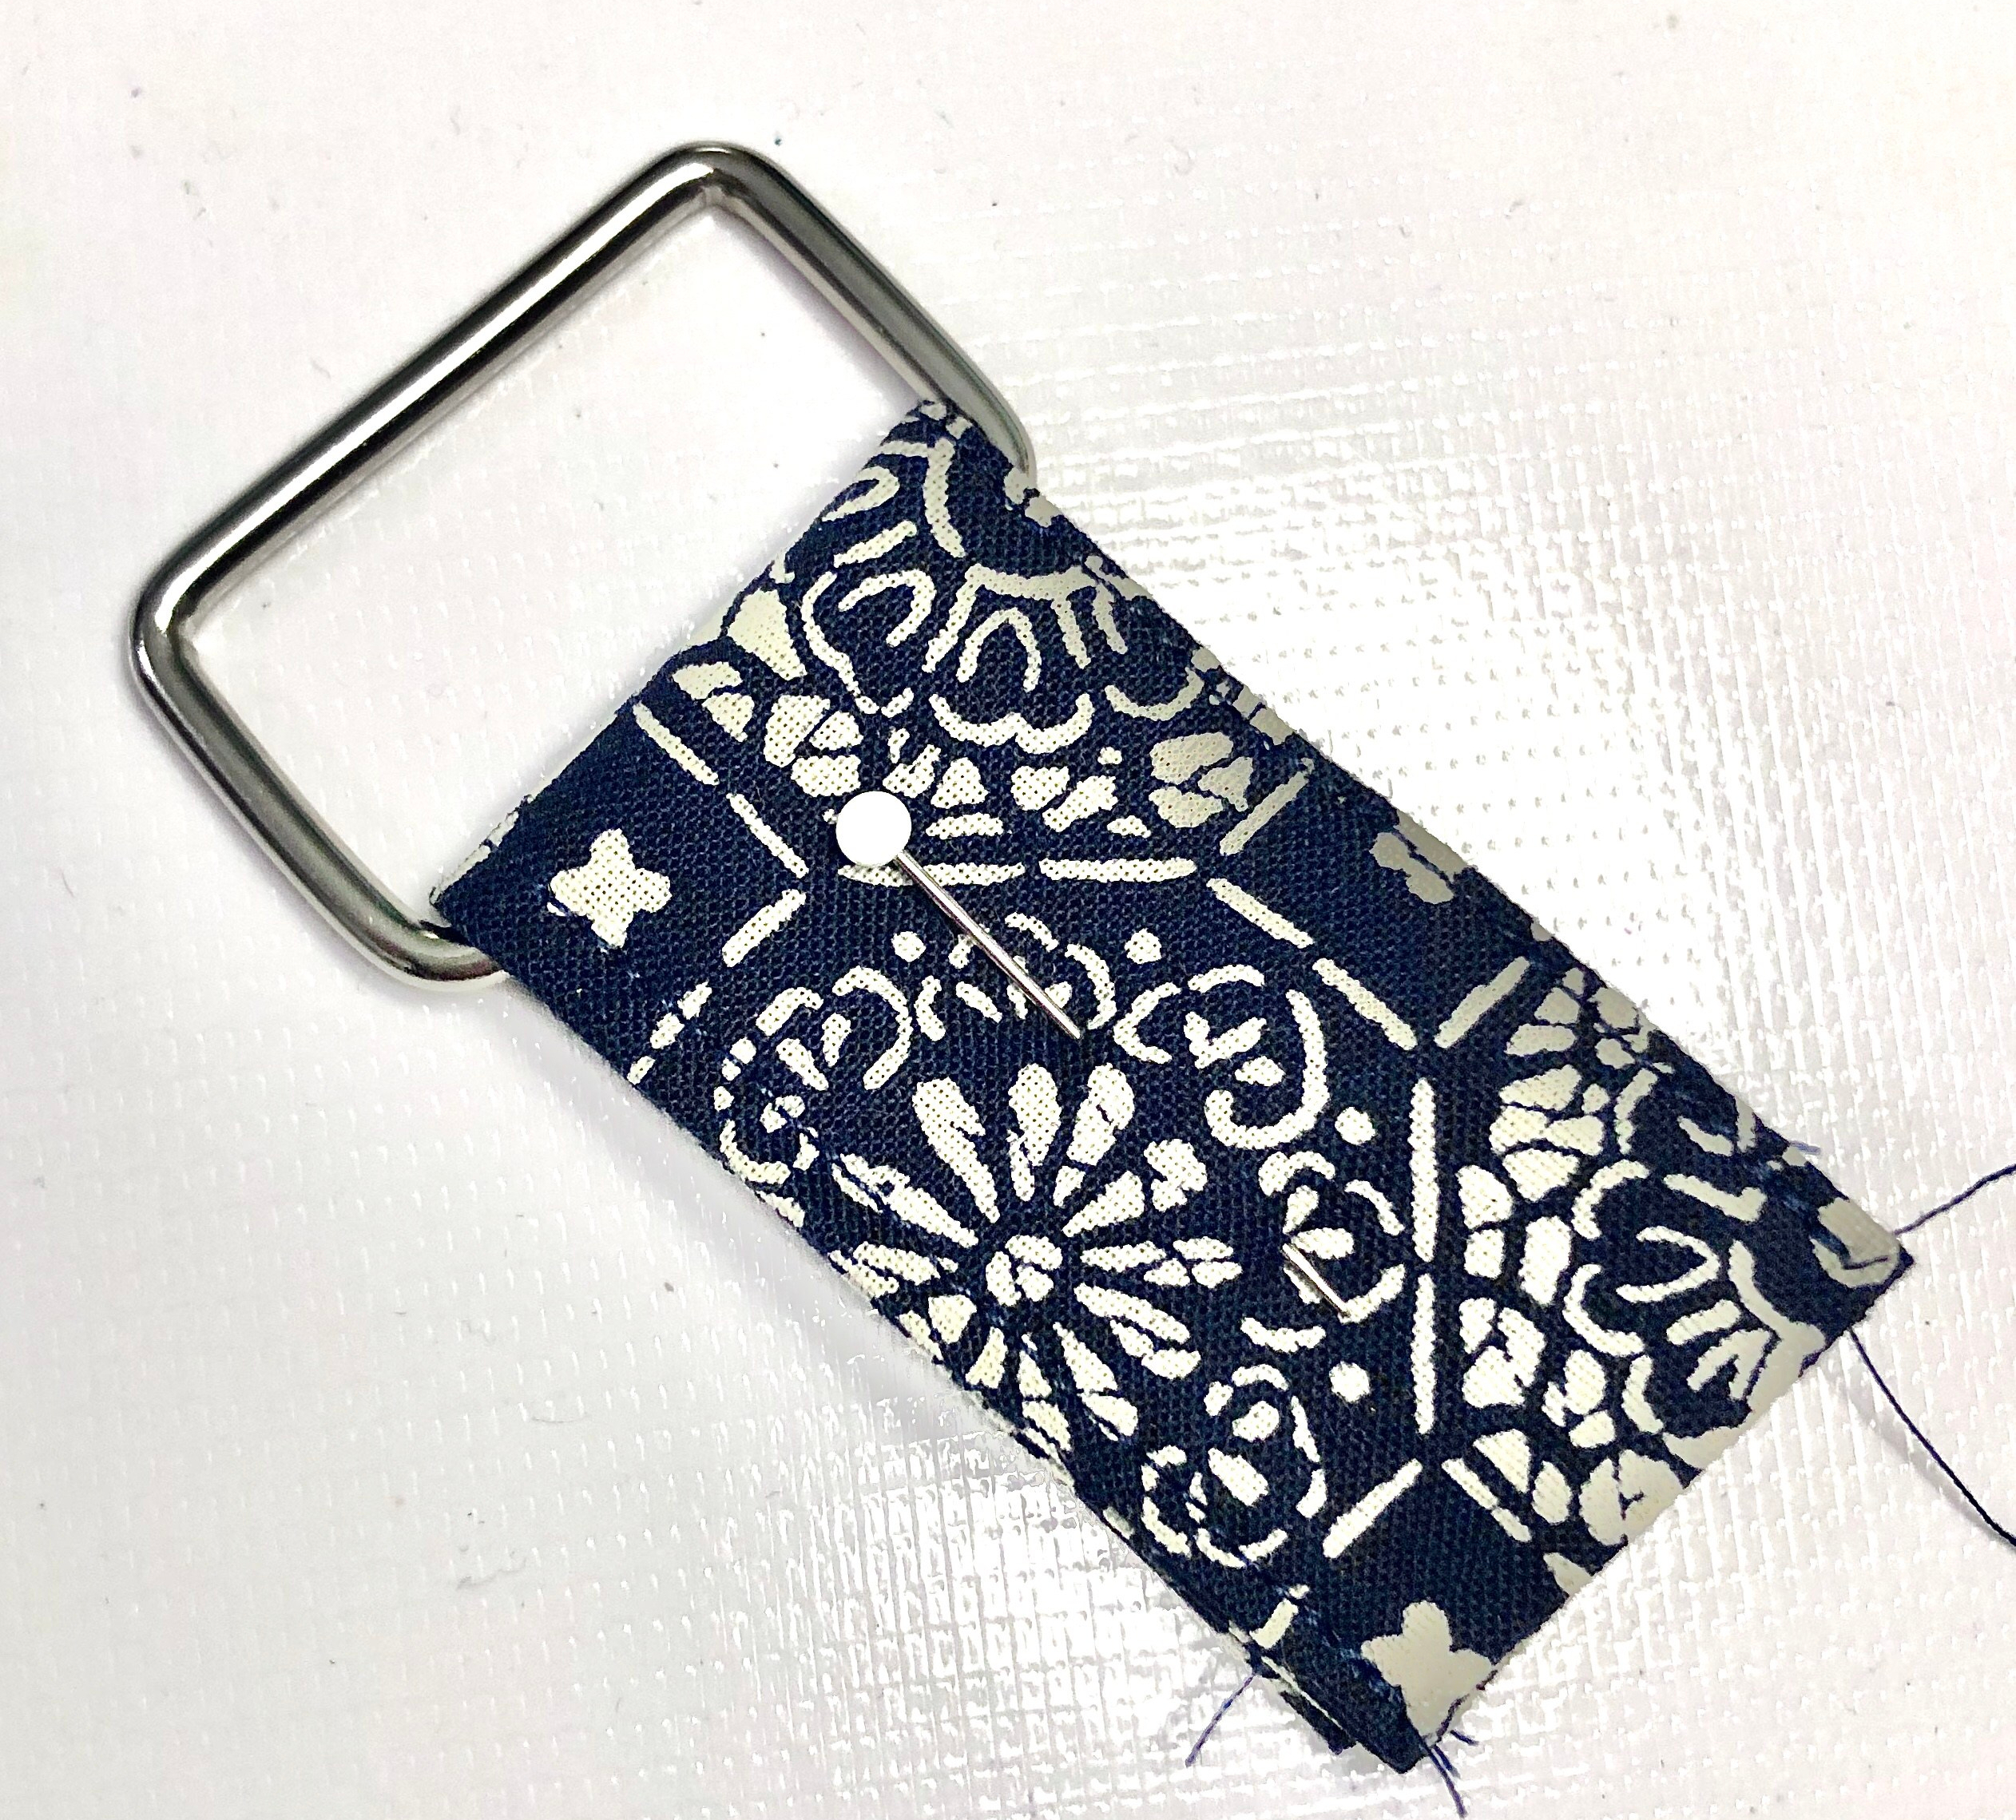
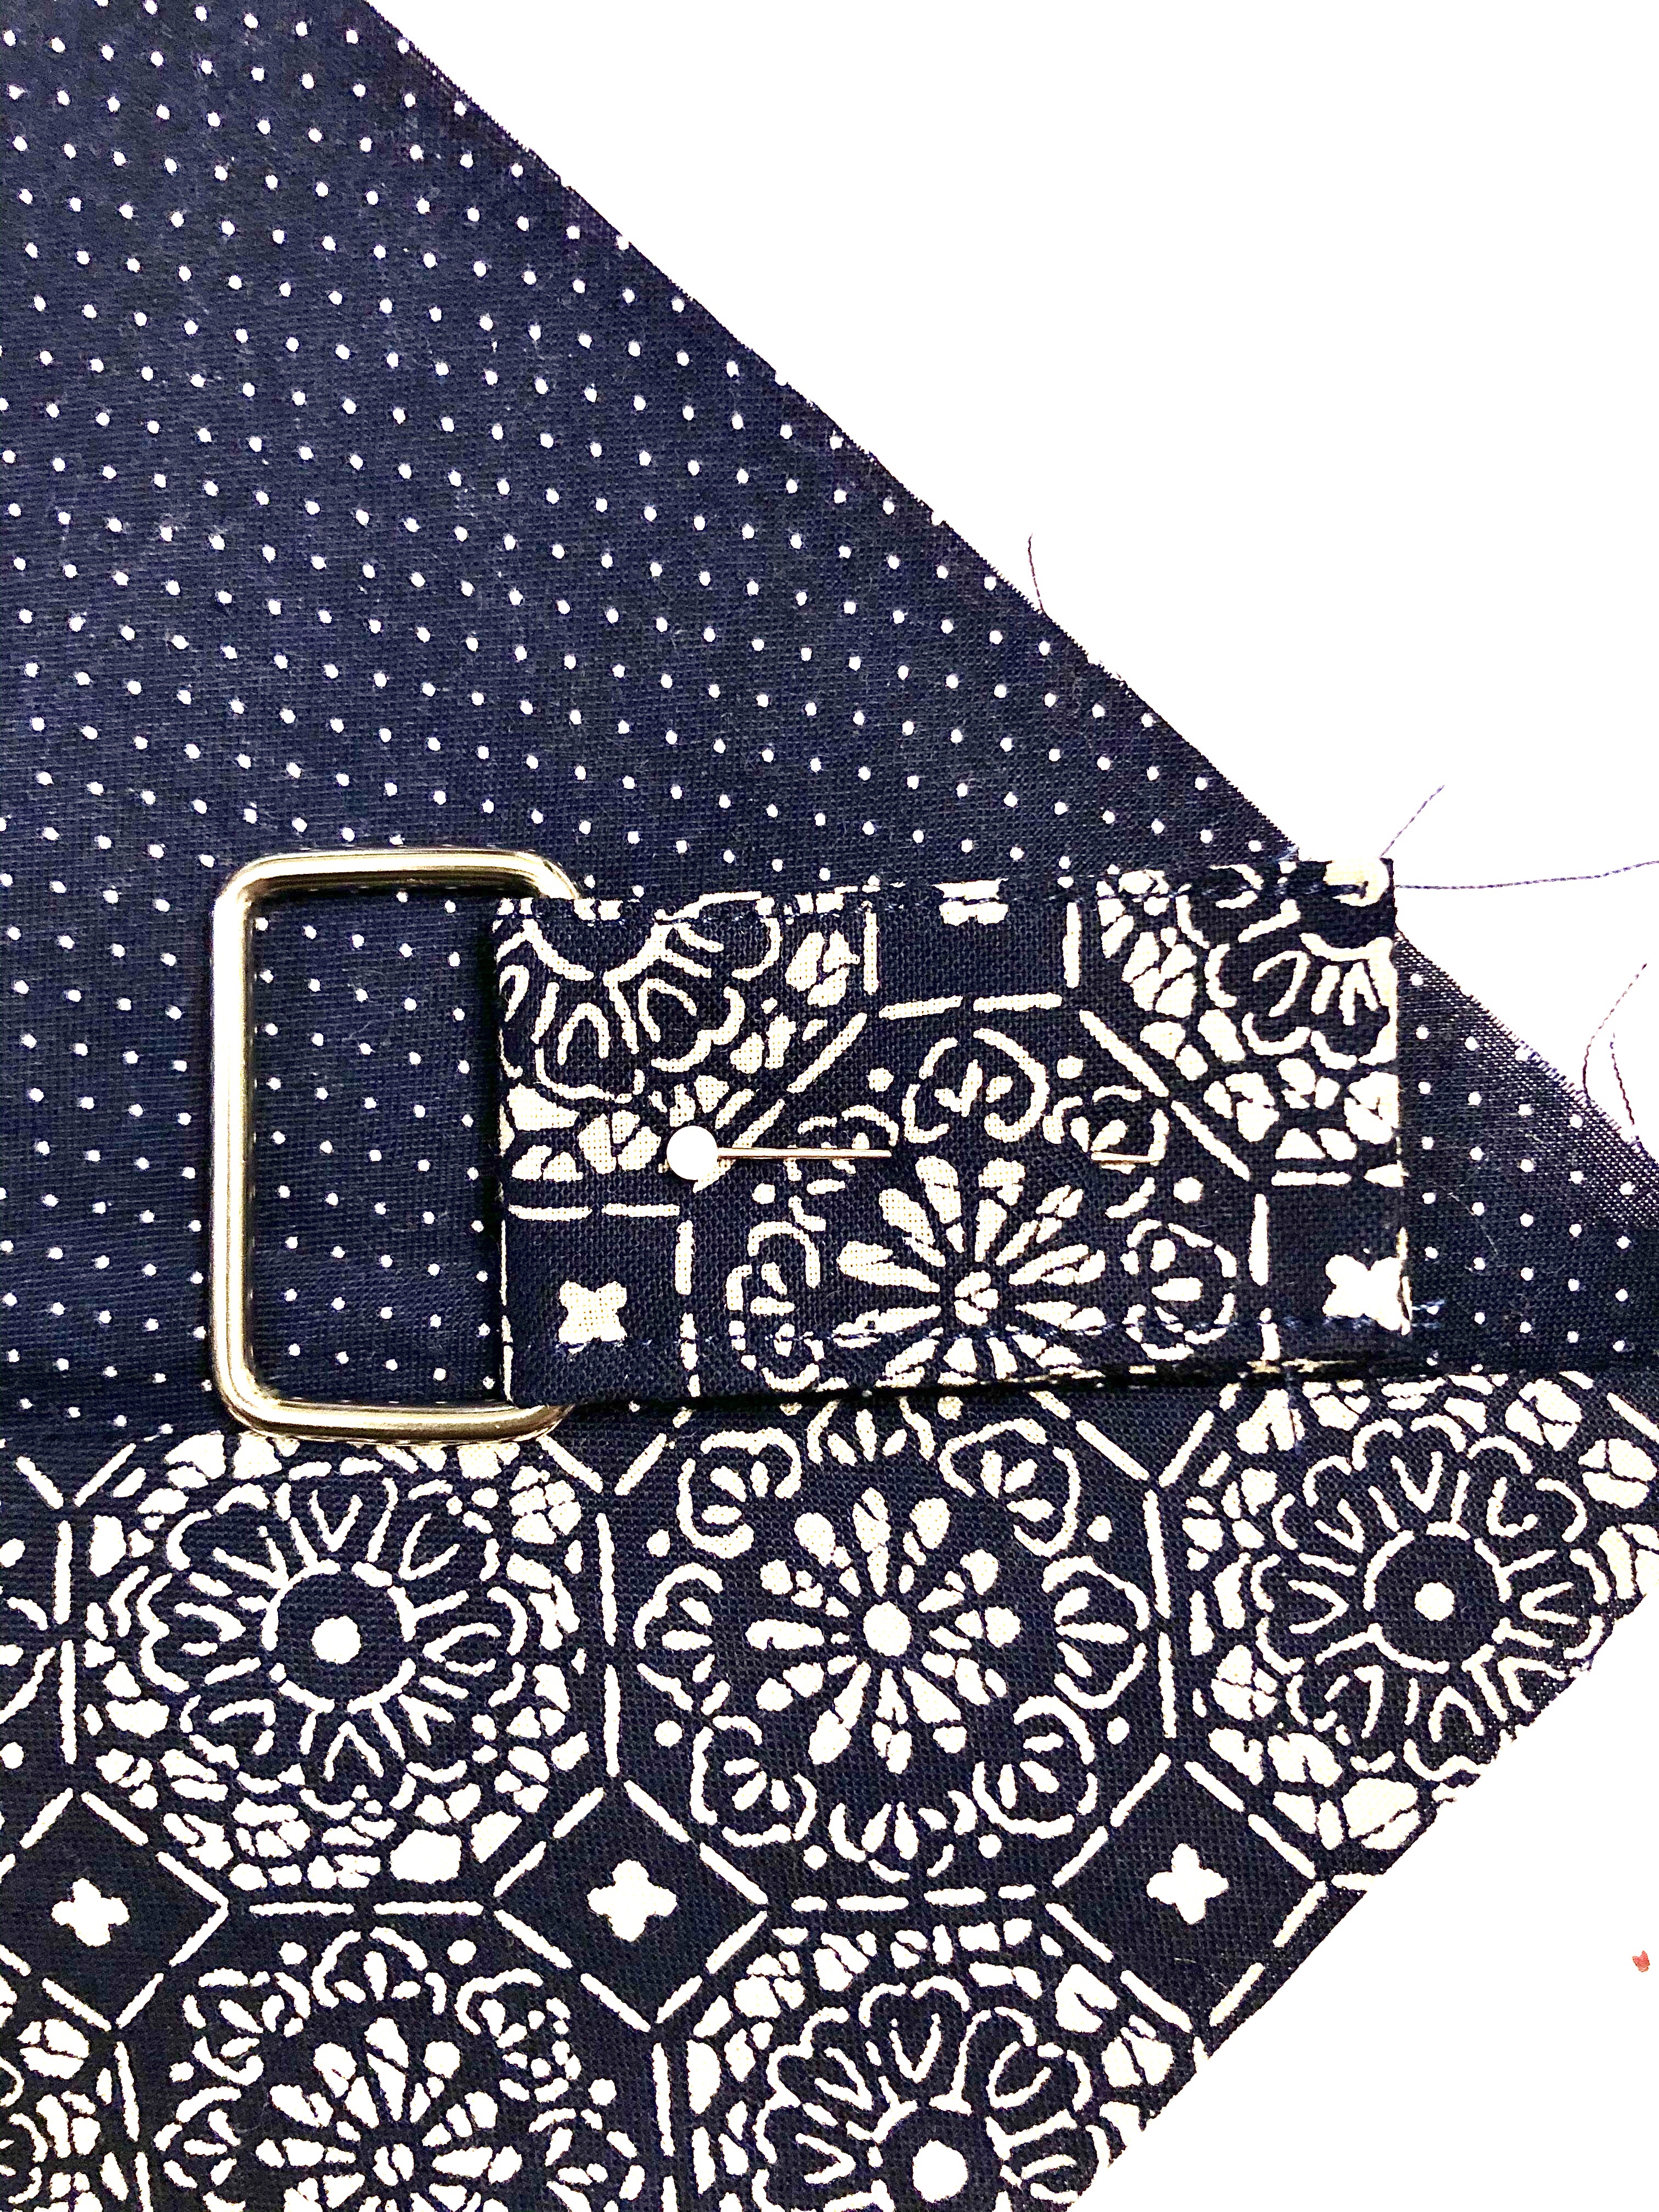
Make the strap:
Make the body of the bag:


And here’s the finished bag! So I can wear it around the house!


Stay safe, and happy sewing!
Julie aka “Jewels”
While we’re staying home to “Shelter in Place” and slow the spread of the novel coronavirus, I’m trying out sewing bags!
This is the lovely 2-4-1 tote by Anna Graham of Noodlehead. I made it with some leftover fabric from my favorite baby sling and a from my mother’s stash. I’m looking forward to trying it out with more variations!


The pocket and magnetic snap make me happy!

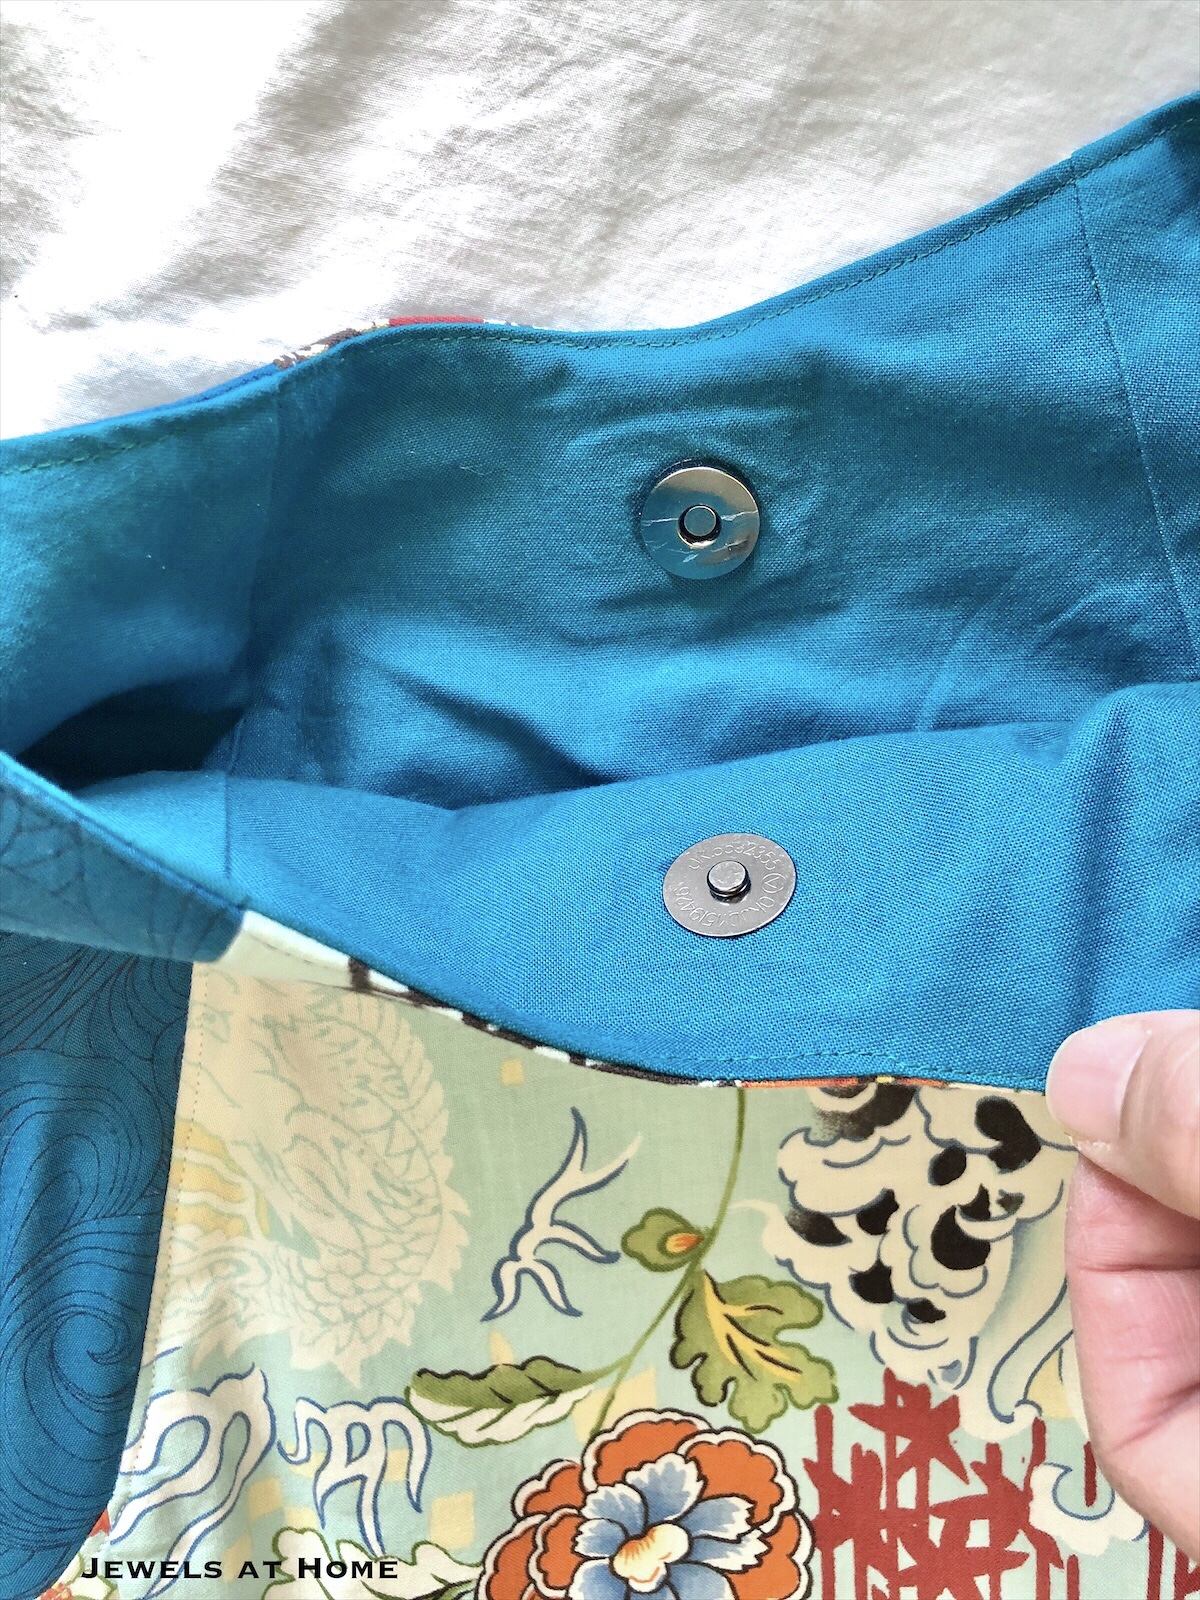
It feels a bit funny to be sewing purses while we’re barely leaving the house, but it’s making me happy!

More purses to come!
Julie aka “Jewels”
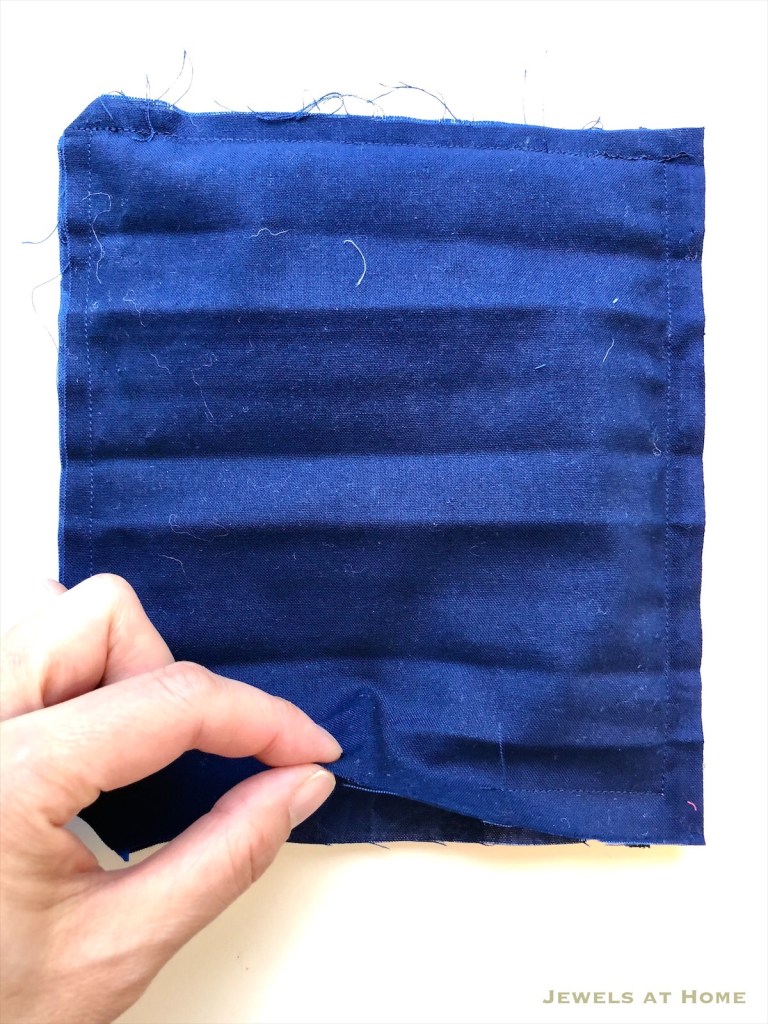
Sigh, with the novel coronavirus circulating it’s a good idea to have face masks for the times when we go out to get groceries or meals. Some hospitals are also asking for donations of fabric masks. I tried a few different patterns and settled on my own version I’m sharing here.
The features I like about this mask are that it’s easy to make and comfortable to wear, as well as conserving elastic, which is hard to find these days.
Here’s what you’ll need:
Here’s how to make it:


Here’s how I wear these masks and some of the fun fabric and color combinations I tried:


Hope that helps others who are sewing masks. Stay safe, friends!
Julie aka “Jewels”
