I want each item in my home to be meaningful, and custom canvas art is a wonderful way to personalize a space. I’m sharing four custom canvas ideas that I’ve used in my home. This includes several original projects as … Continue reading
I want each item in my home to be meaningful, and custom canvas art is a wonderful way to personalize a space. I’m sharing four custom canvas ideas that I’ve used in my home. This includes several original projects as … Continue reading
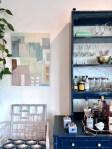
Remember when I told you that painting a vintage mid-century dresser was on my DIY bucket list? I love how that first project turned out. And then! When I was moving and definitely should not have been accumulating more stuff, I found something I couldn’t resist: a Thomasville faux bamboo bedroom set for free on Craigslist! This included a twin bed frame and a little desk and dresser. The desk had a bookcase hutch, which I put on top of the dresser to make a hutch/ bar for our dining room.

Here’s what you’ll need:
Here’s how to do it:


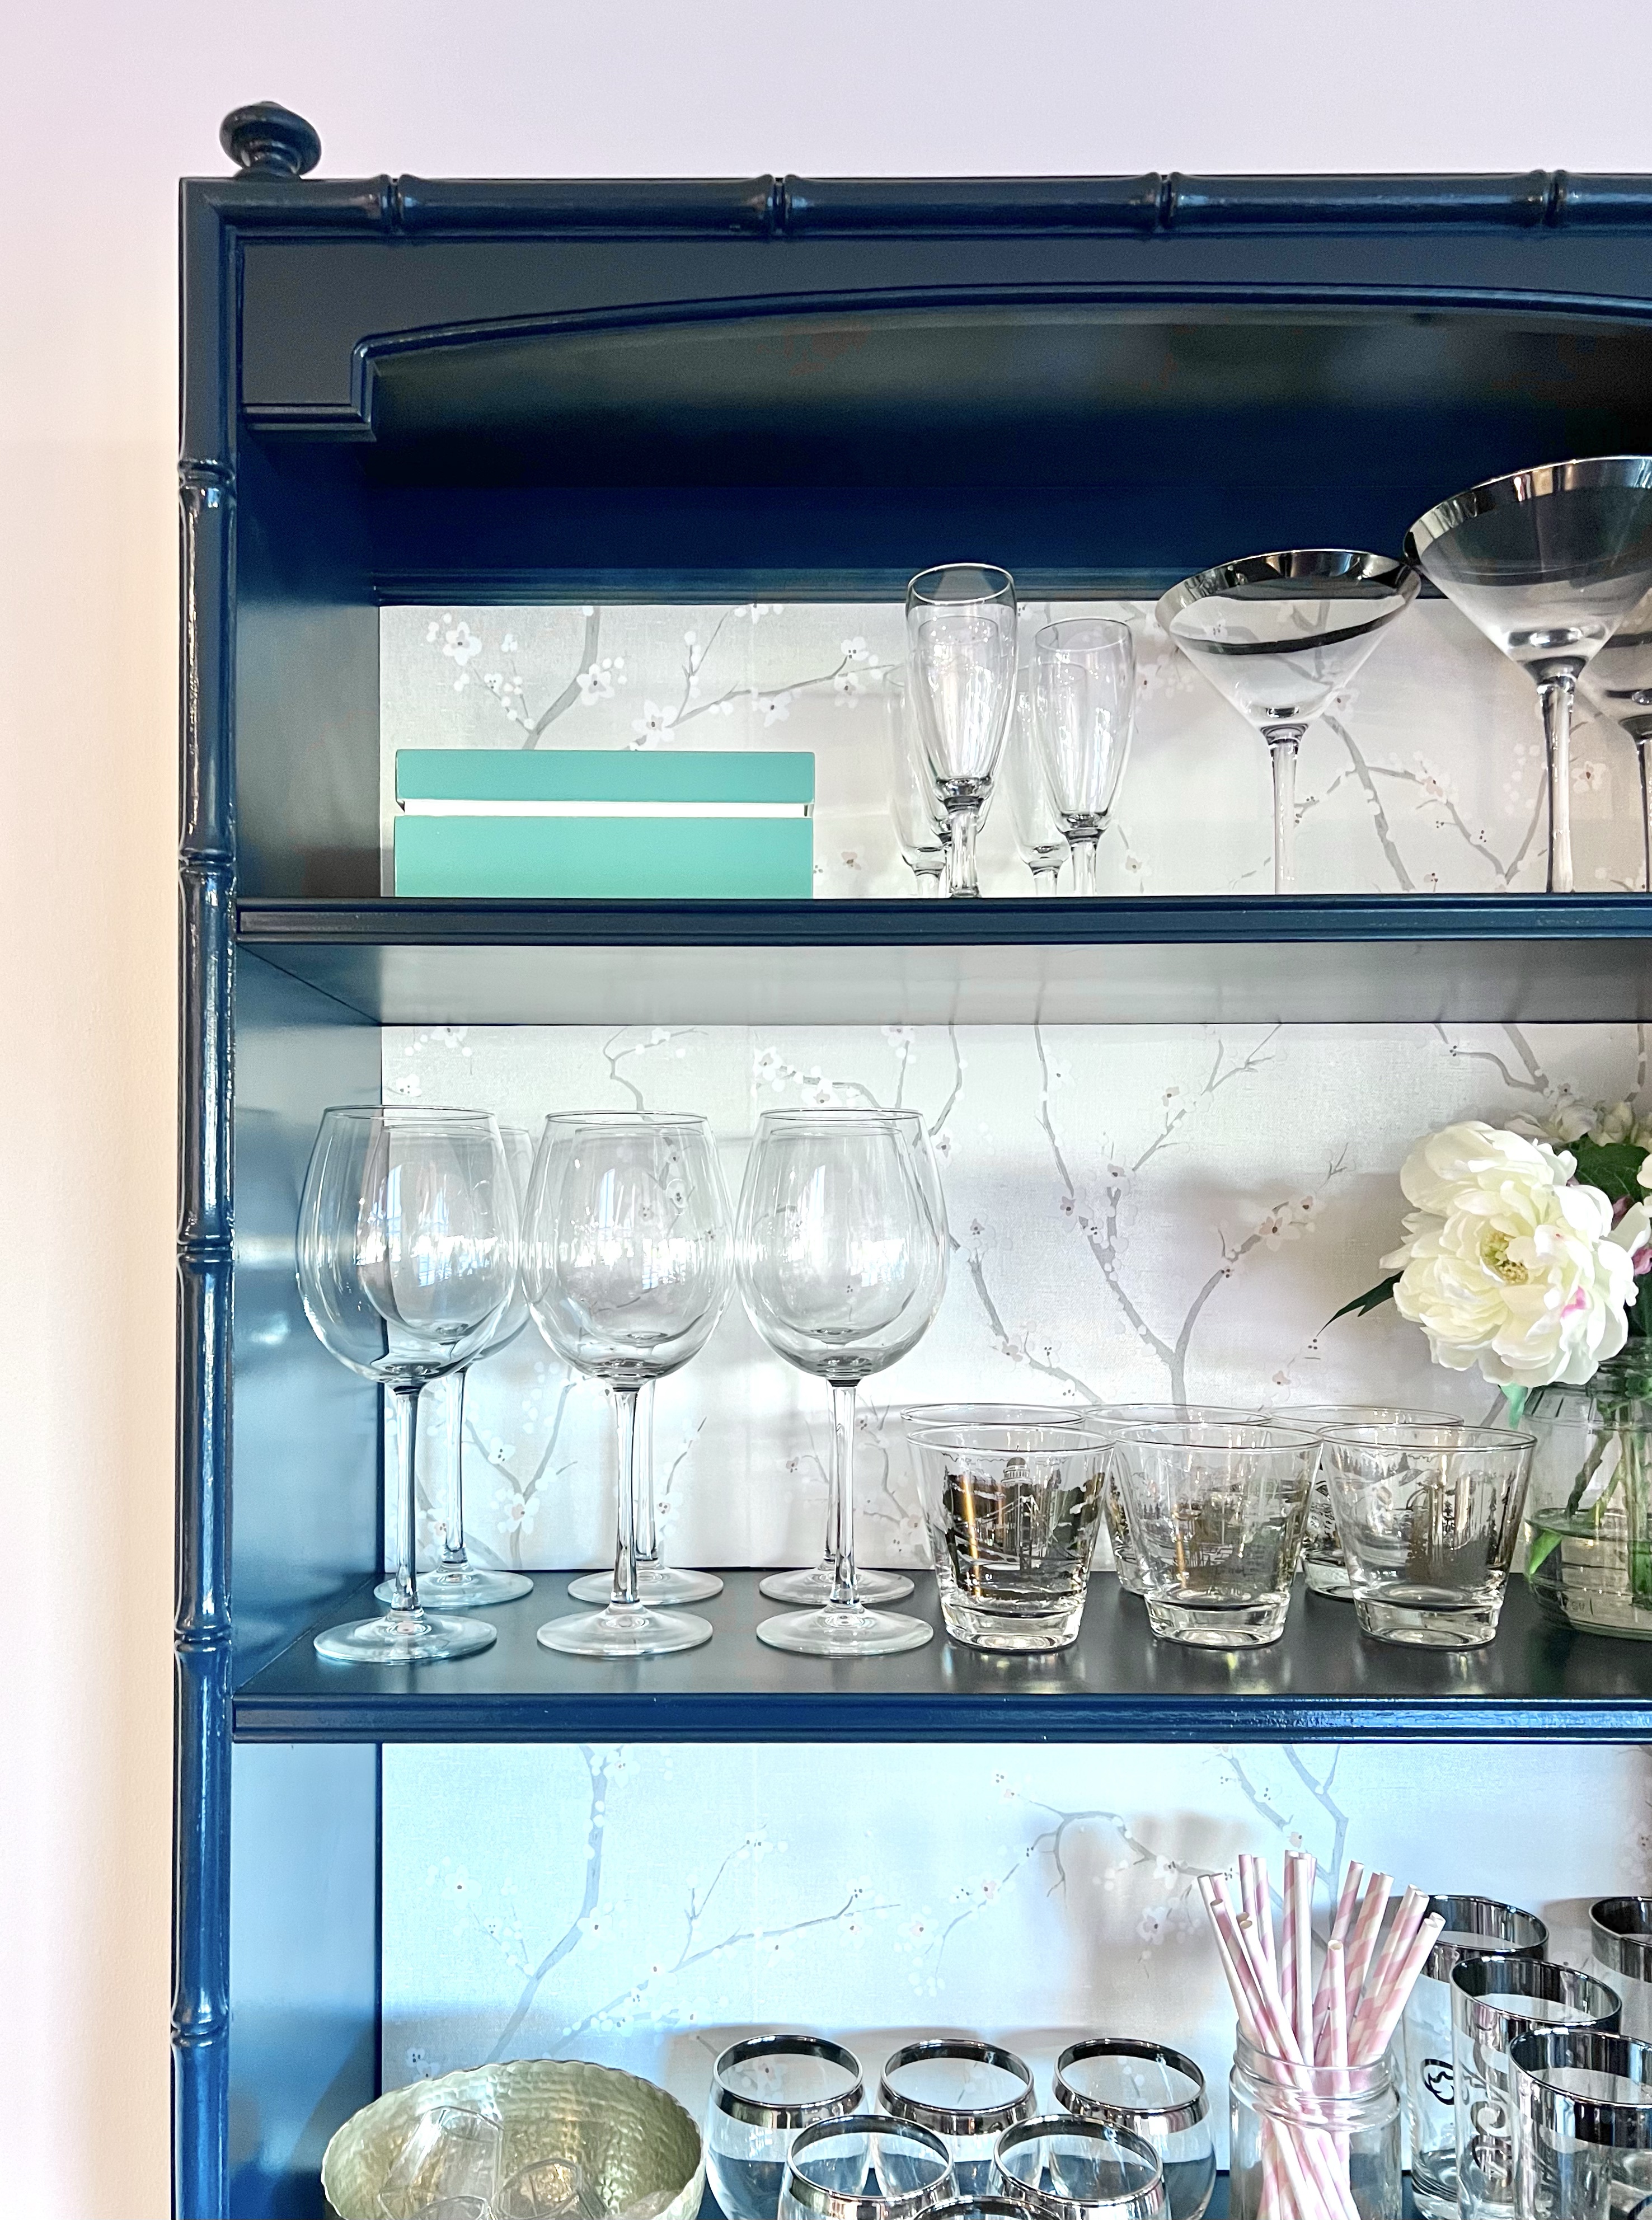
This new dining room bar is the perfect place to display our collection of vintage bar glasses. I collected them back when we threw a Mad Men party, and I still love them all!

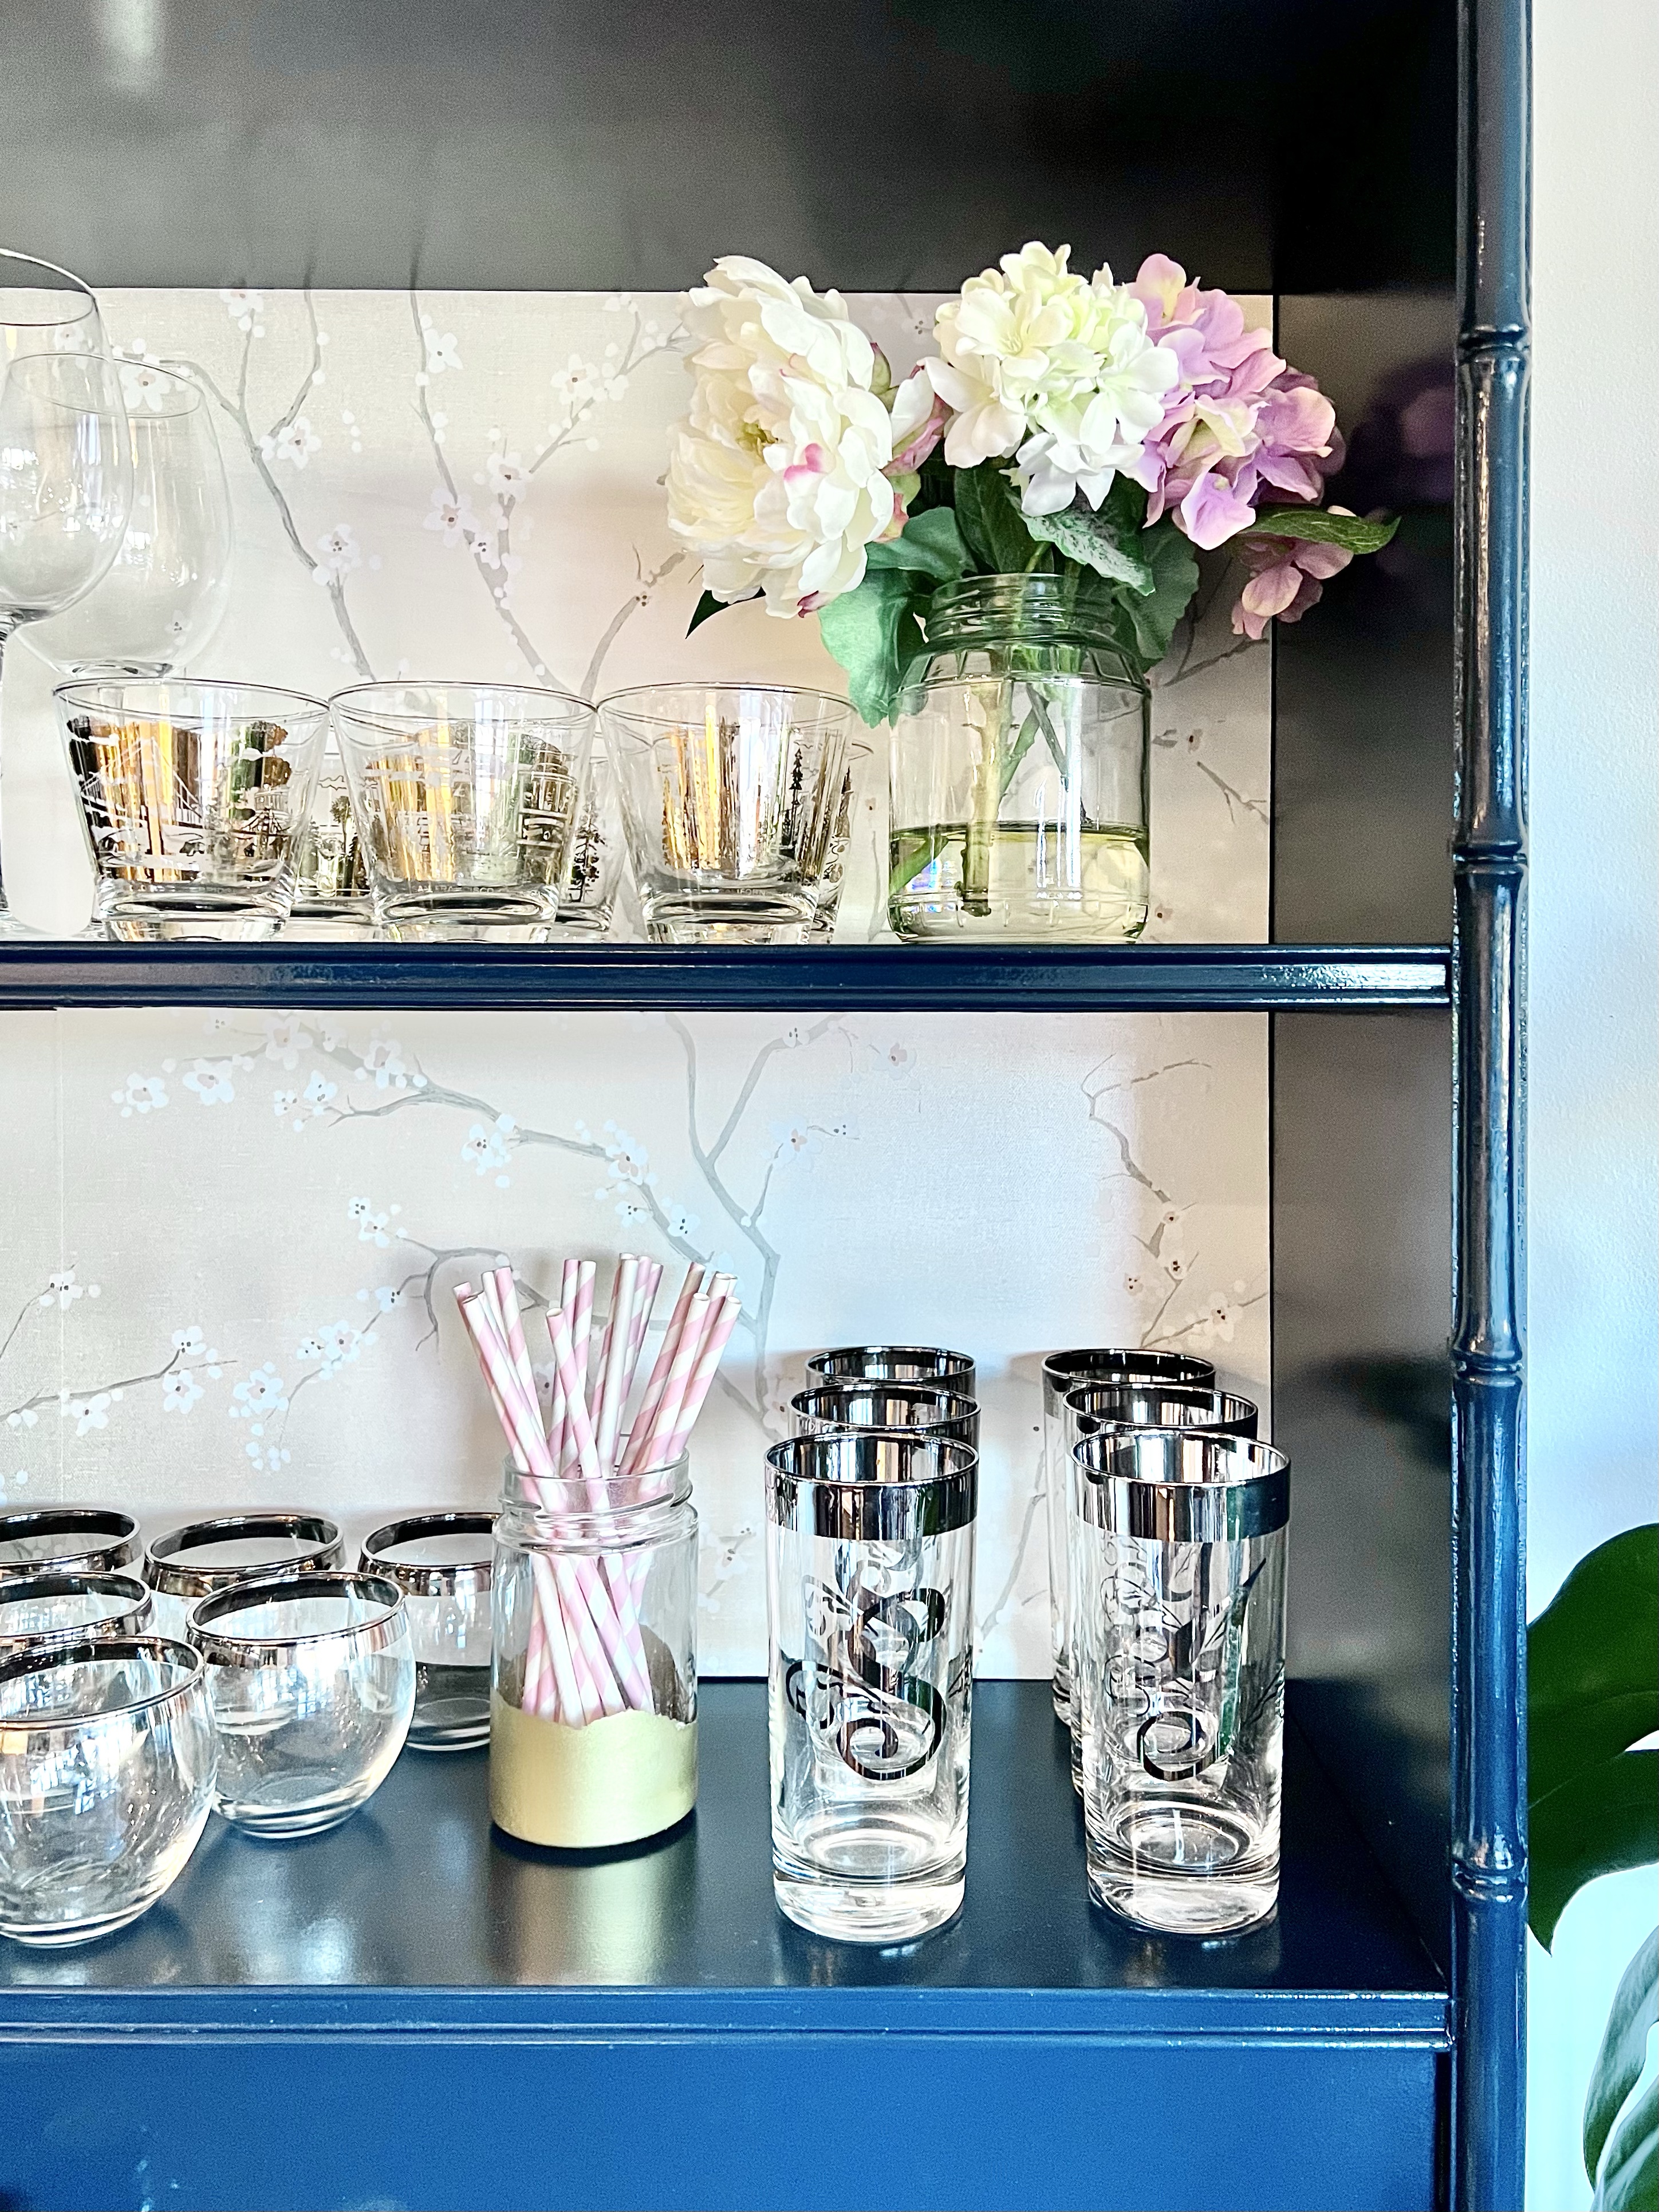


The days off for New Year’s allowed me to finish this project, so of course, I decorated for our at-home countdown to the New Year!


There is still the bed frame, a little corner desk, and some mirrors that came with the bedroom set. It was a silly indulgence to bring them all home, but I still hope to find a home for them some day somewhere!
Julie aka “Jewels”
My brain has a tendency to look at furniture and think, “What else could this be?” Our family has been on a journey this past year – we wanted to move houses, and logistically, it worked best for us to … Continue reading
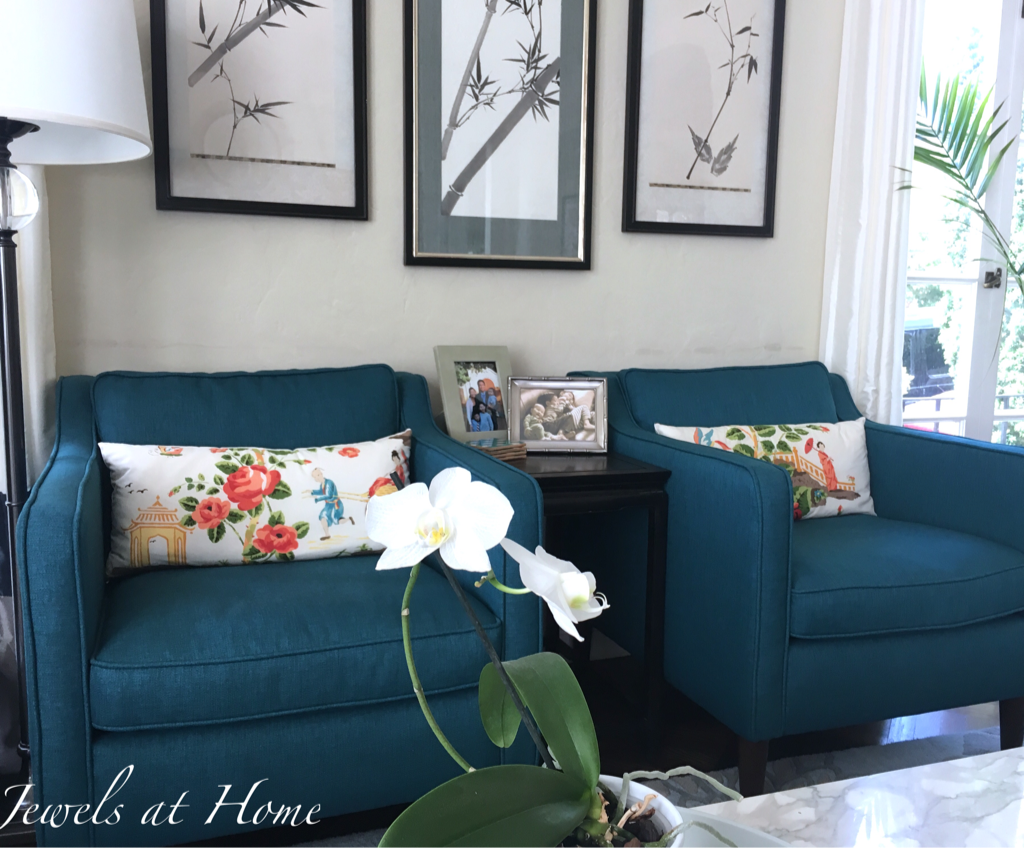
Our living room has evolved over the years. Here’s a look at some of our latest additions, including the color block drapes and these pretty turquoise chairs from Article (formerly Bryght). I have to admit I was pretty nervous when the intense color showed up in my living room, but I am so glad I took a risk!


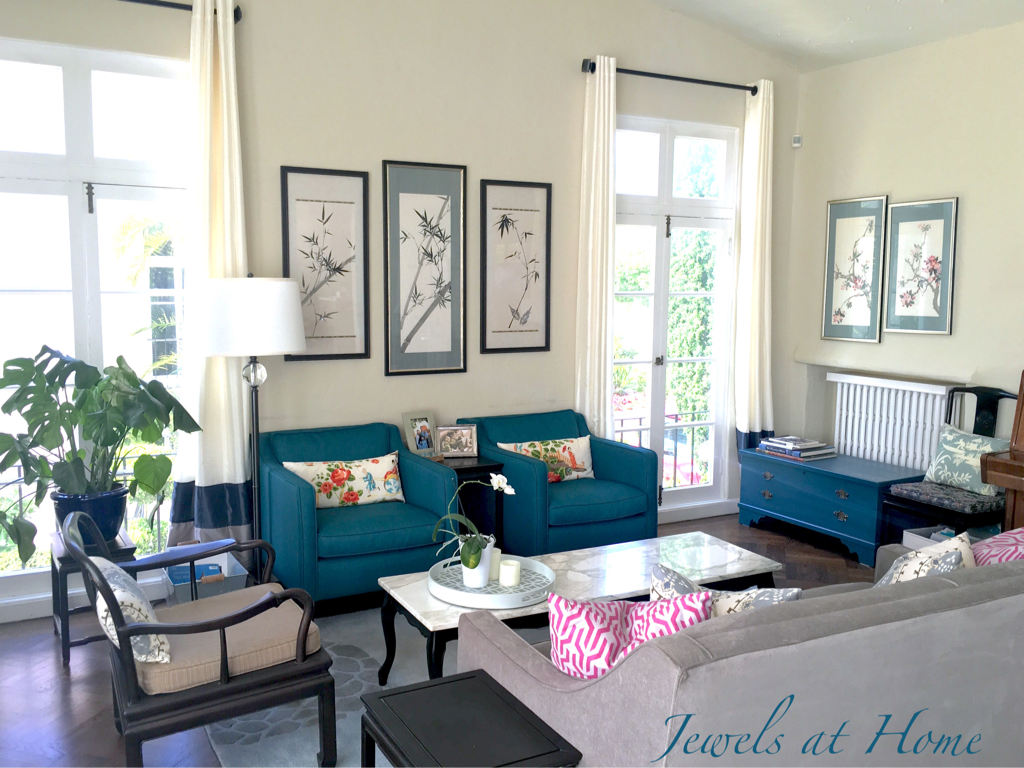
Over on the other side of the room, I have a little bar set up next to the dining area:
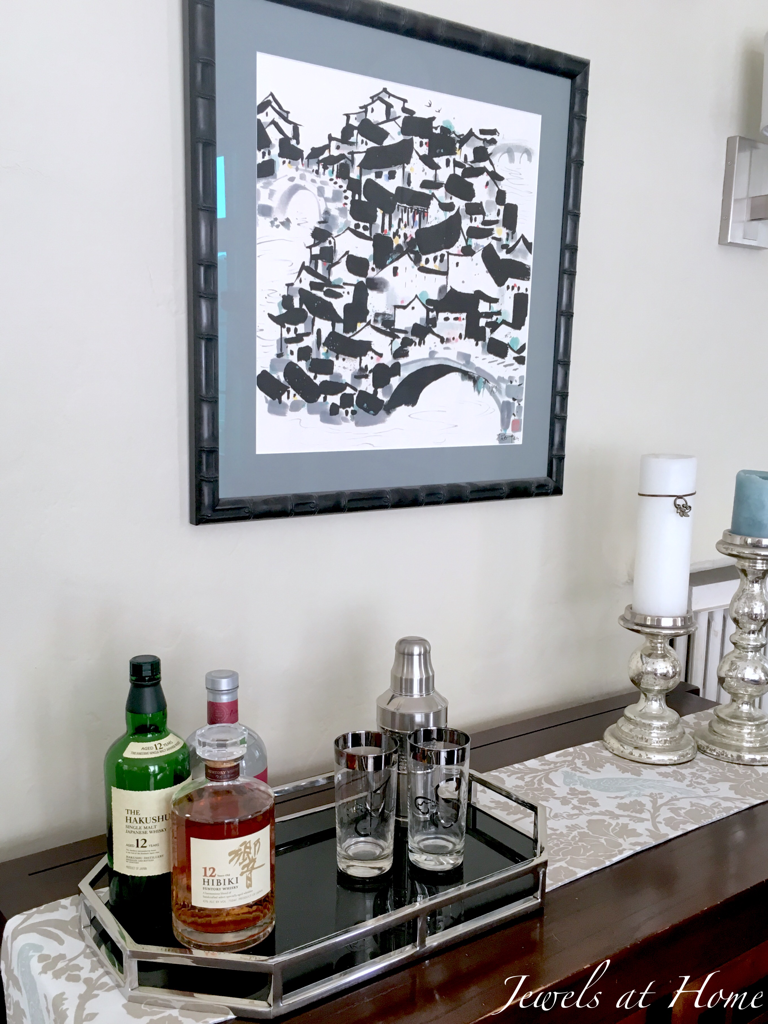
I recently moved this painted Chinese screen over the bar area when I was rearranging our art. I really like how it brings the eye up and emphasizes the tall ceilings.
And here are two paintings by my mom that I recently added to the living room. These remind me of De Gournay wallpapers and add an authentic bit of Chinoiserie to our home.

Hope you enjoyed the details in our living room!
“Jewels”
