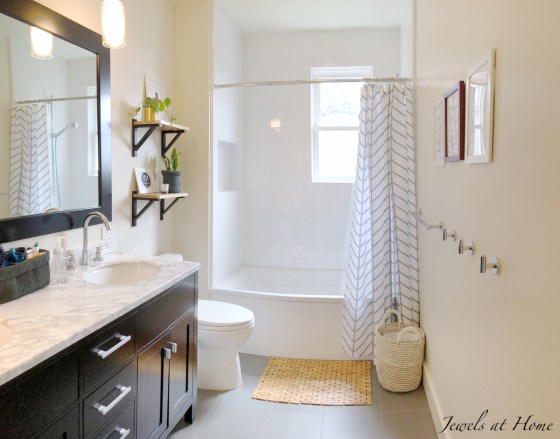
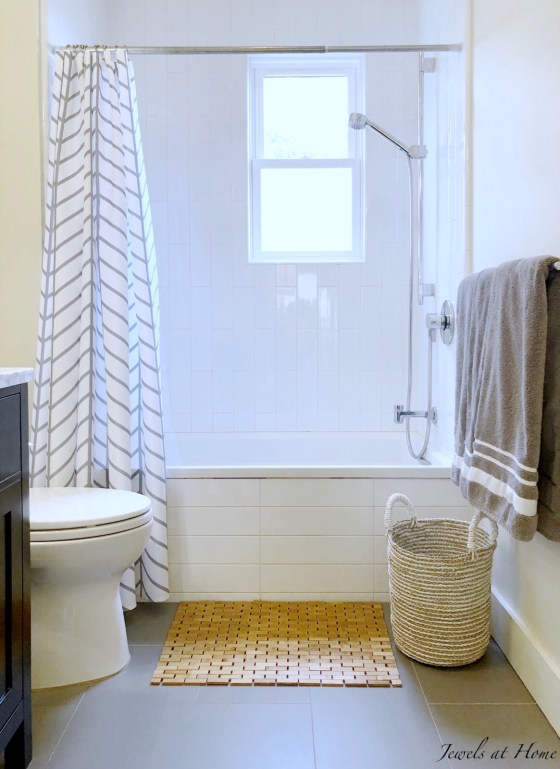
I’m really excited to be a Guest Participant in my first One Room Challenge! This is a great way to get inspiration and motivation for your home. For this challenge, I’ve decided to re-do our kids’ bath. It started out with a cute beach theme that seemed perfect when the boys were little, but now I am ready for it to grow up with them. Our new look features neutral colors, natural touches, and enough personality to stand up to three boys! Thanks for following along!
![]()
Recap:
- In week one, I took this room back to a blank slate, which involved cleaning, repairs, and a new wall color!
- In week two, I started adding accessories to make the room functional again
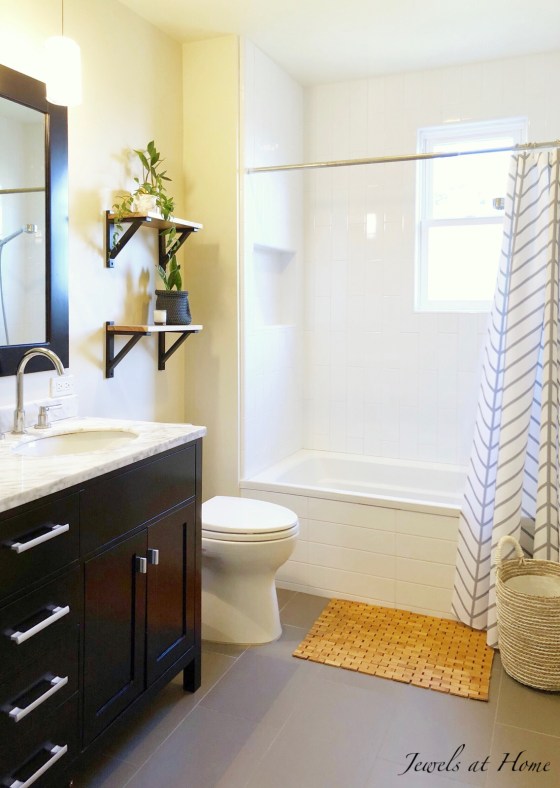
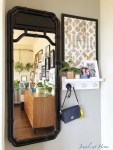
- In week three, I built wall shelves to create storage and display space
- In week four, I added whimsical printed artwork
For week five, I am personalizing towels for the boys. I wanted the look of matching towels, but I still wanted to be able to tell their towels apart, because there are some things that even the closest family doesn’t want to share…
Fortunately, I remembered how I had added trim to our master bath towels, so I adapted that project for the boys. I started with solid grey towels and white grosgrain ribbon in 1.5 inch and 5/8 inch widths. I sewed on one stripe for our oldest, two for our middle boy, and three for our youngest.


I’m showing the towels folded nicely, but I actually have robe hooks for the boys to make it easier for them to hang up their towels.
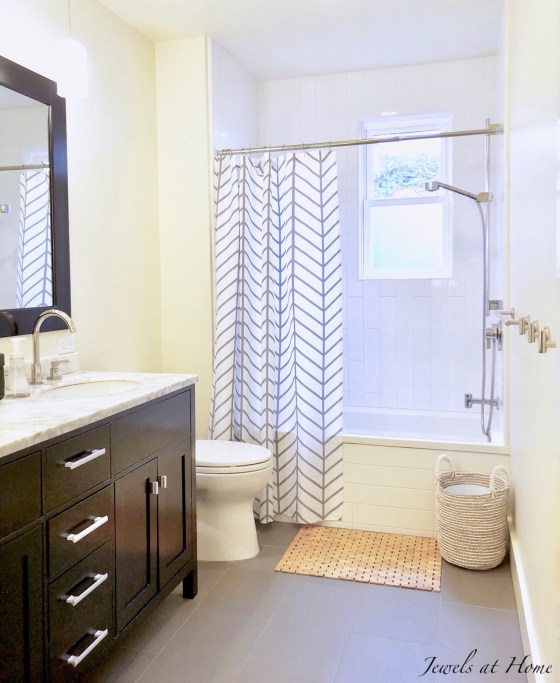
- bamboo bath mat – Amazon
- gray herringbone shower curtain – Cafe Press
- floor basket – World Market
- crocheted storage basket – Amazon
- wall shelf brackets – Ikea Ekby Valter
- Hello Handsome artwork on Etsy
- Funny bathroom artwork on Etsy
- PDF Swiss cross: swiss cross
- Alternate “Hello Handsome” sign: Hello Handsome
- solid grey towels
![]()
Time to head back to the One Room Challenge link-up page to check out the progress on all the other exciting projects!
Final stretch this week! Hint: I am enlisting Steve to do play with electricity!
“Jewels”