
Every year, I make a handmade holiday gift for my coworkers and our kids’ teachers. I love bringing them into school and the office and spreading joy! I’ll list all the past ones at the bottom, so you have more … Continue reading
Every year, I make a handmade holiday gift for my coworkers and our kids’ teachers. I love bringing them into school and the office and spreading joy! I’ll list all the past ones at the bottom, so you have more … Continue reading
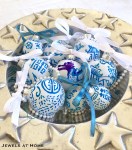
For this year’s Chinoiserie Christmas, I mostly used decorations I already had from our “white and woodsy Christmas,” with the addition of these hand-drawn ornaments! This post is coming late, because it took me all month to finish these ornaments, … Continue reading
I have a lot of craft projects “incubating” – I get excited, I buy supplies, and then… I wait for the perfect moment to create them! We could also call this hoarding of craft supplies, but that’s not in the spirit of the season!
We’ve got an enthusiastic new social committee at work, and they organized a “Secret Snowflake” exchange for the holidays. “Handmade is encouraged,” they instructed. Now that’s my kind of challenge. My gift recipient loves to host dinner parties, so I found her a cute serving bowl, some holiday dish towels, and I am finishing off the package with these DIY coasters!

Here’s what you’ll need:

Here’s how to do it:
Here they are in my home and getting ready to go spread cheer in my friend’s home!
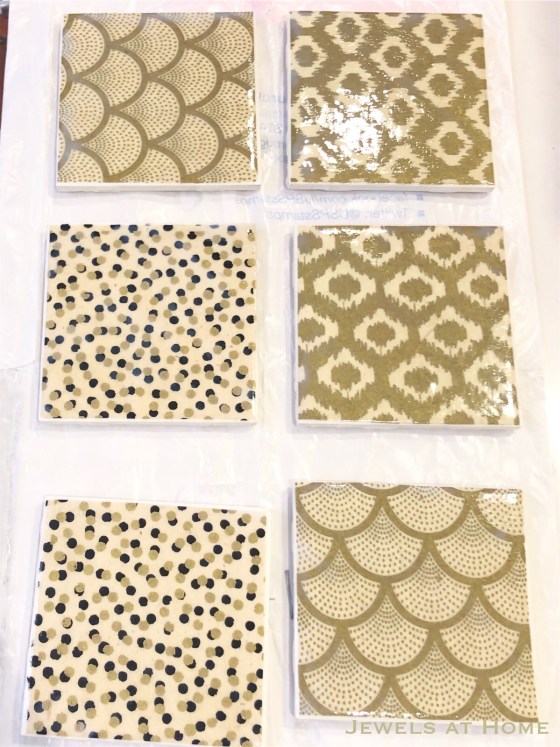


Next time, I’d like to try making these coasters, with the paper sandwiched between glass, because I think they’ll hold up even better. Next year’s teacher and coworker gift? Maybe!
Hope you are having fun sharing treats and gifts this season!
Julie aka “Jewels”
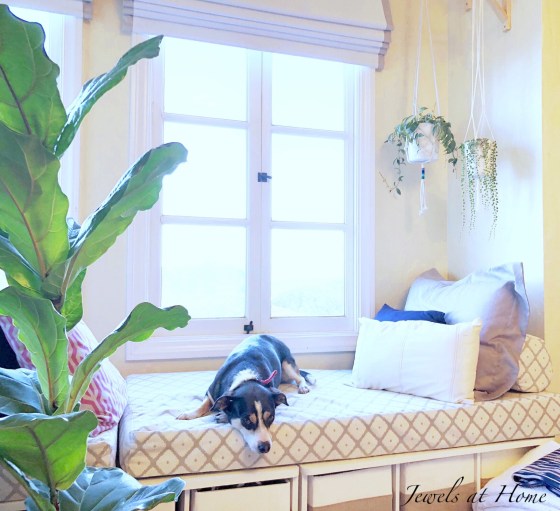
You might know that I caught the macrame bug last summer. There is just something so magical about transforming a simple piece of rope! Once I figured out the basics, I wanted to be able to create some more original designs as well. Here are my posts on macrame plant hangers:
Even with my love of plants and hanging planters, I was running low on things to make with rope, so I was very excited to see this I discovered macrame pendant lights. I first caught sight of Windy Chien’s Helix light in the Apartment 34’s One Room Challenge:

And then, I began spotting it everywhere, like in this beautiful bedroom from Katie Monkhouse:

Mandi Gruber (my idol!) also has a funky version of this simple and gorgeous idea, as does Holly Wade on Curbly.
I was looking for bedside lamps for our guest room and teen’s room, and I knew that I just had to try my own version of these lights!
Here’s what you’ll need:
Here’s how to do it:

Here are some pictures of the hanging lights – the navy cord was made with 5mm cord and the denim cord with 9mm rope.


I don’t know about you, but I want to make another one (or ten) soon.
Happy knotting!
Julie aka “Jewels”
I love the look of shibori – which is hardly surprising, since I love all things blue and white, and fabric. I finally overcame my skittishness about dye and tried this technique… now, I am 100% addicted! I’ve got lots … Continue reading
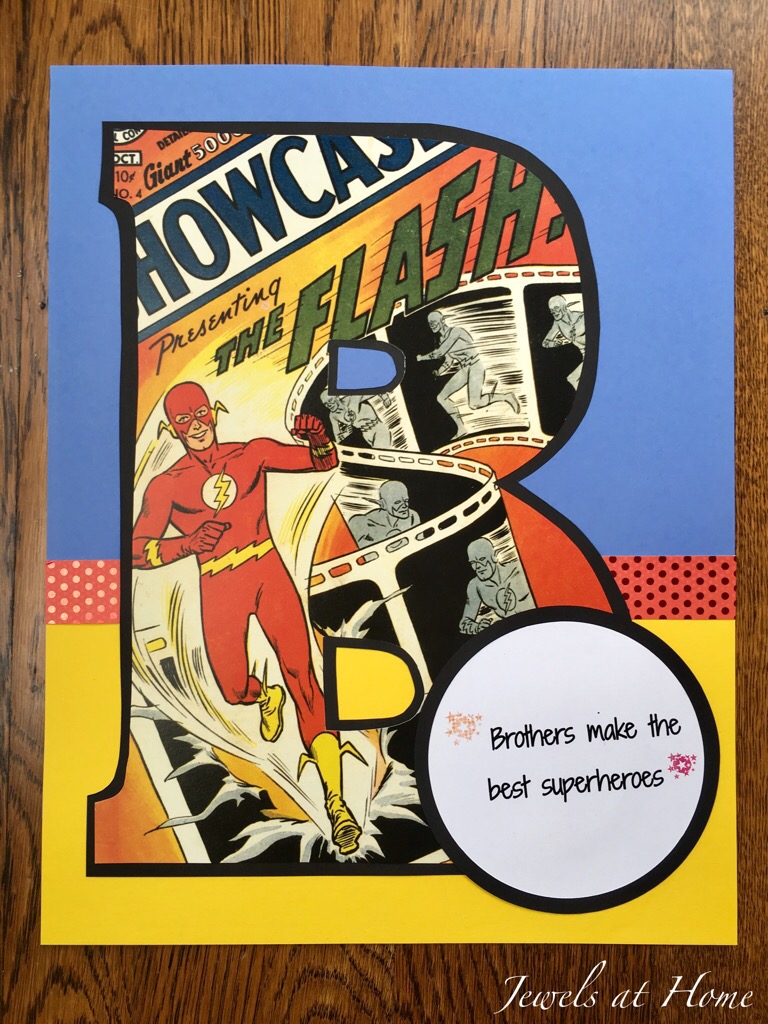
Superheroes have been capturing our imagination for decades, and the recent revival of superhero movies shows they are truly timeless. And since everything else with kids changes way too fast, superheroes make a great and enduring theme for their decor. I really enjoyed making these art projects for our kids and our friends’ boys.
My materials for the vintage superhero art were:

The calendar pages look great framed on their own. For our friends’ boys, I made these framed initials:


Looking for more superhero ideas? You may remember the covered mirrors and pencil tins I made a while back!
To infinity and beyond,
“Jewels”
“DNA, you’re in my heart
DNA, in fact you’re in every part of my body
Each cell has a nucleus, each nucleus has chromosomes
And DNA, baby, that spells DNA”
-That Spells DNA by Jonathan Coulton
I can thank Steve, who is at the forefront of all things nerdy, for introducing me to Jonathan Coulton over a decade ago. Of course, as a genetic counselor, I have a particular soft spot for “That Spells DNA.” If you’re as nerdy as we are, and you don’t already know and love this song, you will want to check it out!
So, when we found out we were having a mini baby boom in our work family, with two babies due within two months, it wasn’t too hard for me to decide on DNA-themed baby quilts as gifts.

I found the DNA-themed fabric, Color DNA stripe by Melissa McCulloch, on Spoonflower. The fabric in the quilts is actually left over from a few Halloweens ago when our group dressed up as (if terrible puns cause you pain, skip this next part!) Gene-gnomes. The colors were a perfect jumping off point for this colorful gender-neutral patchwork of yellow, blues, greens and coral-red.
This pattern is called Stacked Coins and is easy to adapt to scraps of all kinds.


Here are some close-ups of the beautiful fabrics. I wanted to use every last scrap of the DNA fabric, so there is one patch in each of the quilts that I like to call “CRISPRed.” Can you spot one?


And here are a few more pictures of the quilts during their photo shoot, before they went off to their new homes!


All the colors and patterns together make me so happy! I am excited to meet the newest babies of our work family and give them their quilts, so they can start their genetics lessons early!
“Jewels”
These little luggage tags make wonderful gifts that are quick to make and practical!
Every kids loves having something with their name on it, and every adult fears taking the wrong bag at the airport. I’ve actually done this – and it was a huge pain, because I had to spend hours and $$ going back to LAX to exchange the bag, but I was relieved that at least the woman whose bag I accidentally took was really nice about it.

I love all the ways you can customize these luggage tags. I am showing these with scrapbook paper, but I’ve also made some out of wedding invitations to give as a gift to the couple, and you could use photos or lots of other ideas!
I’ve made tags with two different types of lamination:


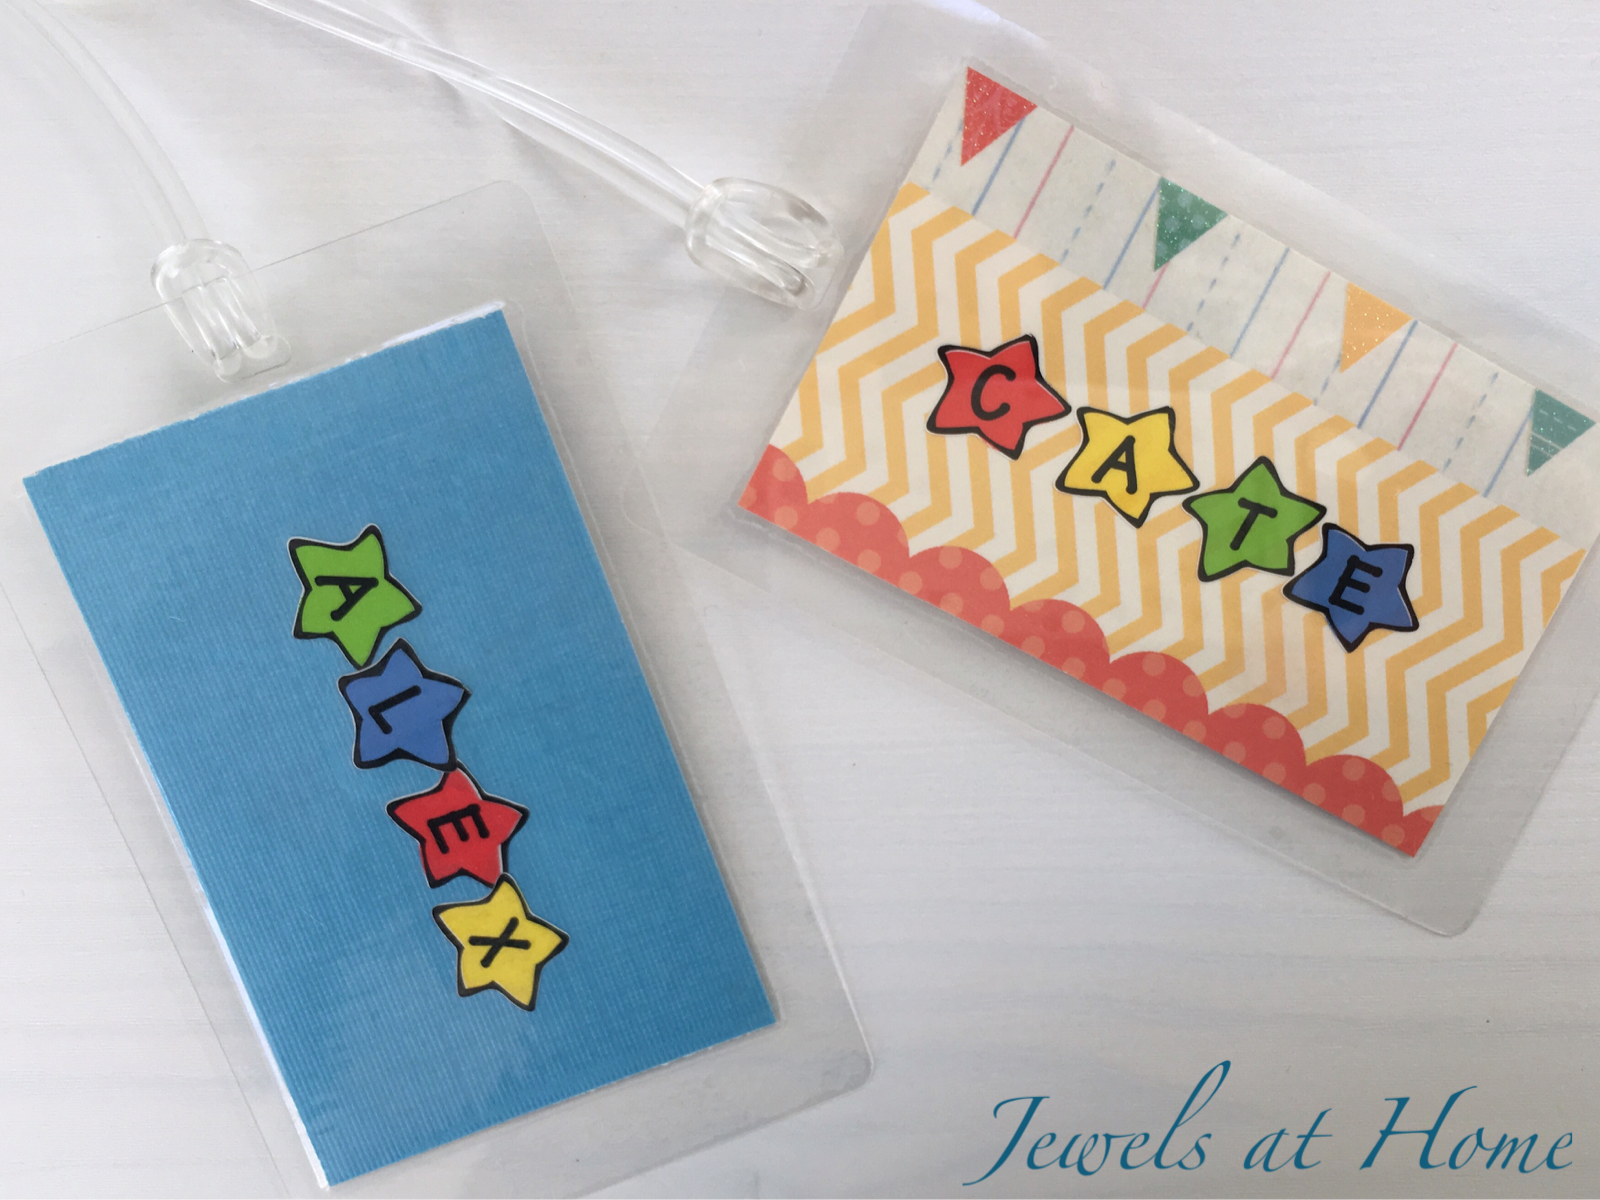
There’s really nothing better than a beautiful combination of scrapbook paper and stickers, is there? … Well, maybe dark chocolate and red wine… or world peace… okay, but these are really fun and pretty, so go and make some, because world peace may take a while to achieve.
“Jewels”
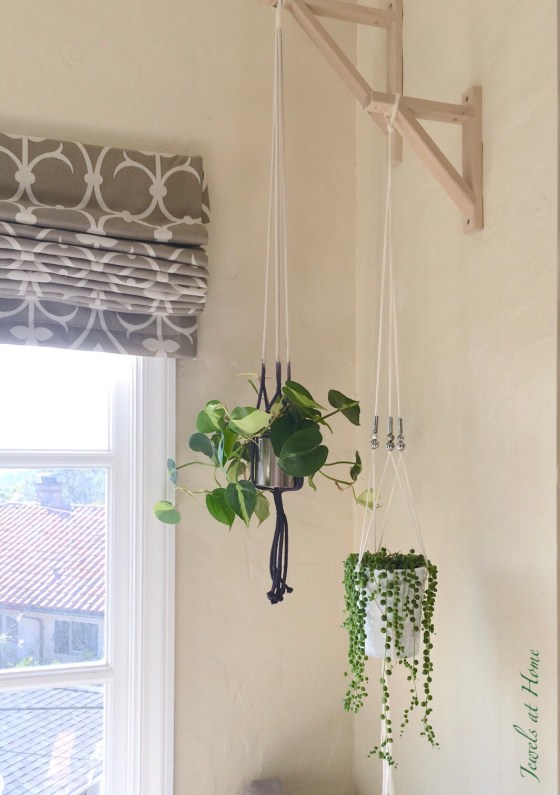
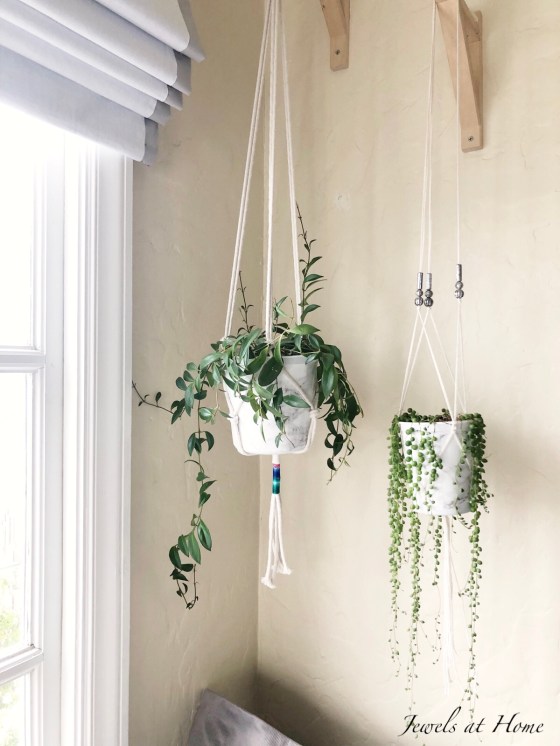
I’ve decided to call my crafting style “serial crafting monogamy.” I definitely go on streaks where I fall in love with a new technique and can’t get enough of it. Right now, I’m sure you have noticed, I am addicted to macrame. Once I got the hang of it, I have so many ideas to try!
Today’s post is about adding color to your plant hangers – I did this with dyeing an ombre pattern as well as with adding colorful embroidery floss.
If you want to go back and see other posts on macrame, here are the links:
First, check out these beautiful ombré plant hangers. I made them with cotton clothesline and created the ombre pattern with navy fabric dye.

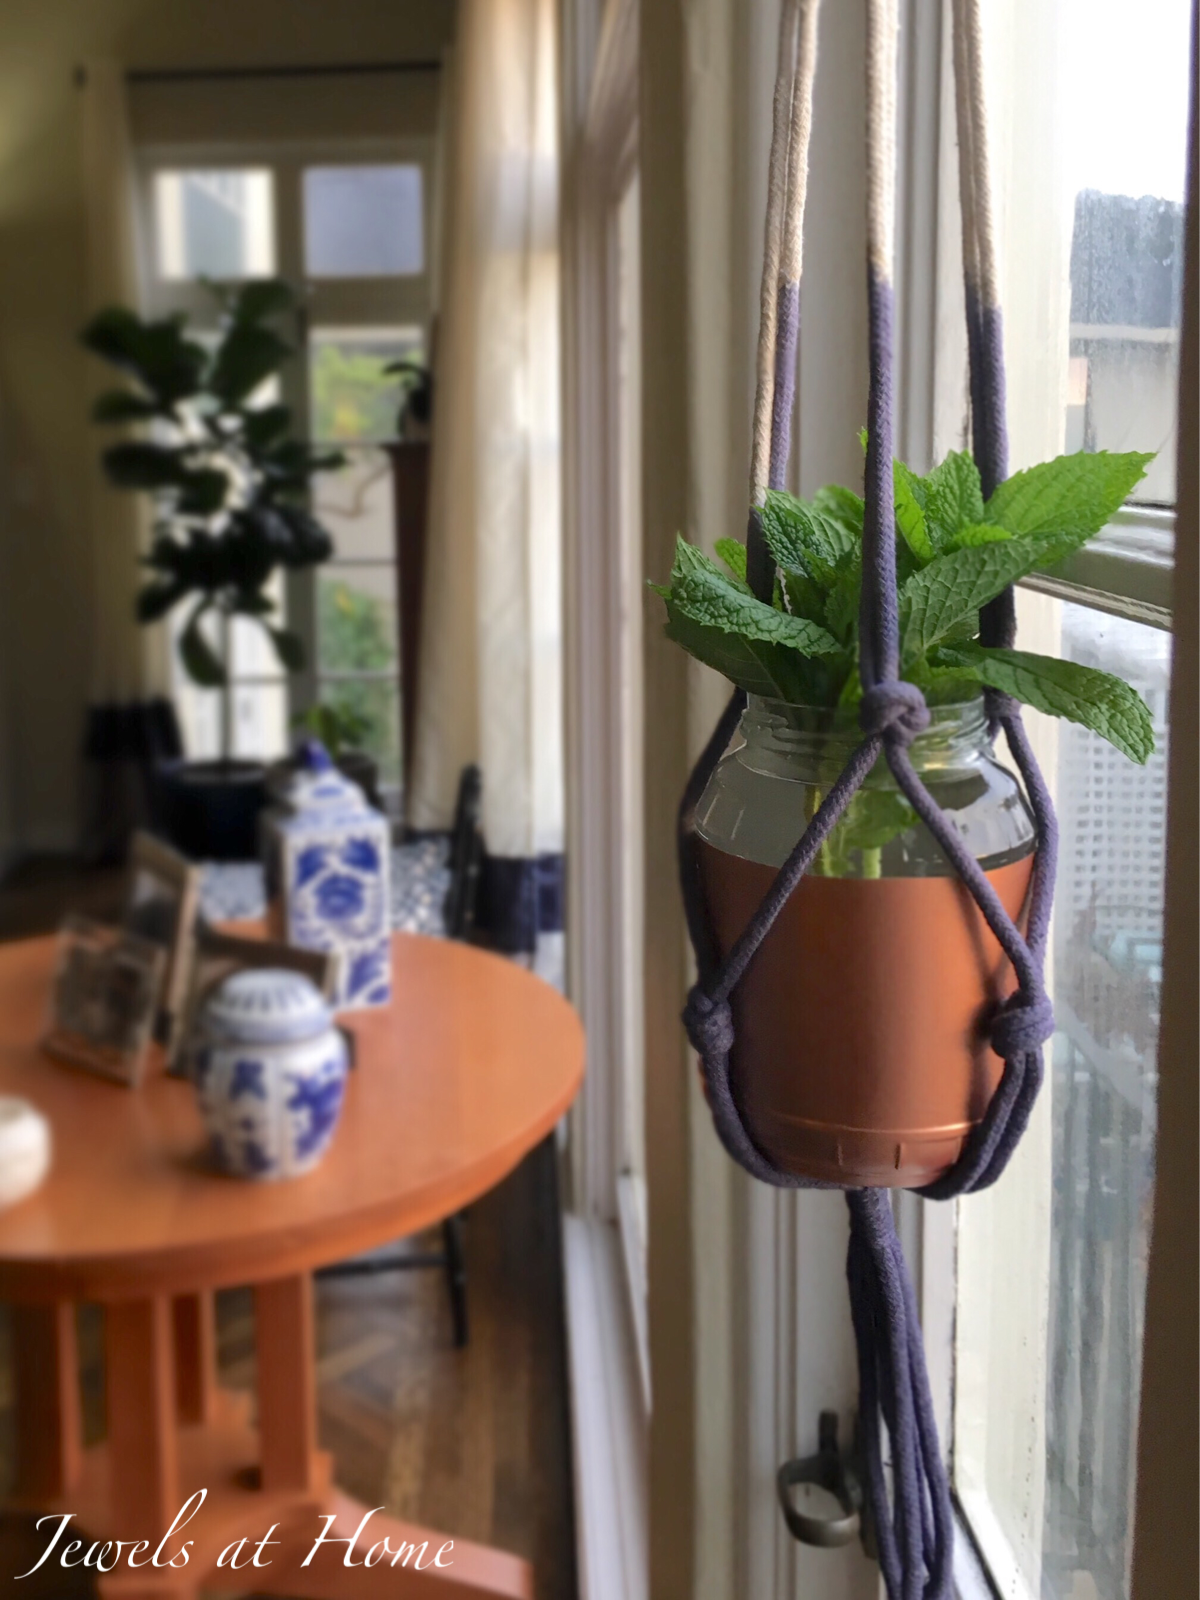
To get the ombré effect, I dipped the plant hanger in a container of dye solution and then pulled it out and hung it with just the bottom sitting in the dye for 20-30 minutes.
The other way I added color to the plant hangers was by adding gathering knots in different colors of embroidery floss.


And I just recently discovered Bobbiny cotton rope from Poland. It’s so soft, recycled, and beautiful, so I’m definitely scheming to add more color to my macrame projects that way!
“Jewels”
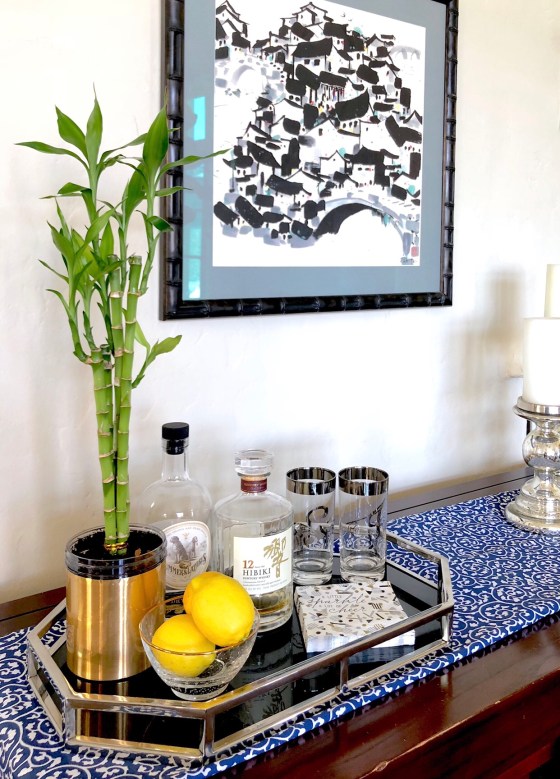
Today’s project is a great way to reuse – or “upcycle” items around your house, while creating something beautiful to feed your plant problem… I mean plant addiction… I mean plant projects! If you are a crazy plant lady like me, you are always looking for new ways to display your plants. I’m definitely not opposed to going shopping for some pretty planters, but it’s also amazing what you can do with things around your house.
A while ago, I showed you the faux marble planters I made from empty yogurt containers. The marble paper works well for sloped containers, because the pattern is random. But if you can find some containers that have straight sides (hint, eat a lot of Talenti Gelato- you know, for the cause!), then you have got to try out the same trick with metallic contact paper!
Here’s what you will need:
Here’s how to make the planters:
You can put in drainage holes, if you want. If you use the containers without drainage holes, make sure to put a layer of rocks and some agricultural charcoal at the bottom and be careful not to overwater.
I think these pictures prove that being green can be completely golden!


“Jewels”
