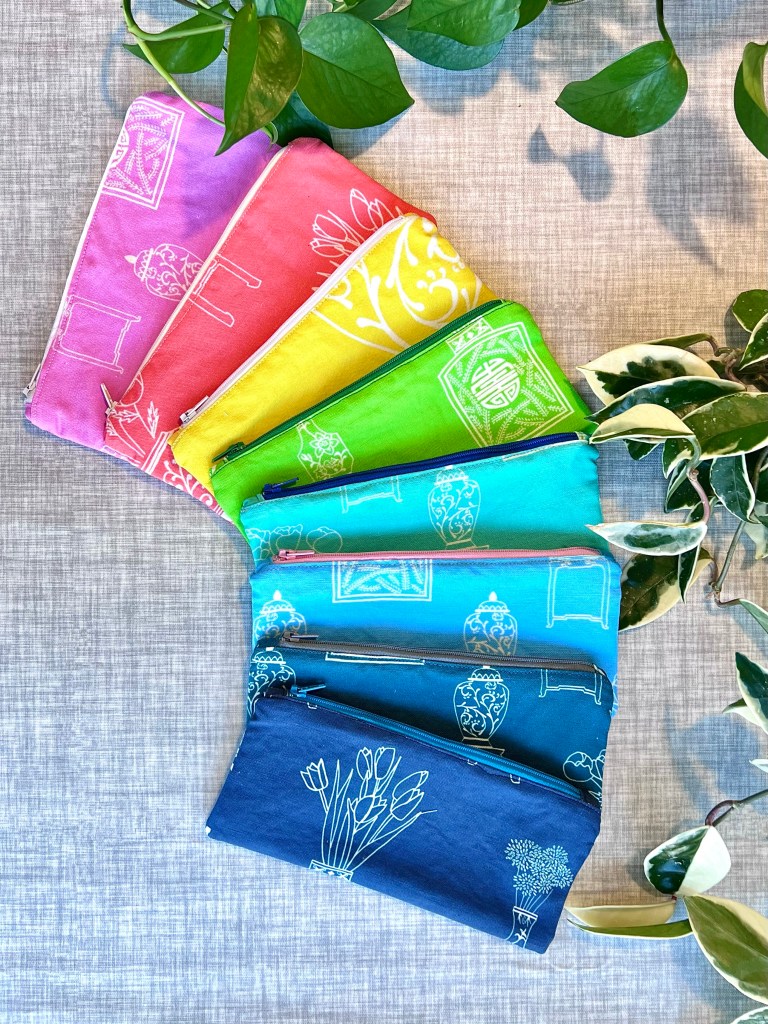
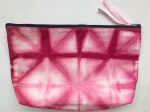
YEARS ago, I bought a cute zipper pouch ages ago at a Signatures craft fair in Toronto. The size is perfect for sunglasses, lip gloss, hair ties, ear buds, or other little items you want to corral in your purse. Since I recently conquered my fear of zippers when I made the box cushion covers for my new chairs, I decided to try making some of these little pouches myself. It’s such a fun project to use small scraps of fabric and combine colors and patterns.
I followed the instructions from icansewthis, which lays out the steps very clearly. The dimensions for this pouch use 4.5″x9″ rectangles to make a finished size of approximately 4″ x 8.5″
Here’s what you’ll need:
2x Outside fabric pieces: 4.5″x9″ each
2x Lining fabric pieces: 4.5″x9″ each
2x zipper tab fabric: 1.5″x2″ each
zipper
Optional: fusible interfacing for outside pieces, if you are using a lighter weight fabric
I made pouches from vintage kimonos, favorite scraps, and also some of fabrics I designed myself. If you want to check out my fabric collection, here’s my shop on Spoonflower. You can have have fun mixing and matching zipper colors and linings!
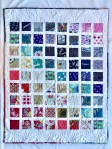
In the past few years, I’ve started a tradition of making quilts for the new babies among our friends… and I have been busy! I strive for patterns that are fun for a little one, but something that they can … Continue reading →
My collection of plates and tea cups started when I threw a tea party baby shower for my friend, Nicola, a whole decade ago! Over the years, I have added more treasures to my collection, and I love the stories … Continue reading →
I want each item in my home to be meaningful, and custom canvas art is a wonderful way to personalize a space. I’m sharing four custom canvas ideas that I’ve used in my home. This includes several original projects as … Continue reading →
We recently moved into our new house, and I’ve been busy arranging and re-arranging things to get us settled. In this process, I was fortunate to receive a beautiful new sideboard cabinet from Hernest.com. This item was generously gifted, but … Continue reading →
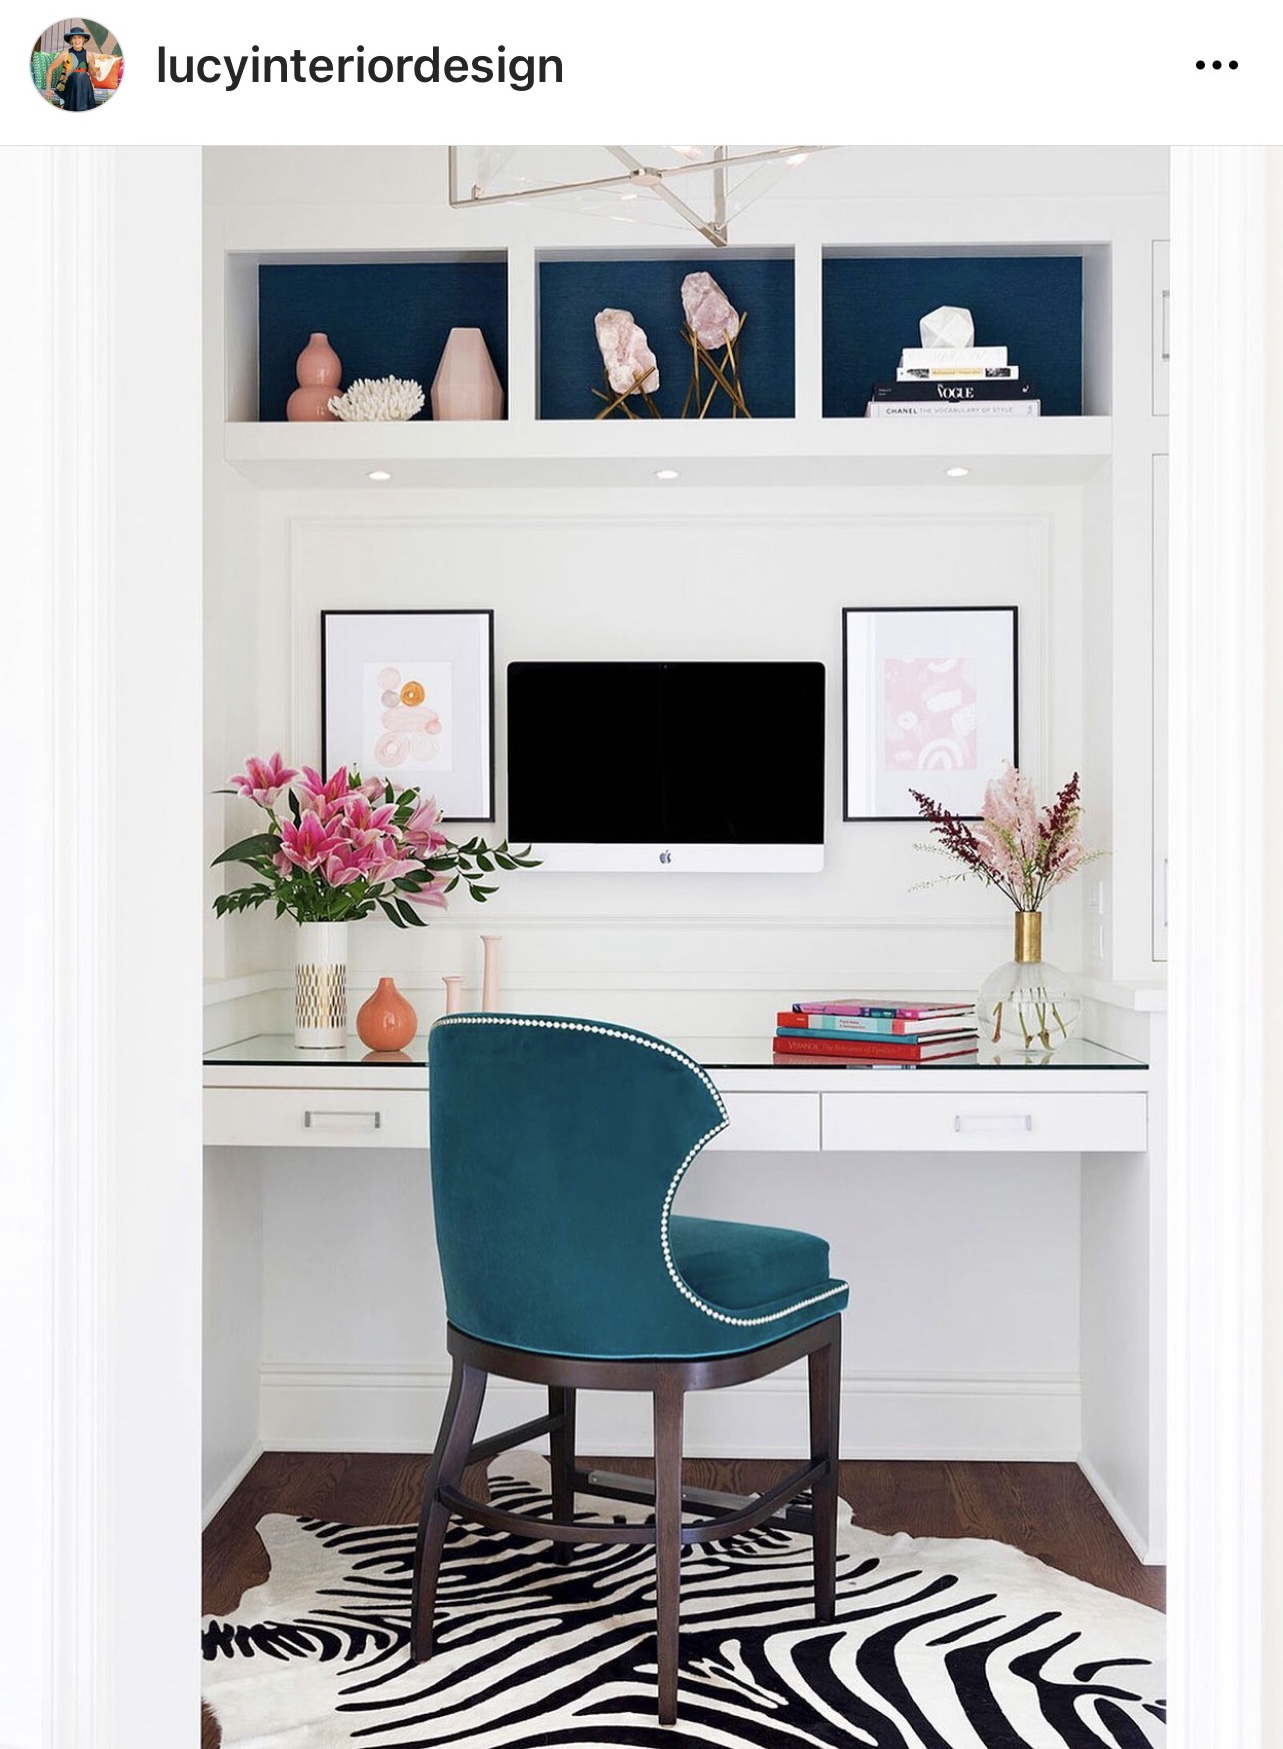
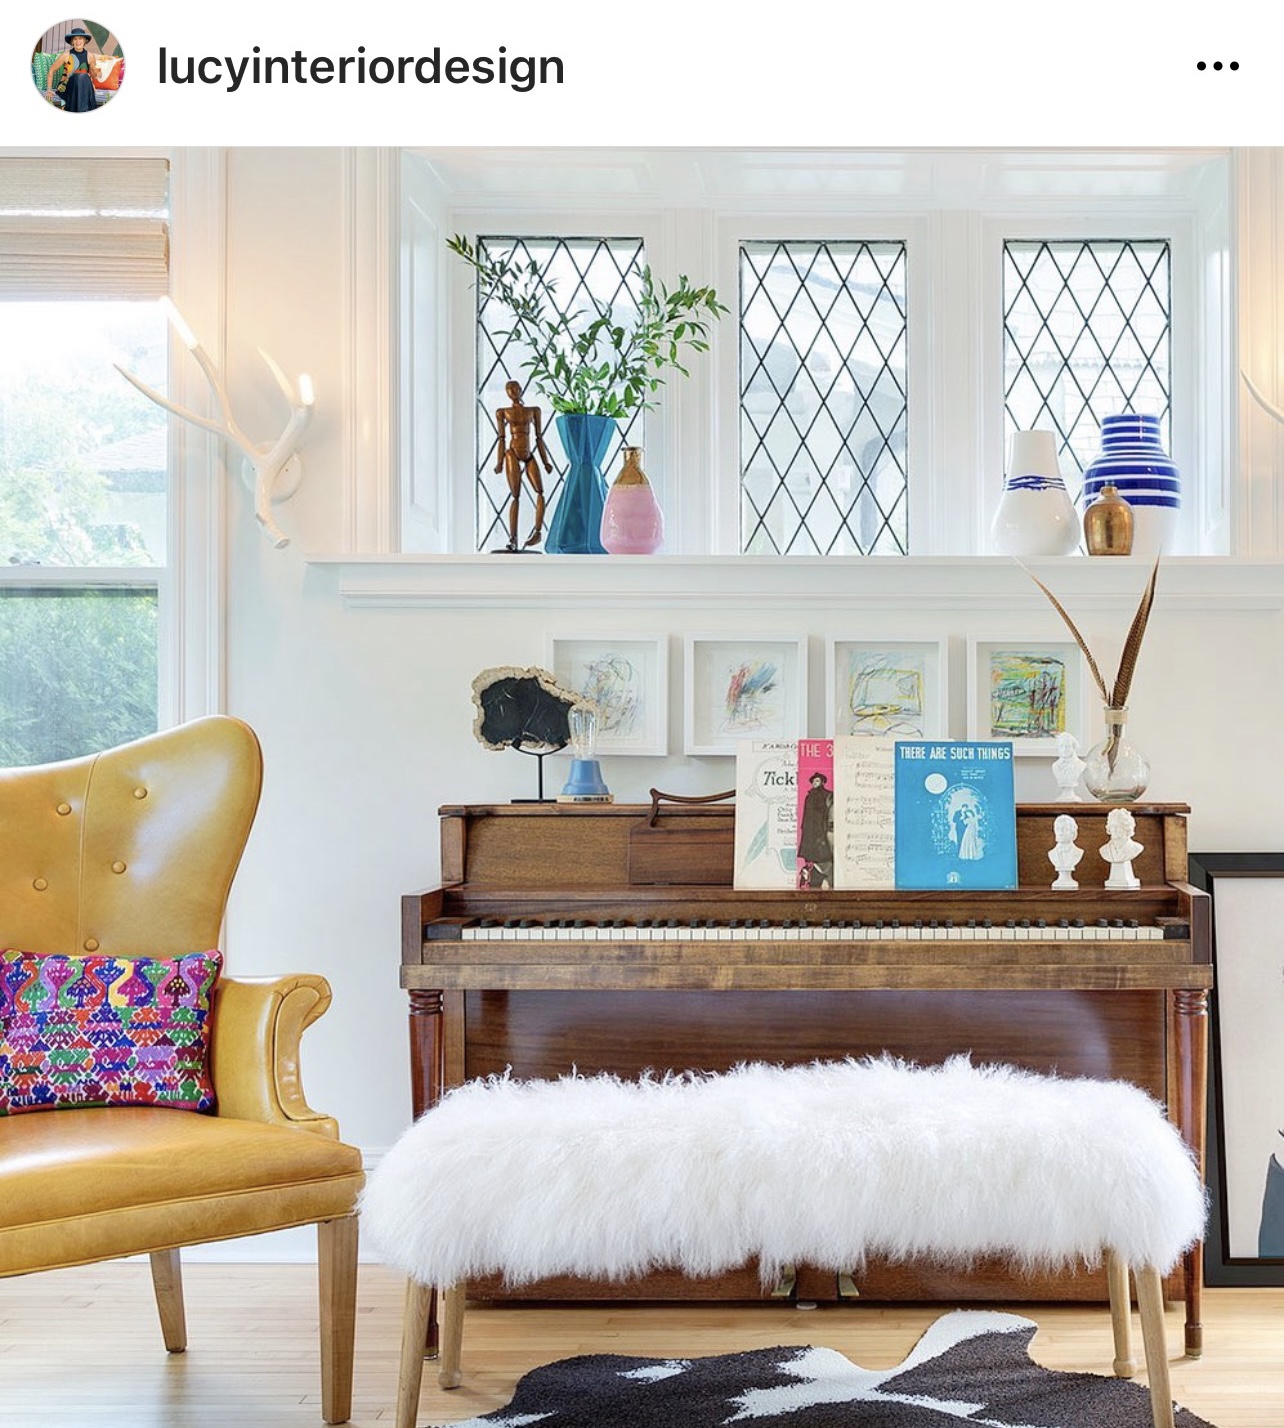
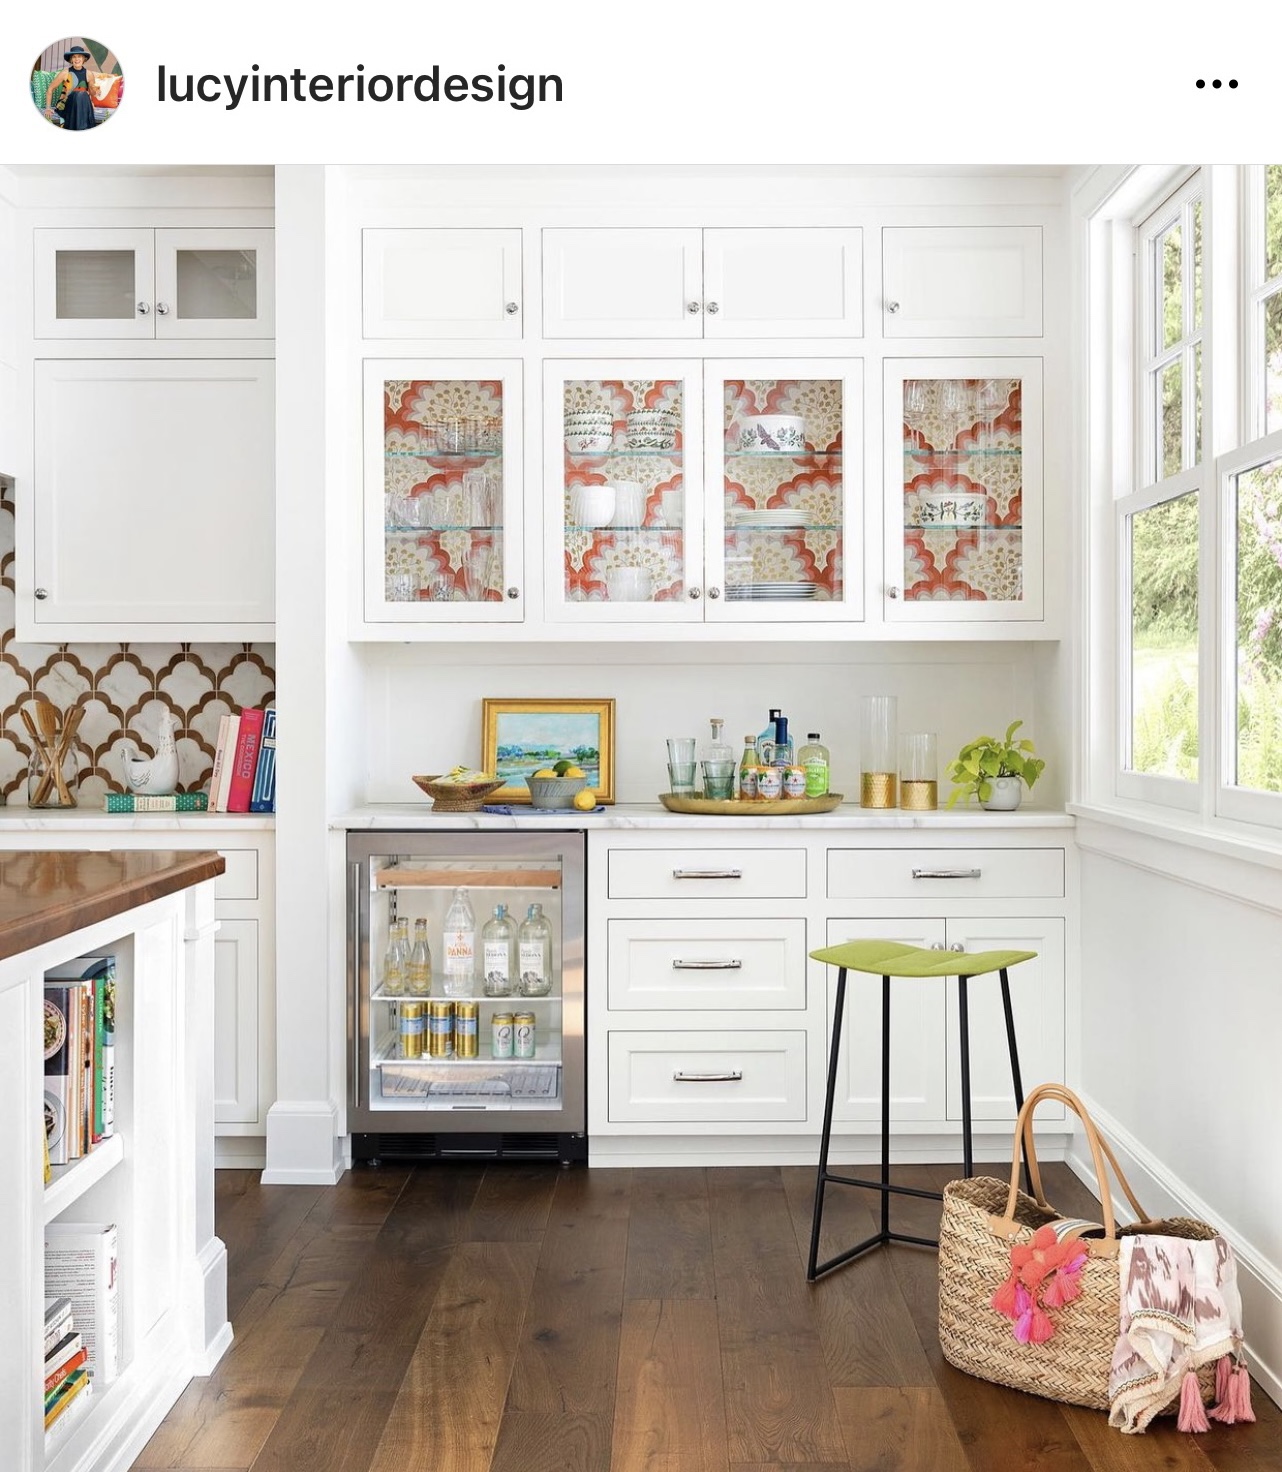
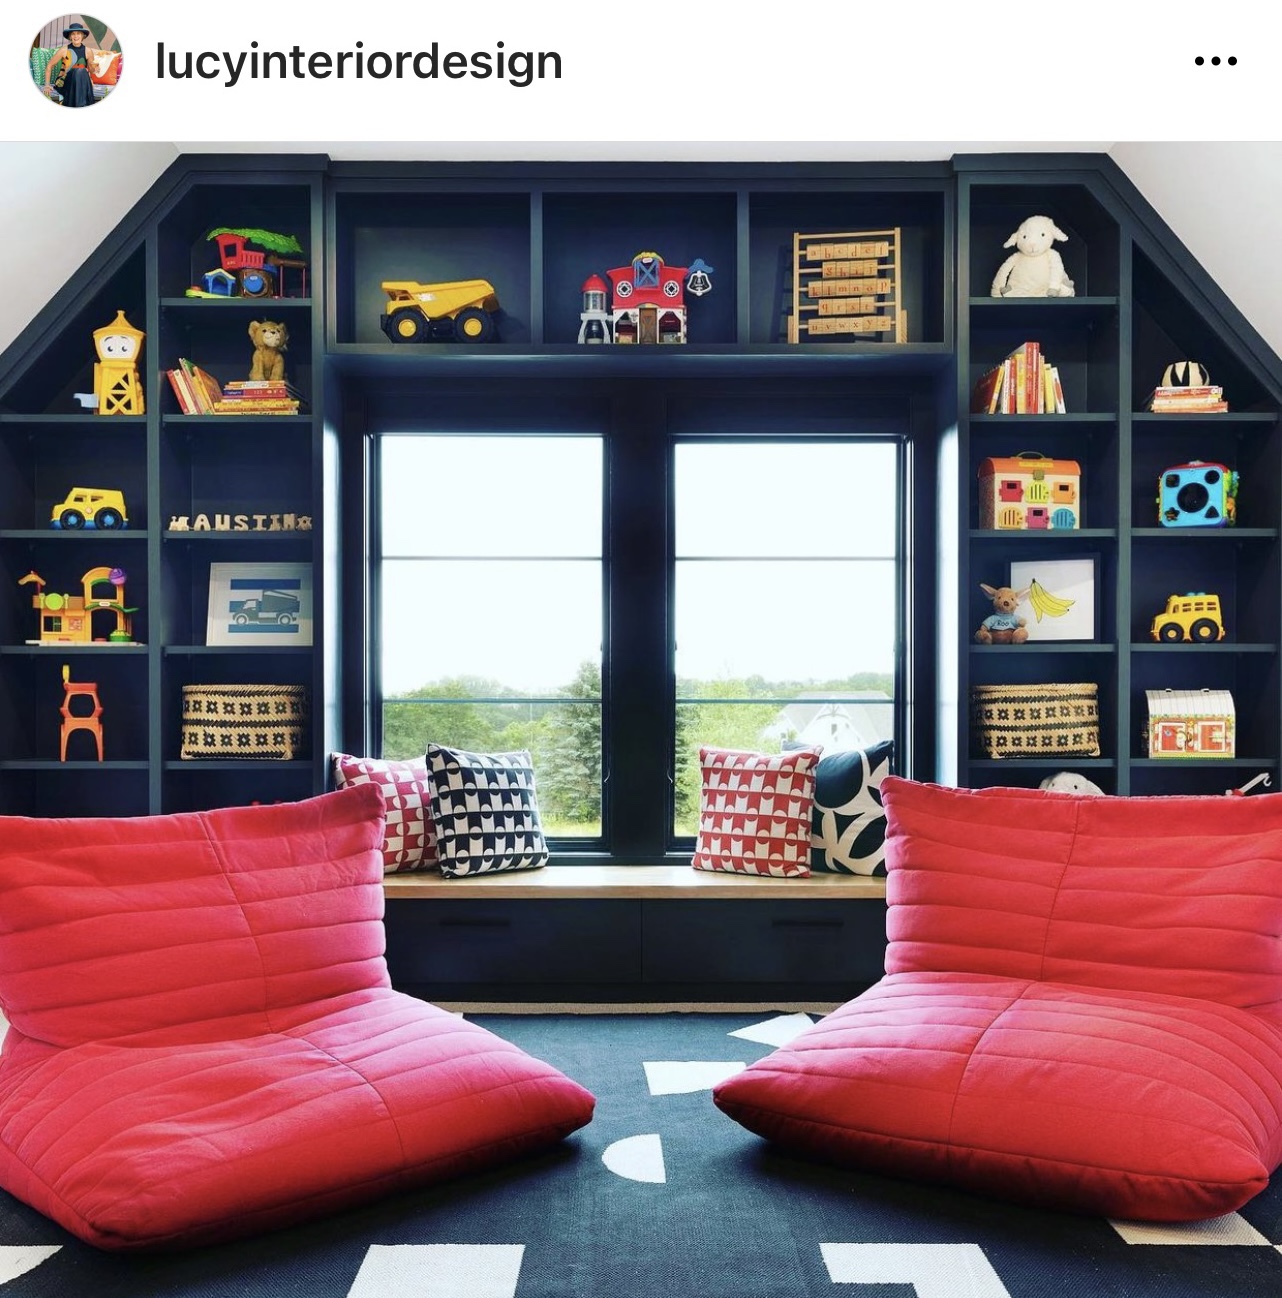
Oh wow, I am in love with the work of Lucy Penfield of Lucy Interior Design! She can execute a beautiful modern or bohemian room, but what I’m particularly smitten with is her ability to create space that has the perfect blend of classic and contemporary, casual and elegant, all full of whimsy and personality. This balance is what I am striving for in our home, and I am soaking up all the inspiration!
Here are my favorite elements of her designs:
A warm neutral base with walls, ceiling, and trim in a warm white, leaving lots of open space
Architectural details like beams and arches, and window seats
Black accents, such as hardware or black window and door frames
Natural mid-tone wood floors and other natural materials like rattan and bamboo
Bright jewel-tone accents in navy, teal, pinks, kelly green, yellow, and orange
Color is introduced through art, wallpaper, throw pillows, and patterned rugs
Vintage pieces from my favorite styles like mid-century modern and Hollywood glam
Fresh flowers and plants
This style is exemplified by her Highland Park Bungalow and Romantic Urban projects, as well as the Lake Cottage. I would happily move into any of these gorgeous spaces! Here are some of my favorite inspiration pics that capture that beautiful and unique blend of styles.
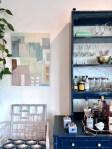
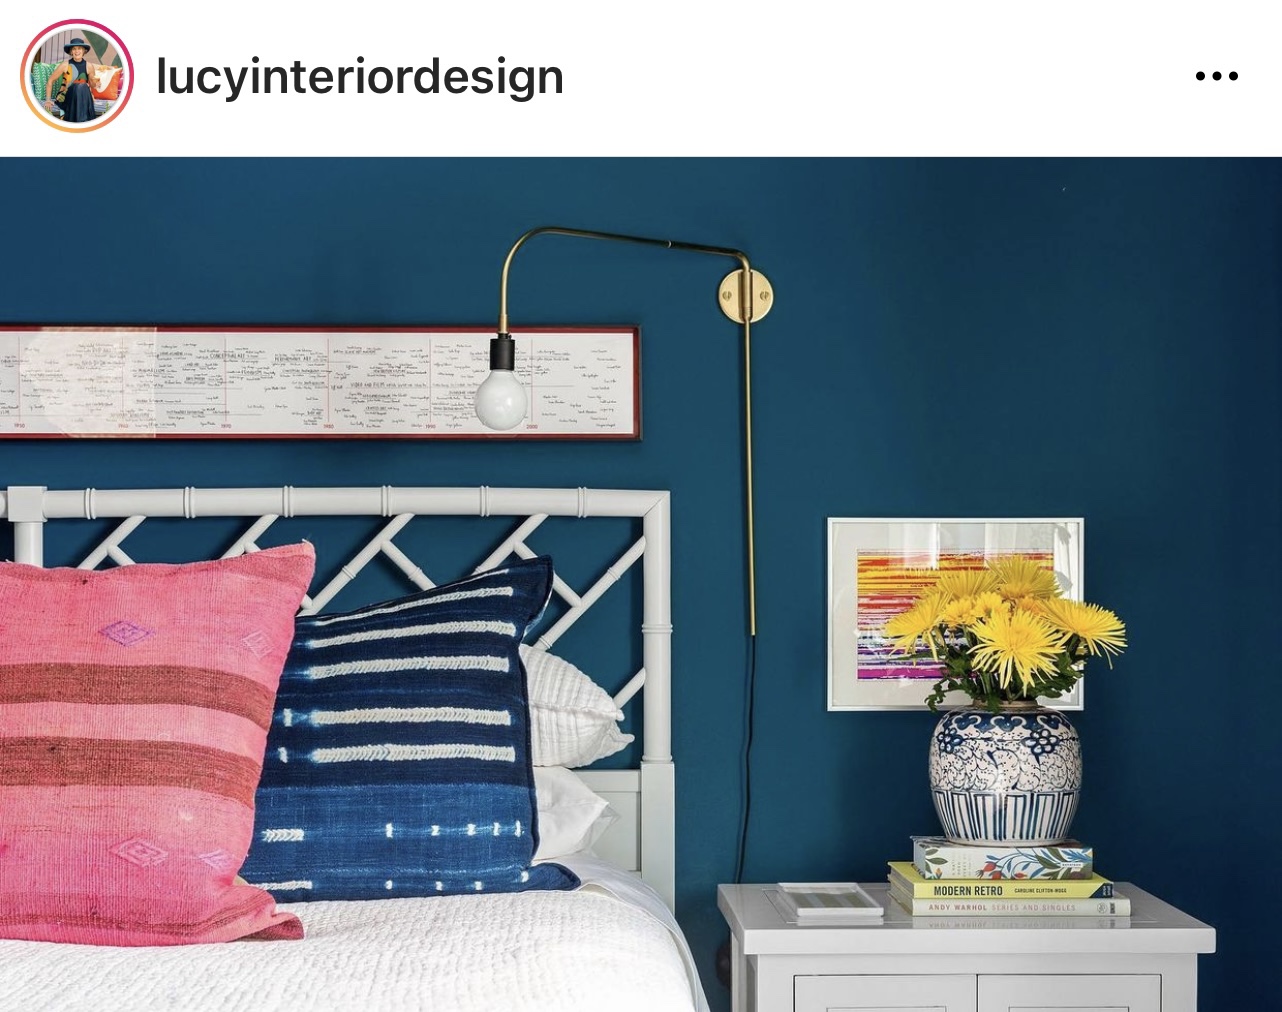
A simple classic foyer, with a fun patterned stair runner and brightly-colored accentsYou know my passion for faux bamboo and blue. The green accents are inspiration!The architectural details painted out in a warm white are making me swoon, all with just the right amount of pink and blue accents!Here’s a close-up of that same dining room ❤Lots of warm white, but the teal at the back of the cubbies, paired with the teal chair, with the touches of pink in the art and flowers… you can see why I am in love! Definitely office goals!Speaking of teal, this accent wall with the white bamboo headboard are perfect!I put a faux sheepskin on our piano bench, too – I am in good company!Kitchen inspo – classic white cabinets with that stunning wallpaper lining the cabinets and the complementary tile!More kitchen love – keeping the cabinets and island classic white, but the pink pantry door and the teal buffet, the natural chairs… swoon!Cutest laundry room ever. I would love to have a laundry room. Is that weird?I love these dark built-ins to ground all the color from the toys. Thinking of something like this for J’s room!
Isn’t this all fabulous?! I have always wondered if my blend of styles might be too scattered, but I love seeing how it is possible to bring together traditional and contemporary elements to create beautiful spaces. So inspired!
My brain has a tendency to look at furniture and think, “What else could this be?” Our family has been on a journey this past year – we wanted to move houses, and logistically, it worked best for us to … Continue reading →
Are you looking for some DIY gift ideas? I had so much fun making the shibori-dyed zipper pouches for holiday gifts a few years ago that I decided to do this project again this time with larger pouches. The small size … Continue reading →
There’s a mini baby boom going on in my work family. For our last work baby boom, I made these “stacked coins” quilts. Looking for a new pattern, I adapted a rainbow sampler quilt pattern into a simpler rainbow scrap … Continue reading →
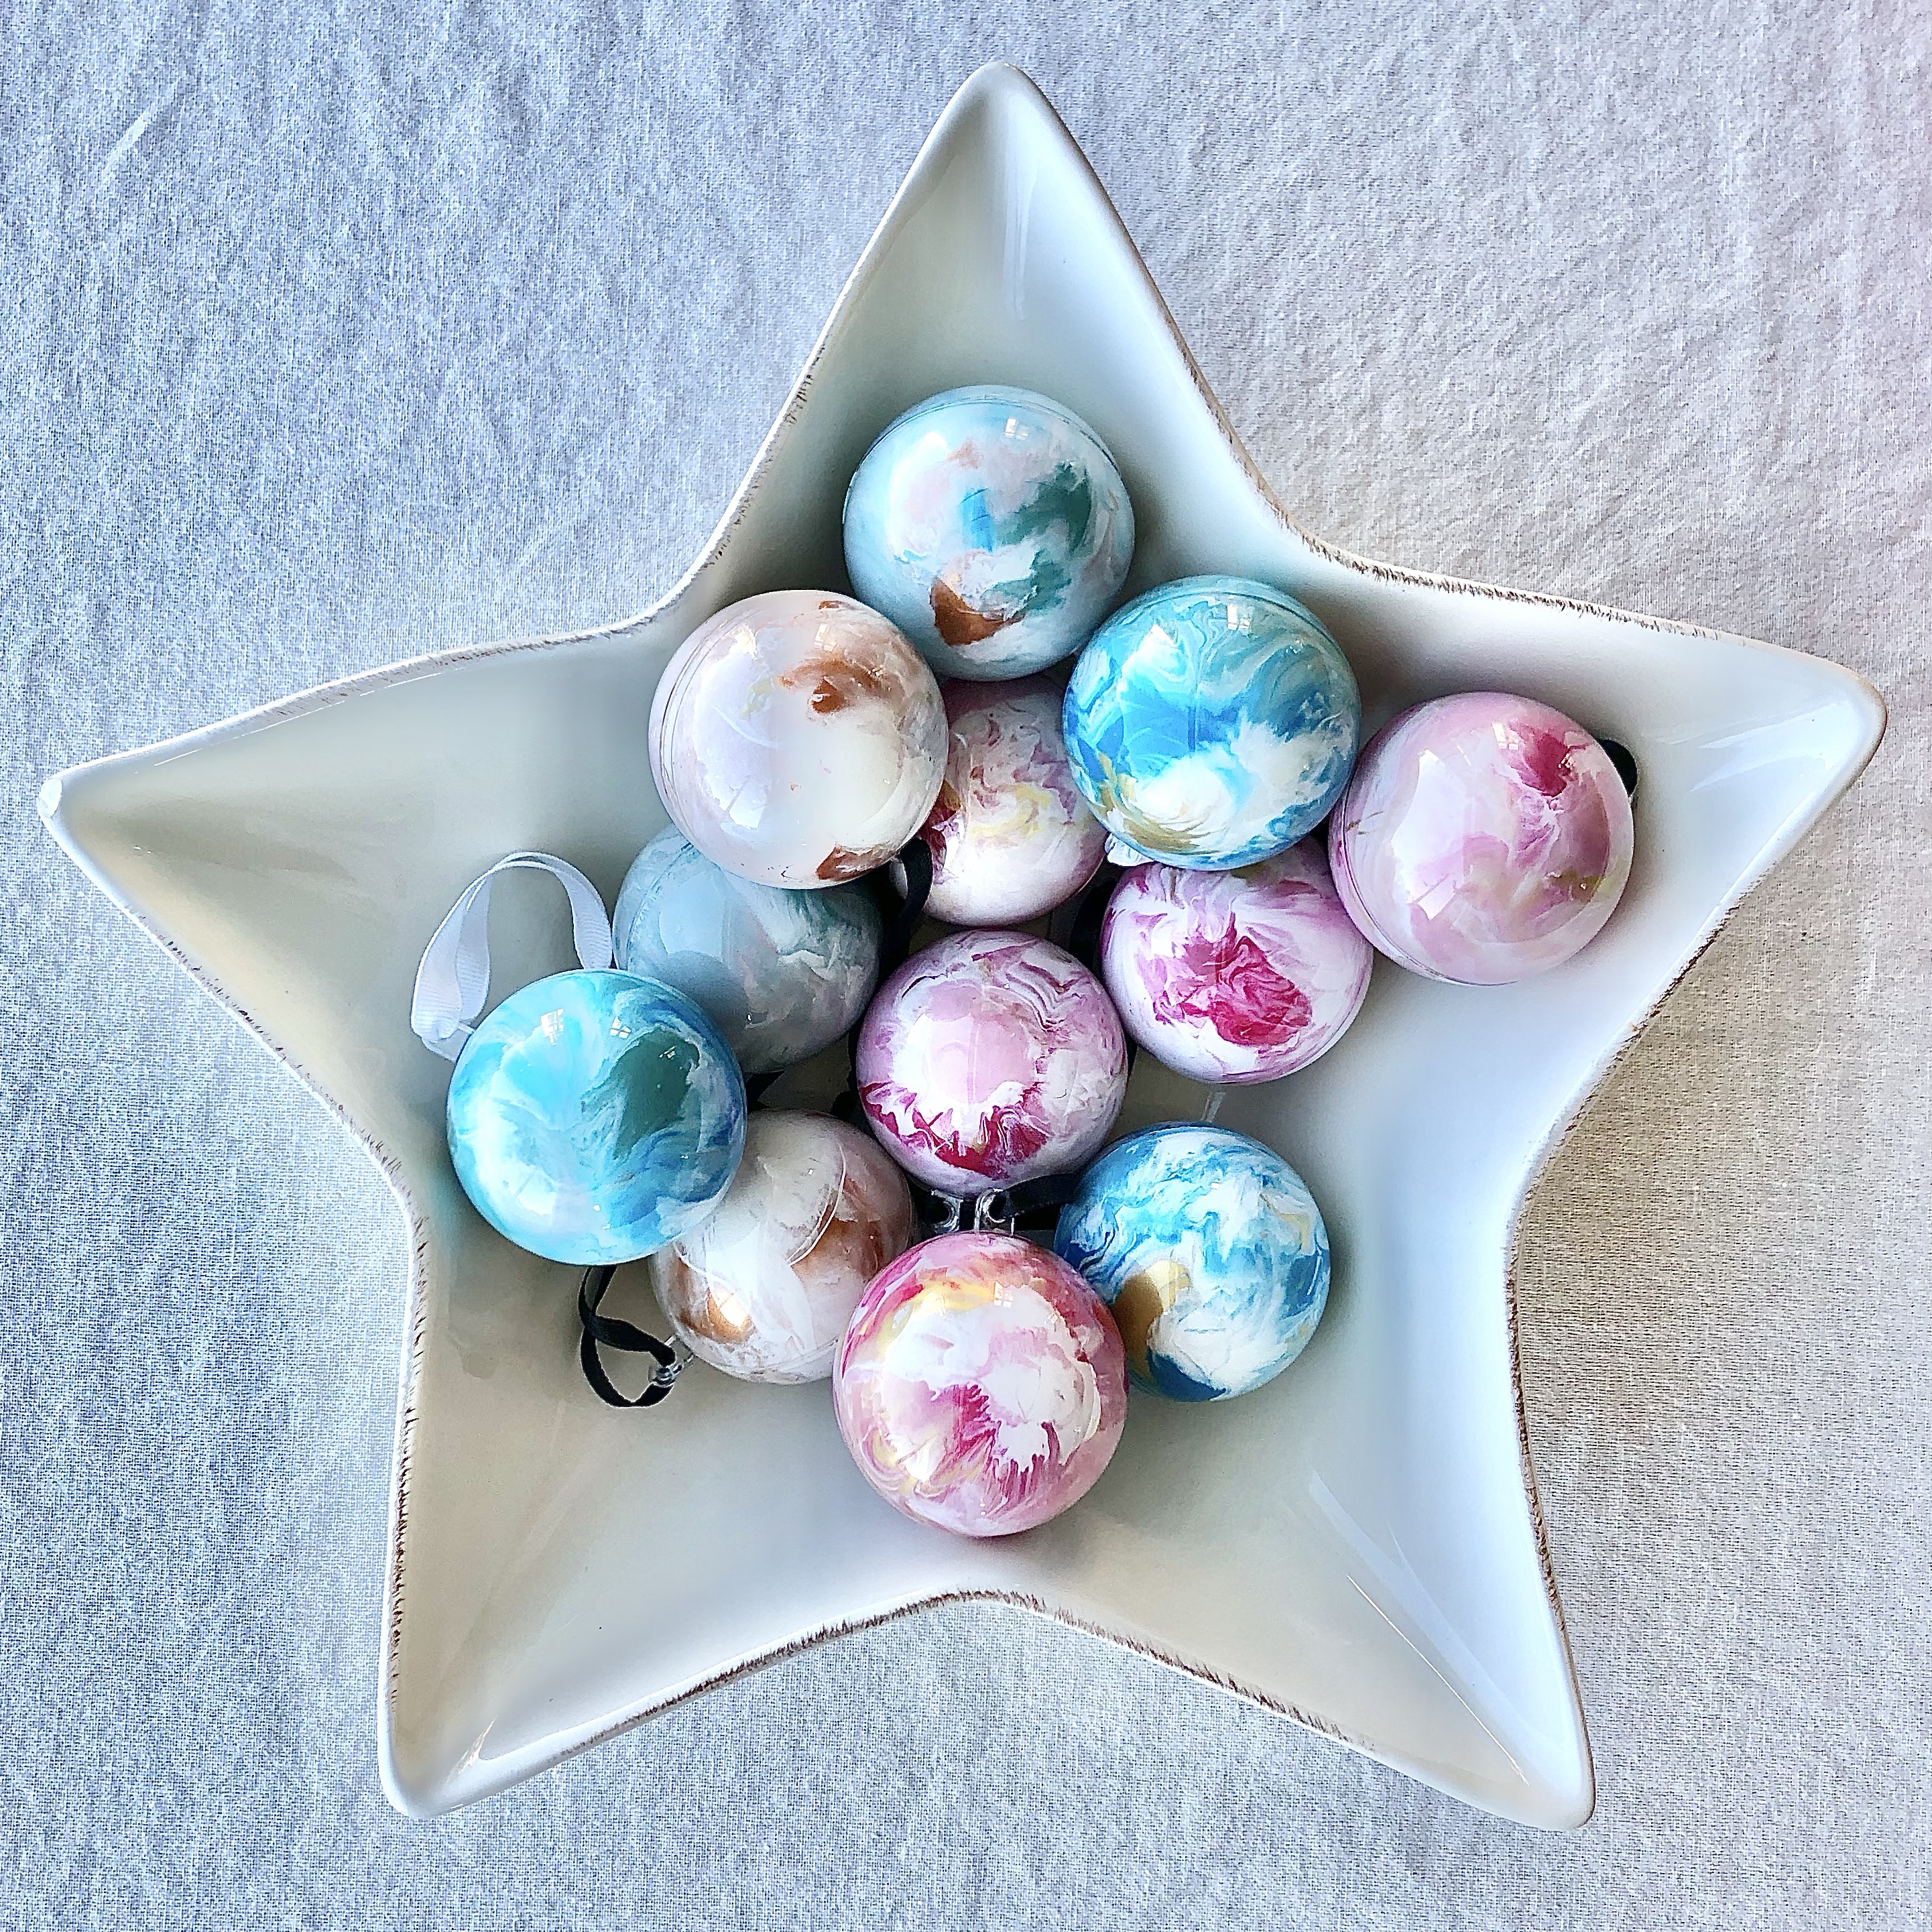
So, with this being a low-key Christmas, I wasn’t sure if I was going to do new craft projects – I mean, other than the pastel Christmas village I made way back in January (dorky!) But blame Pinterest, I got the idea for these pretty marble-painted ornaments!
Clear glass or plastic ornaments. I had these two-piece ornaments in the house already, but if you are starting from scratch, this style with the opening at the top will be easier to use and give a more polished finished product
Craft paints. You’ll need the most of the white color. I used three different colors for each ornament – white, a color, and a metallic paint
skewer or toothpick to mix the colors
Ribbon or ornament hanger
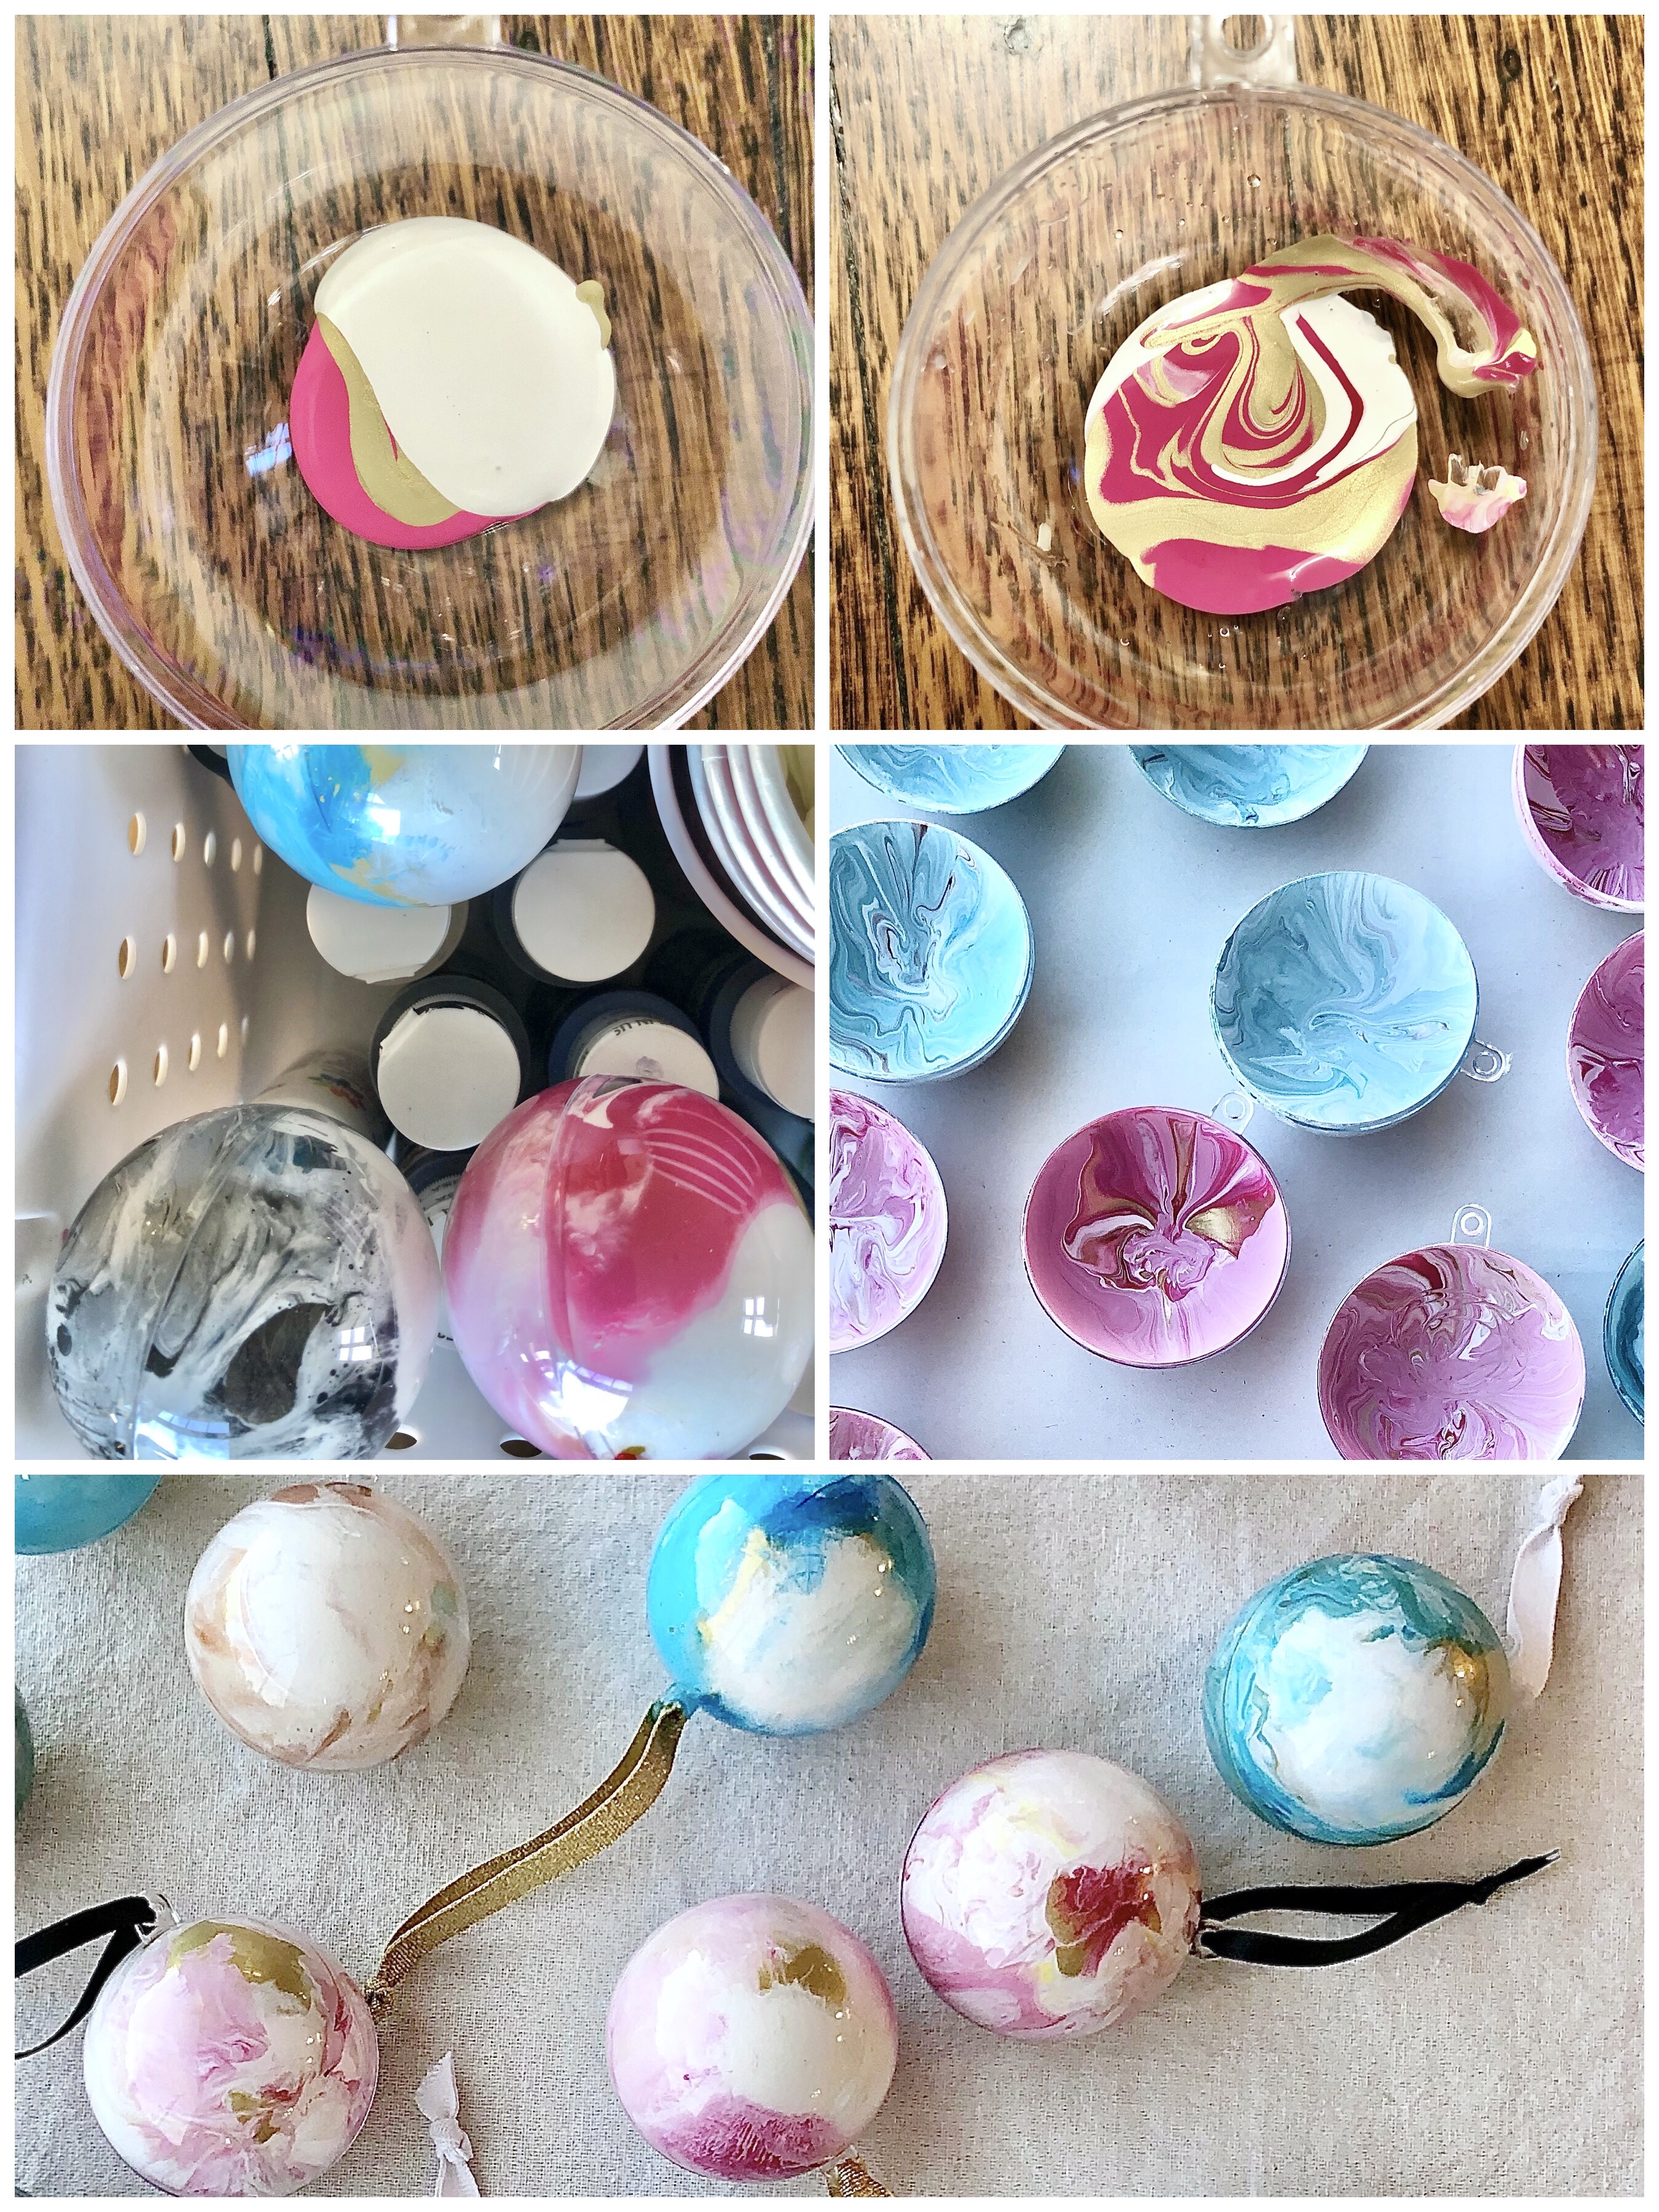
Here’s how to do it:
Squeeze a small amount of paint into your ornament (I put some in each side of the two-piece ornaments) – mostly white, with a bit of a color and a bit of metallic paint
To create flecks of color, you can splatter some paint (mine happened naturally, when I was at the end of a jar of paint, and it came out in small amounts) and let it dry a couple of minutes before starting to swirl the paint
Use a wooden skewer or toothpick to swirl the paints gently – don’t overmix, as the colors will continue to marble in the next steps
For the two-piece ornaments, I closed the ornament and slowly rotated it to let the paint marble. To let the paint slowly fill the open areas, I rested the ornaments on top of my paint bottles, with the open area at the bottom. For the one-piece ornaments, after rotating a few times, you can rest it upside down over a paper cup to let the extra paint drip out
Once my two-piece ornaments were completely painted, I opened them back up to let the paint try, careful to keep the two matching halves together
Once your paint is dry, you can reassemble your ornaments and add a hanger!
I love that this is one of those projects where every result is different, and you can’t go wrong!
Here are some pictures of the finished ornaments. Looking forward to putting together our pastel-and-metallic Christmas decorations soon!