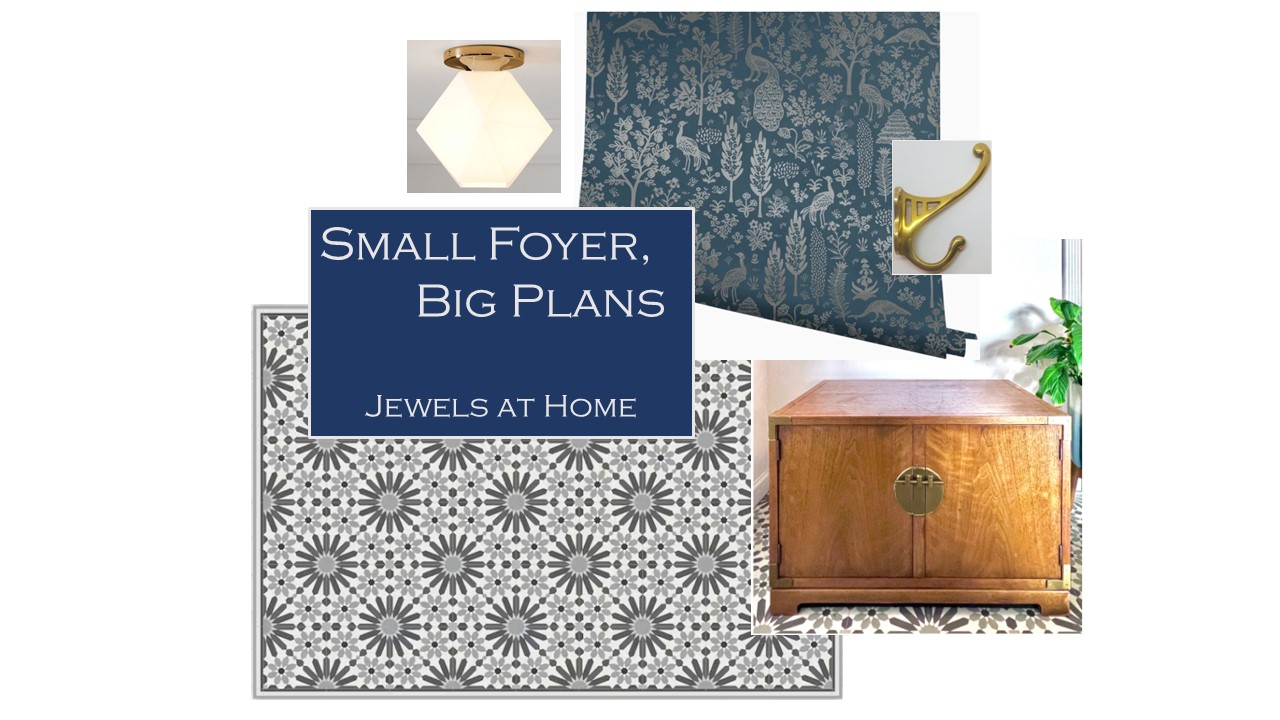
- Week One – Small Foyer Inspiration
- Week Two – “Tile” Vinyl Floor Mats
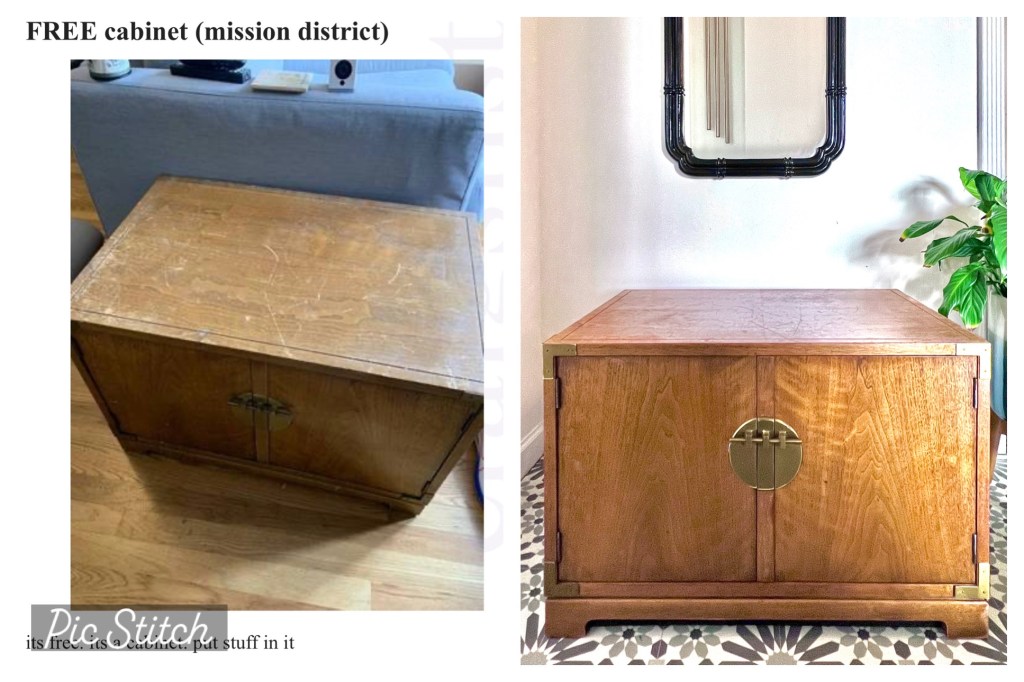
- Week Three – Foyer Bench / Shoe Cabinet
- Week Four – Building a Mini Mudroom
- Week Five – Favorite Blue Chinoiserie Wallpapers
- Week Six – Mini Mudroom Reveal
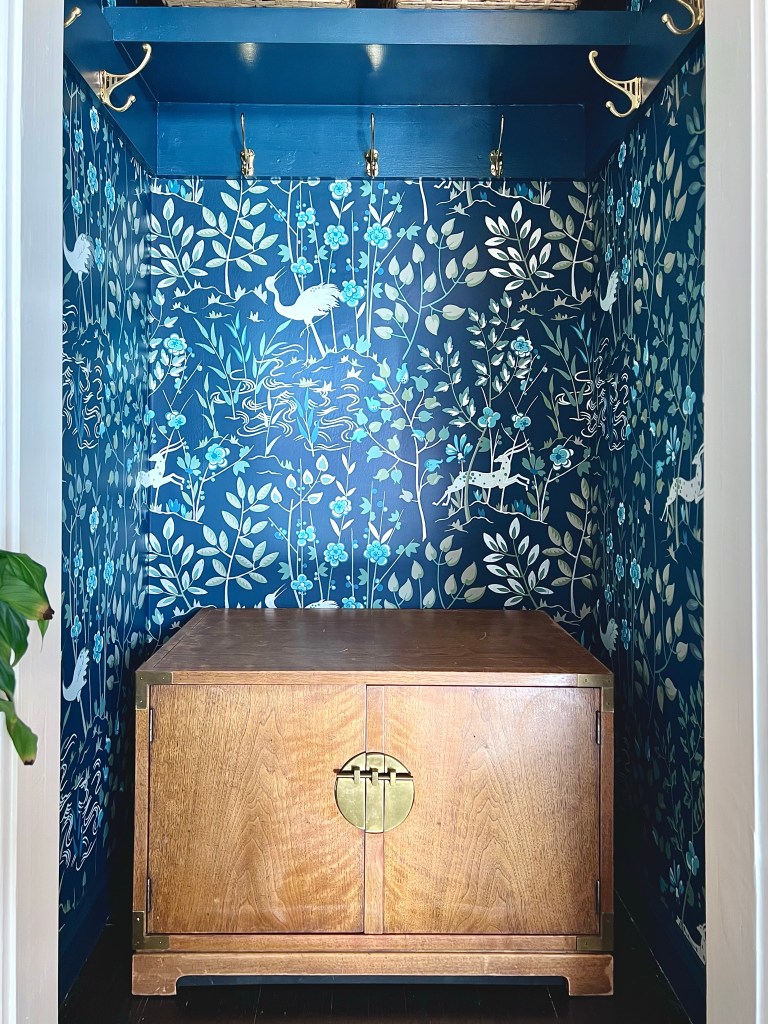
It’s so satisfying when a space comes together! I knew the hall closet was not working for our family, and now we have a mini mudroom that is functional and also beautiful – I am so happy with the result!

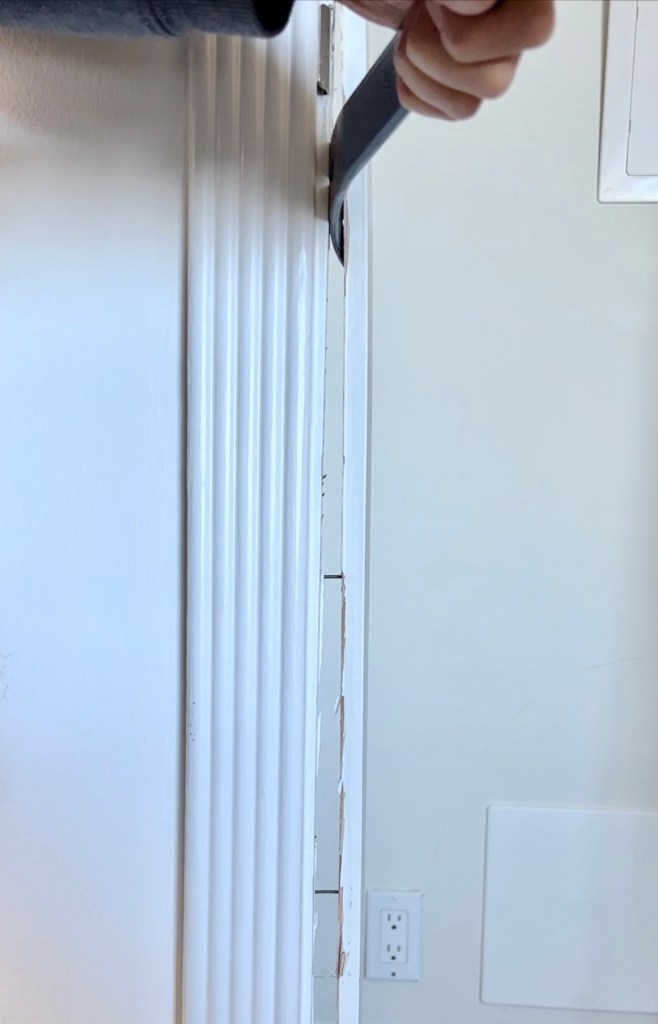
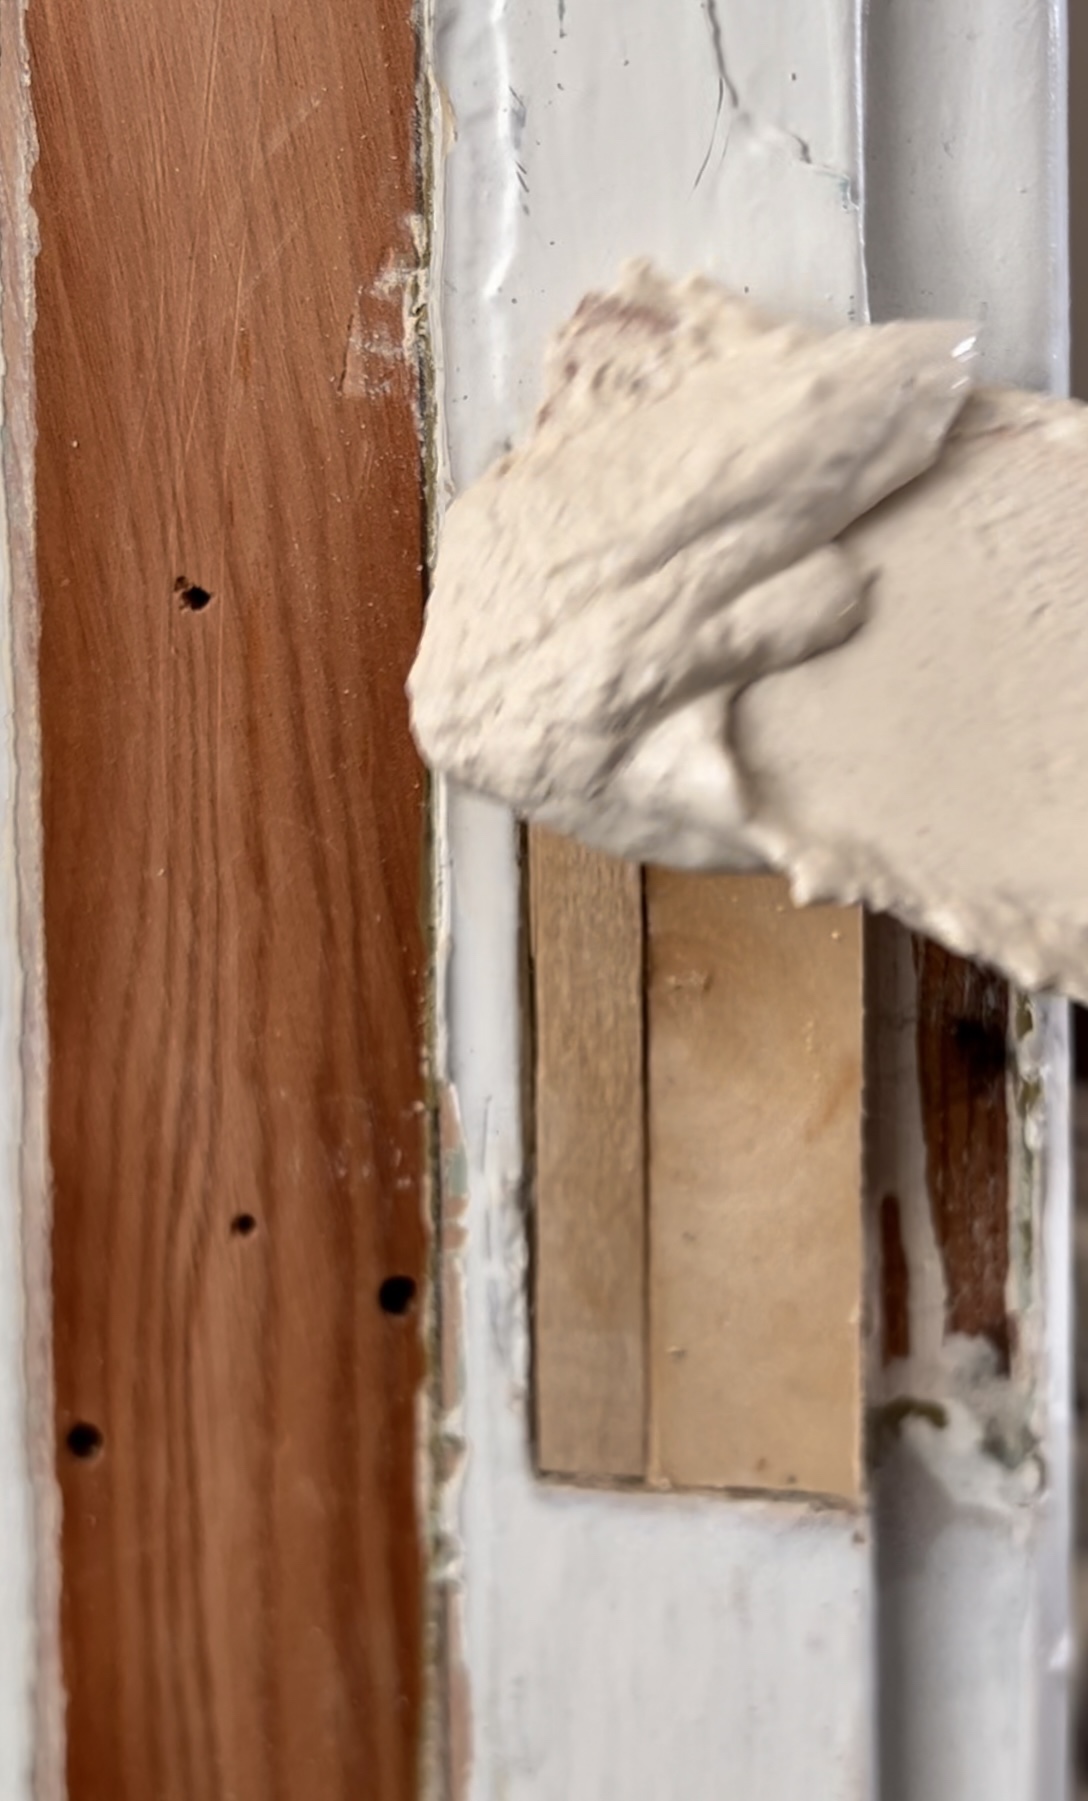
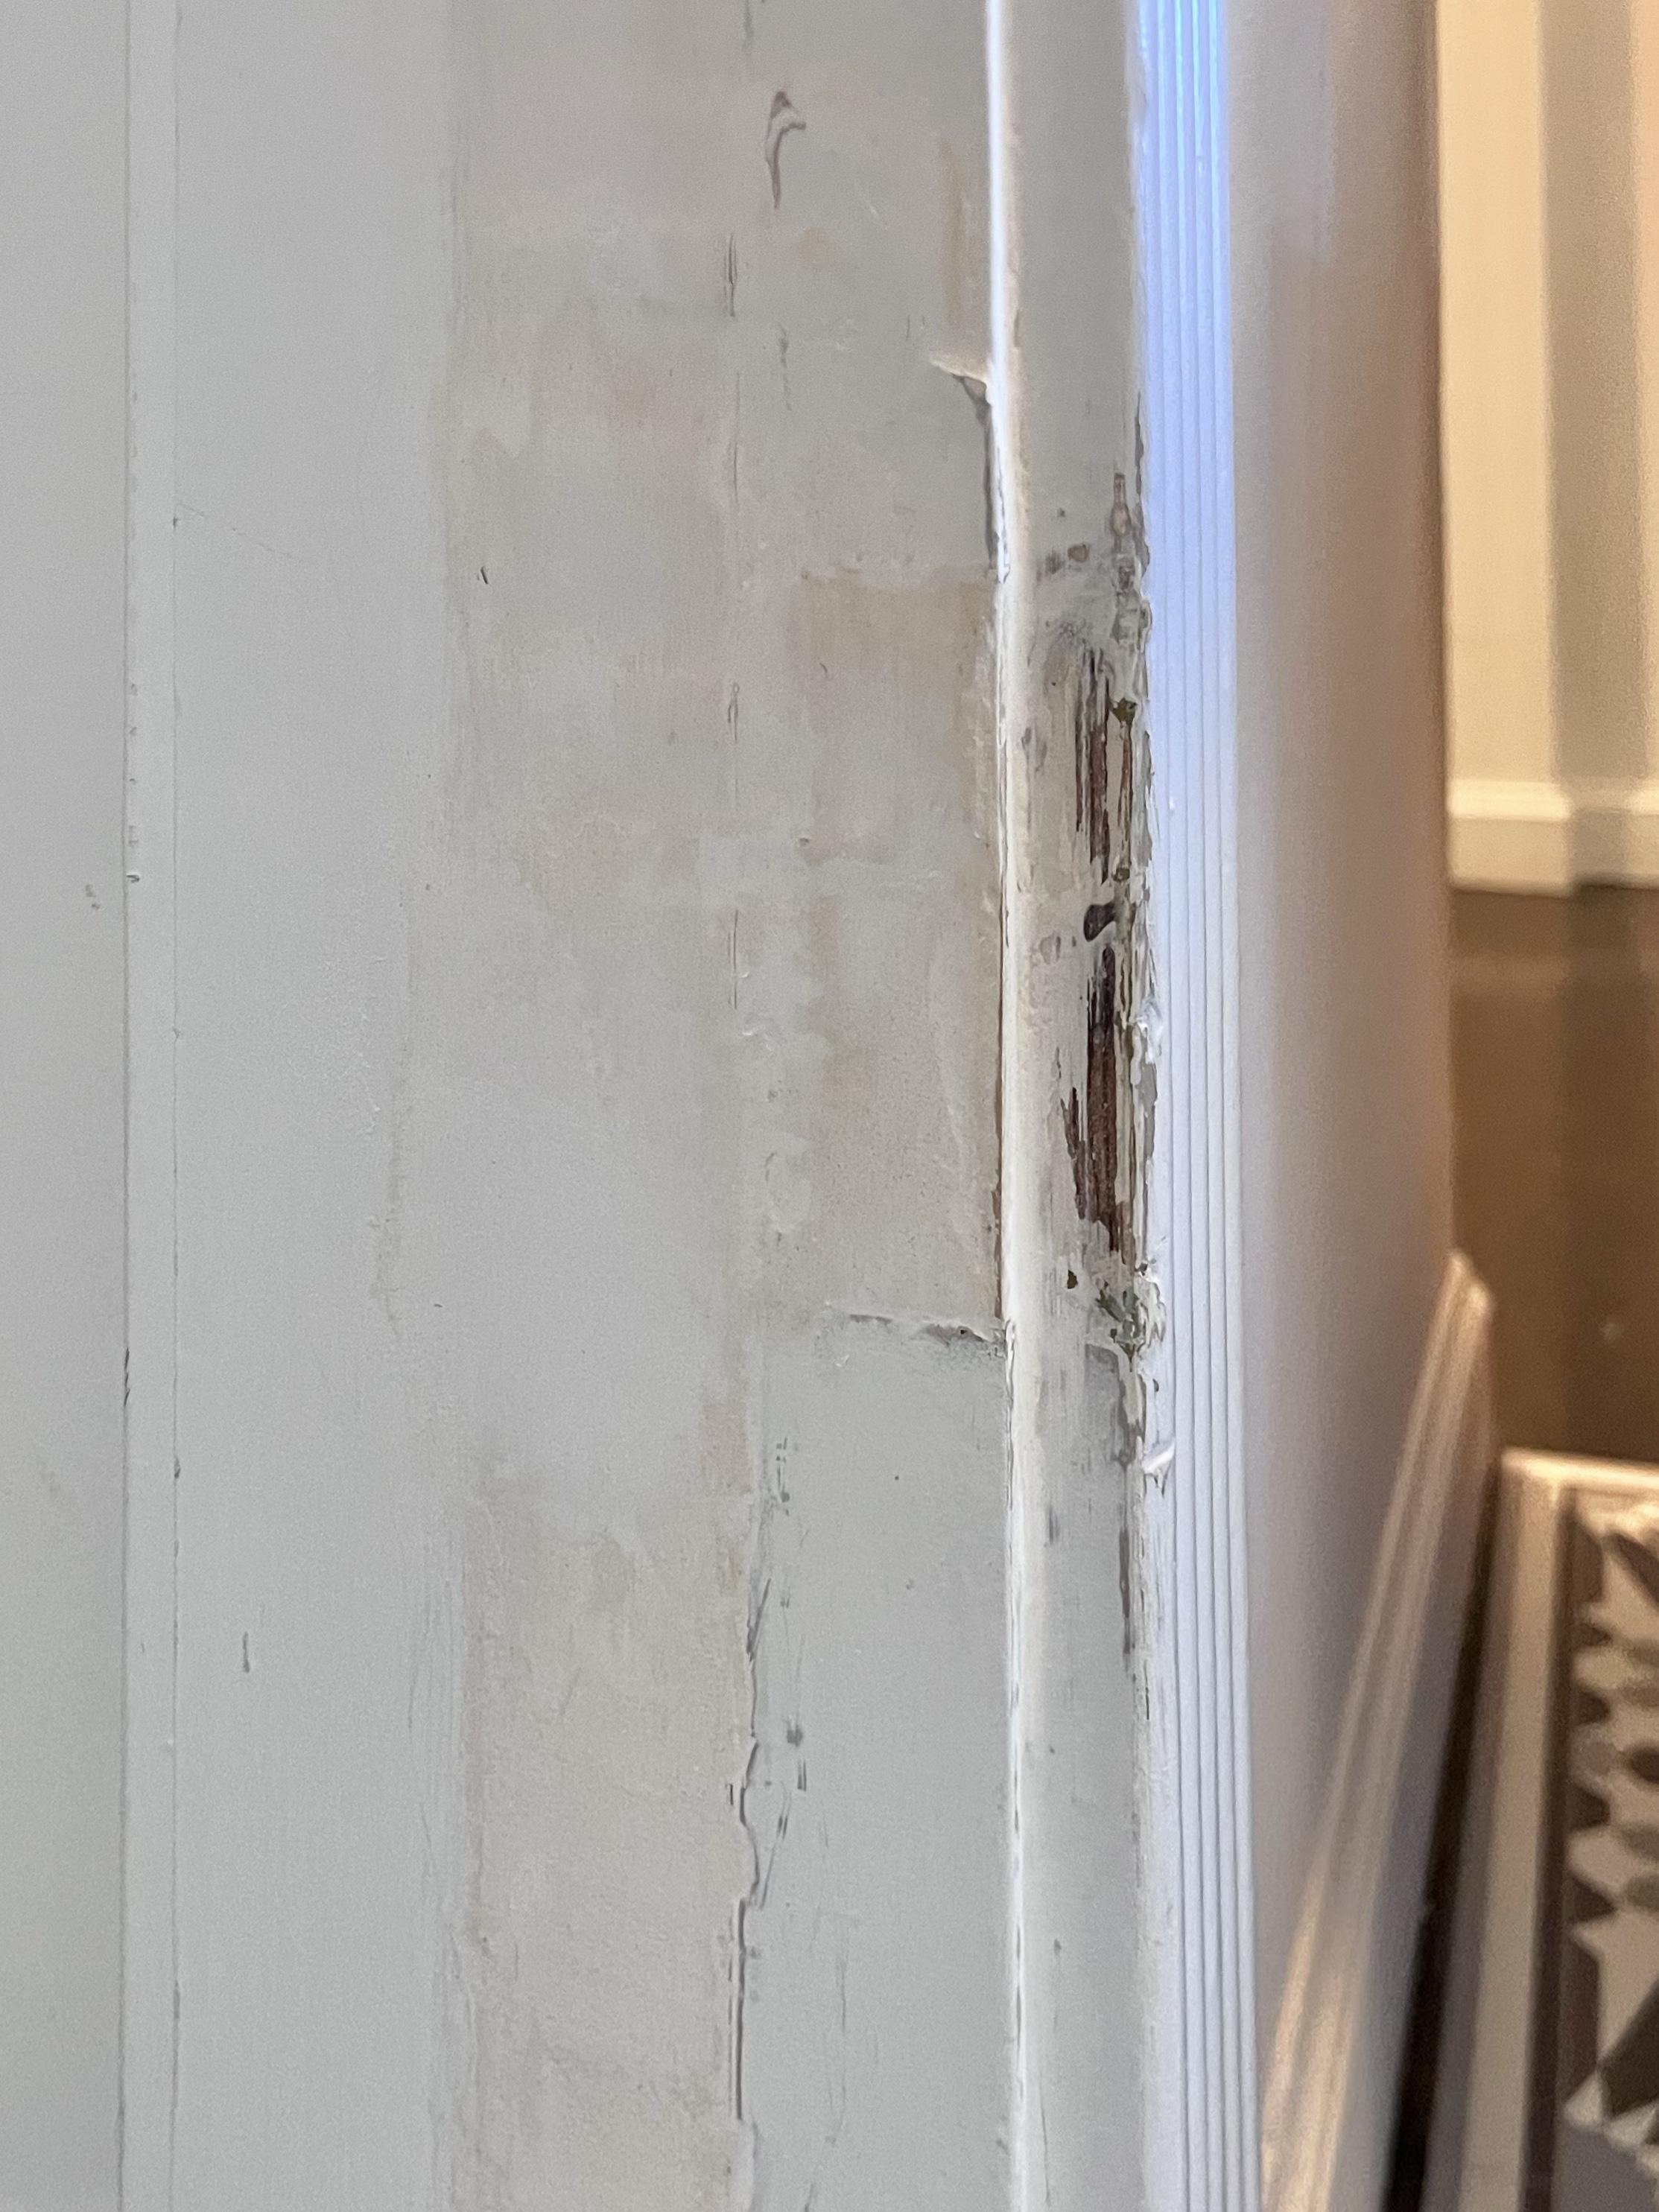
After building the space,
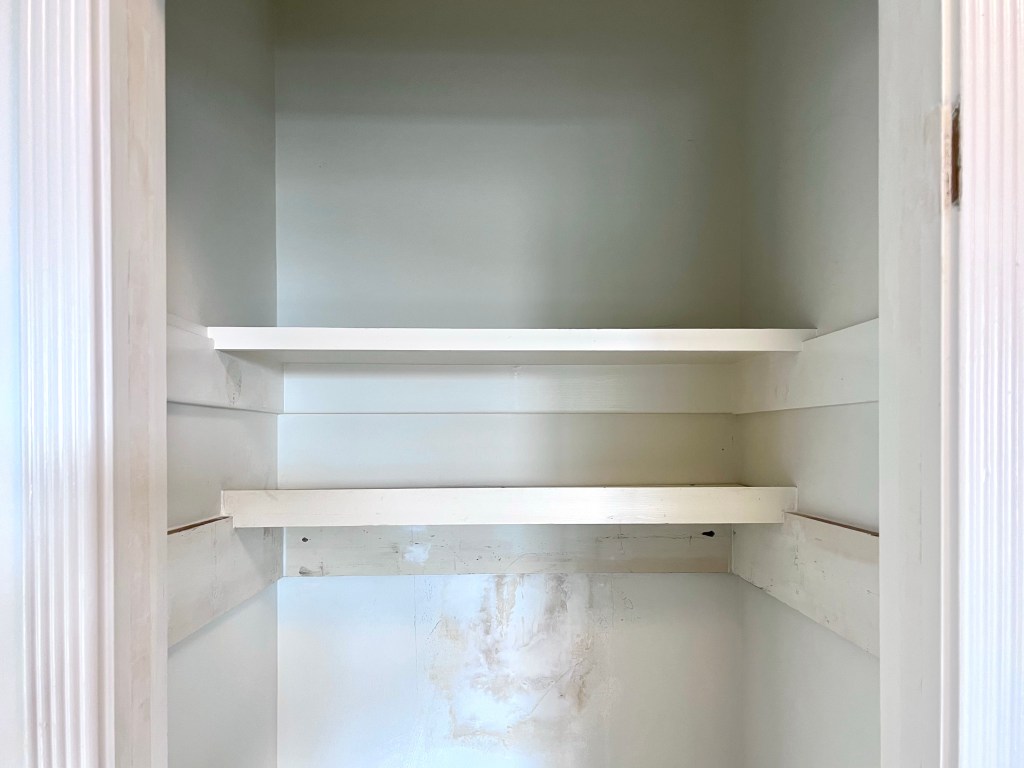
- I painted the shelves, trim, and ceiling in a semi-gloss paint that I had color-matched to the wallpaper.
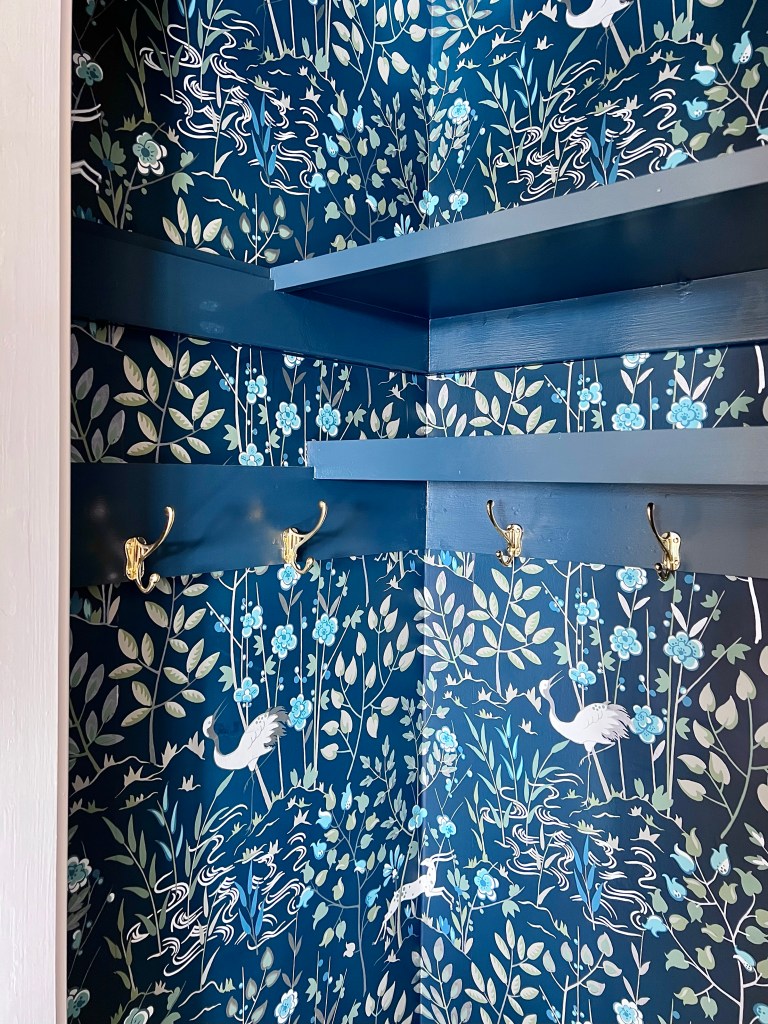
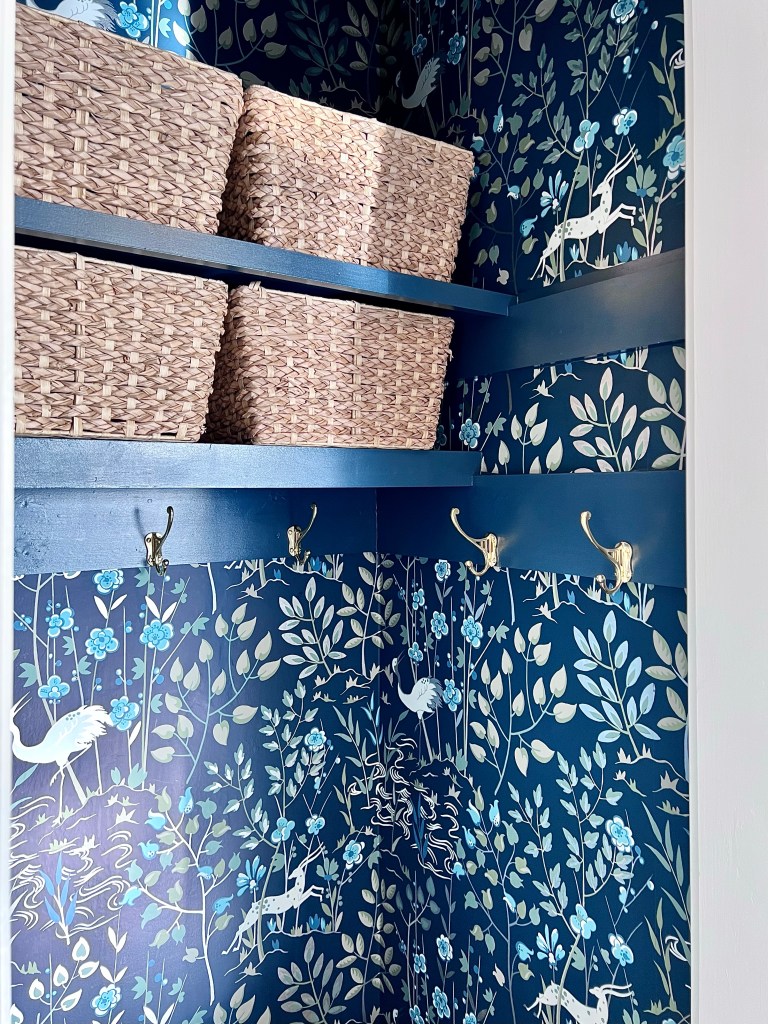
- Next, I hung the beautiful Ronald Redding Aspen wallpaper. If you’re hanging wallpaper that contrasts with your walls, prime the wall (or, if you are lazy like me, paint stripes of primer where the seams will be), so the wall color doesn’t show through at the seams.
- Finally, I installed these brass coat hooks I found on Etsy. I wanted double hooks for more storage and was looking for something that felt traditional but not too antique, and these turned out great! I did curse the matching flat head screws a few times, because they’re much trickier than a Phillips head, but I managed to install the screws using bigger pilot holes and hand-screwing them in. Now that it’s done, I do like the more clean traditional look of the screws.
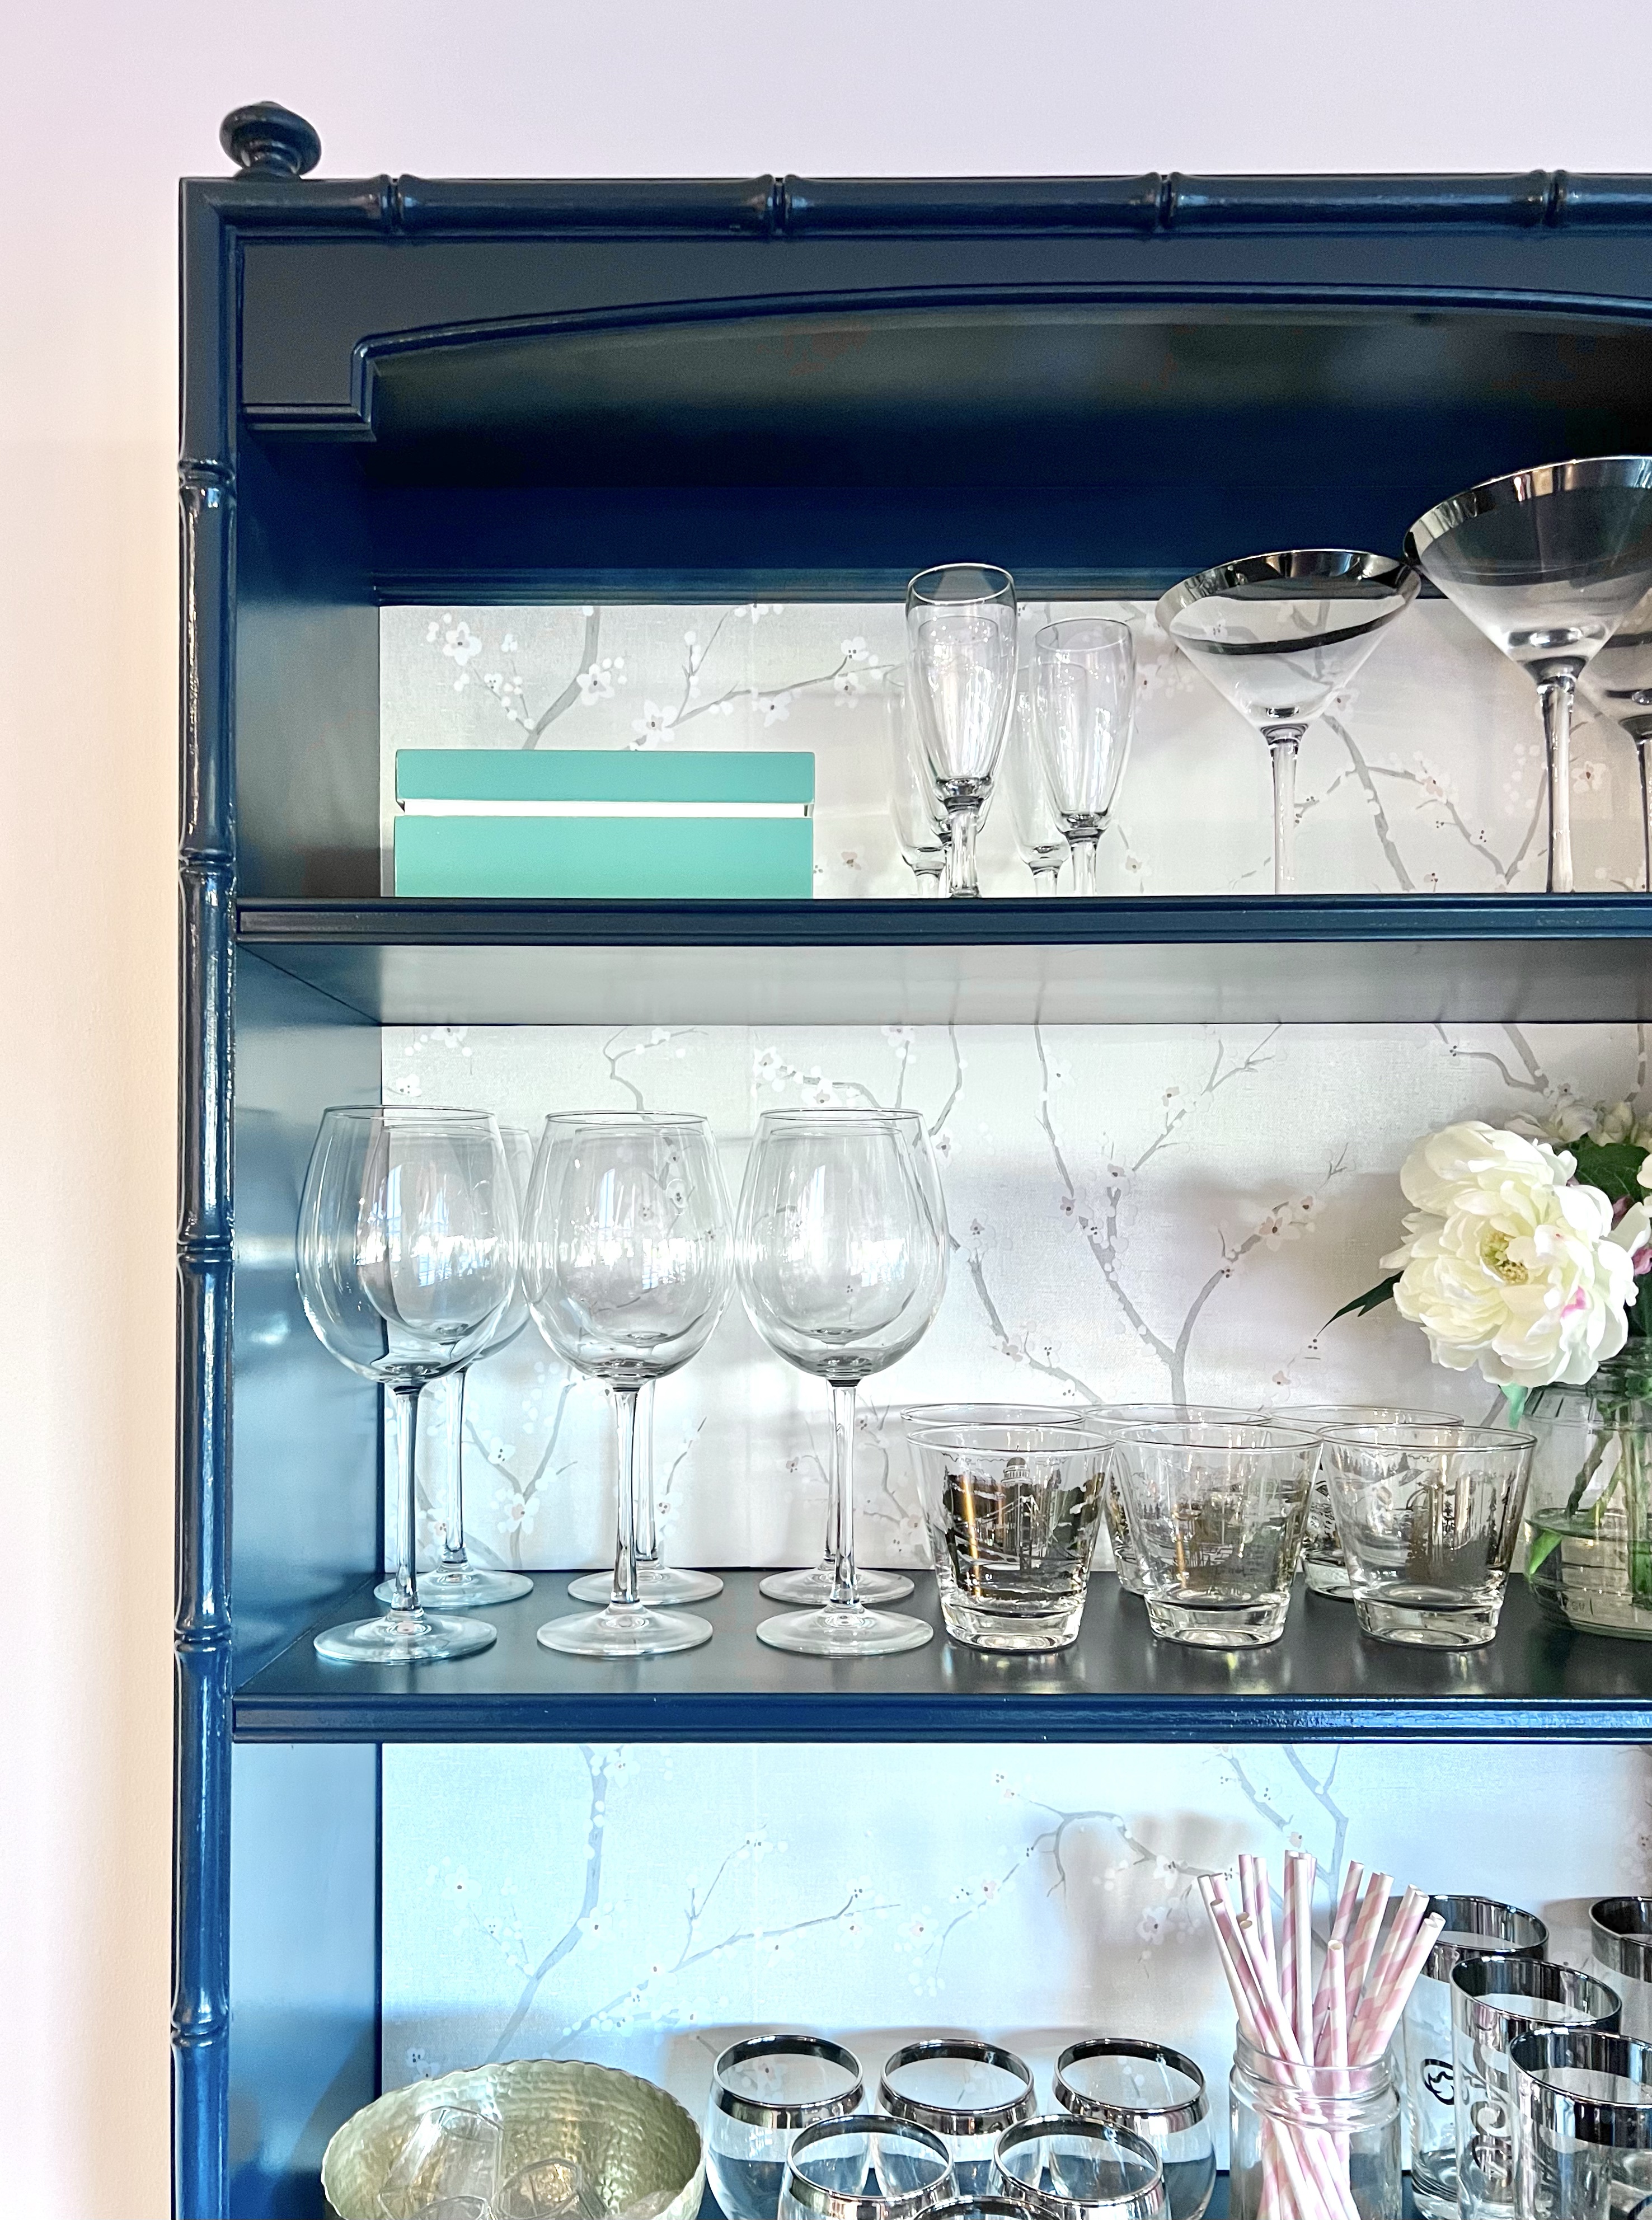
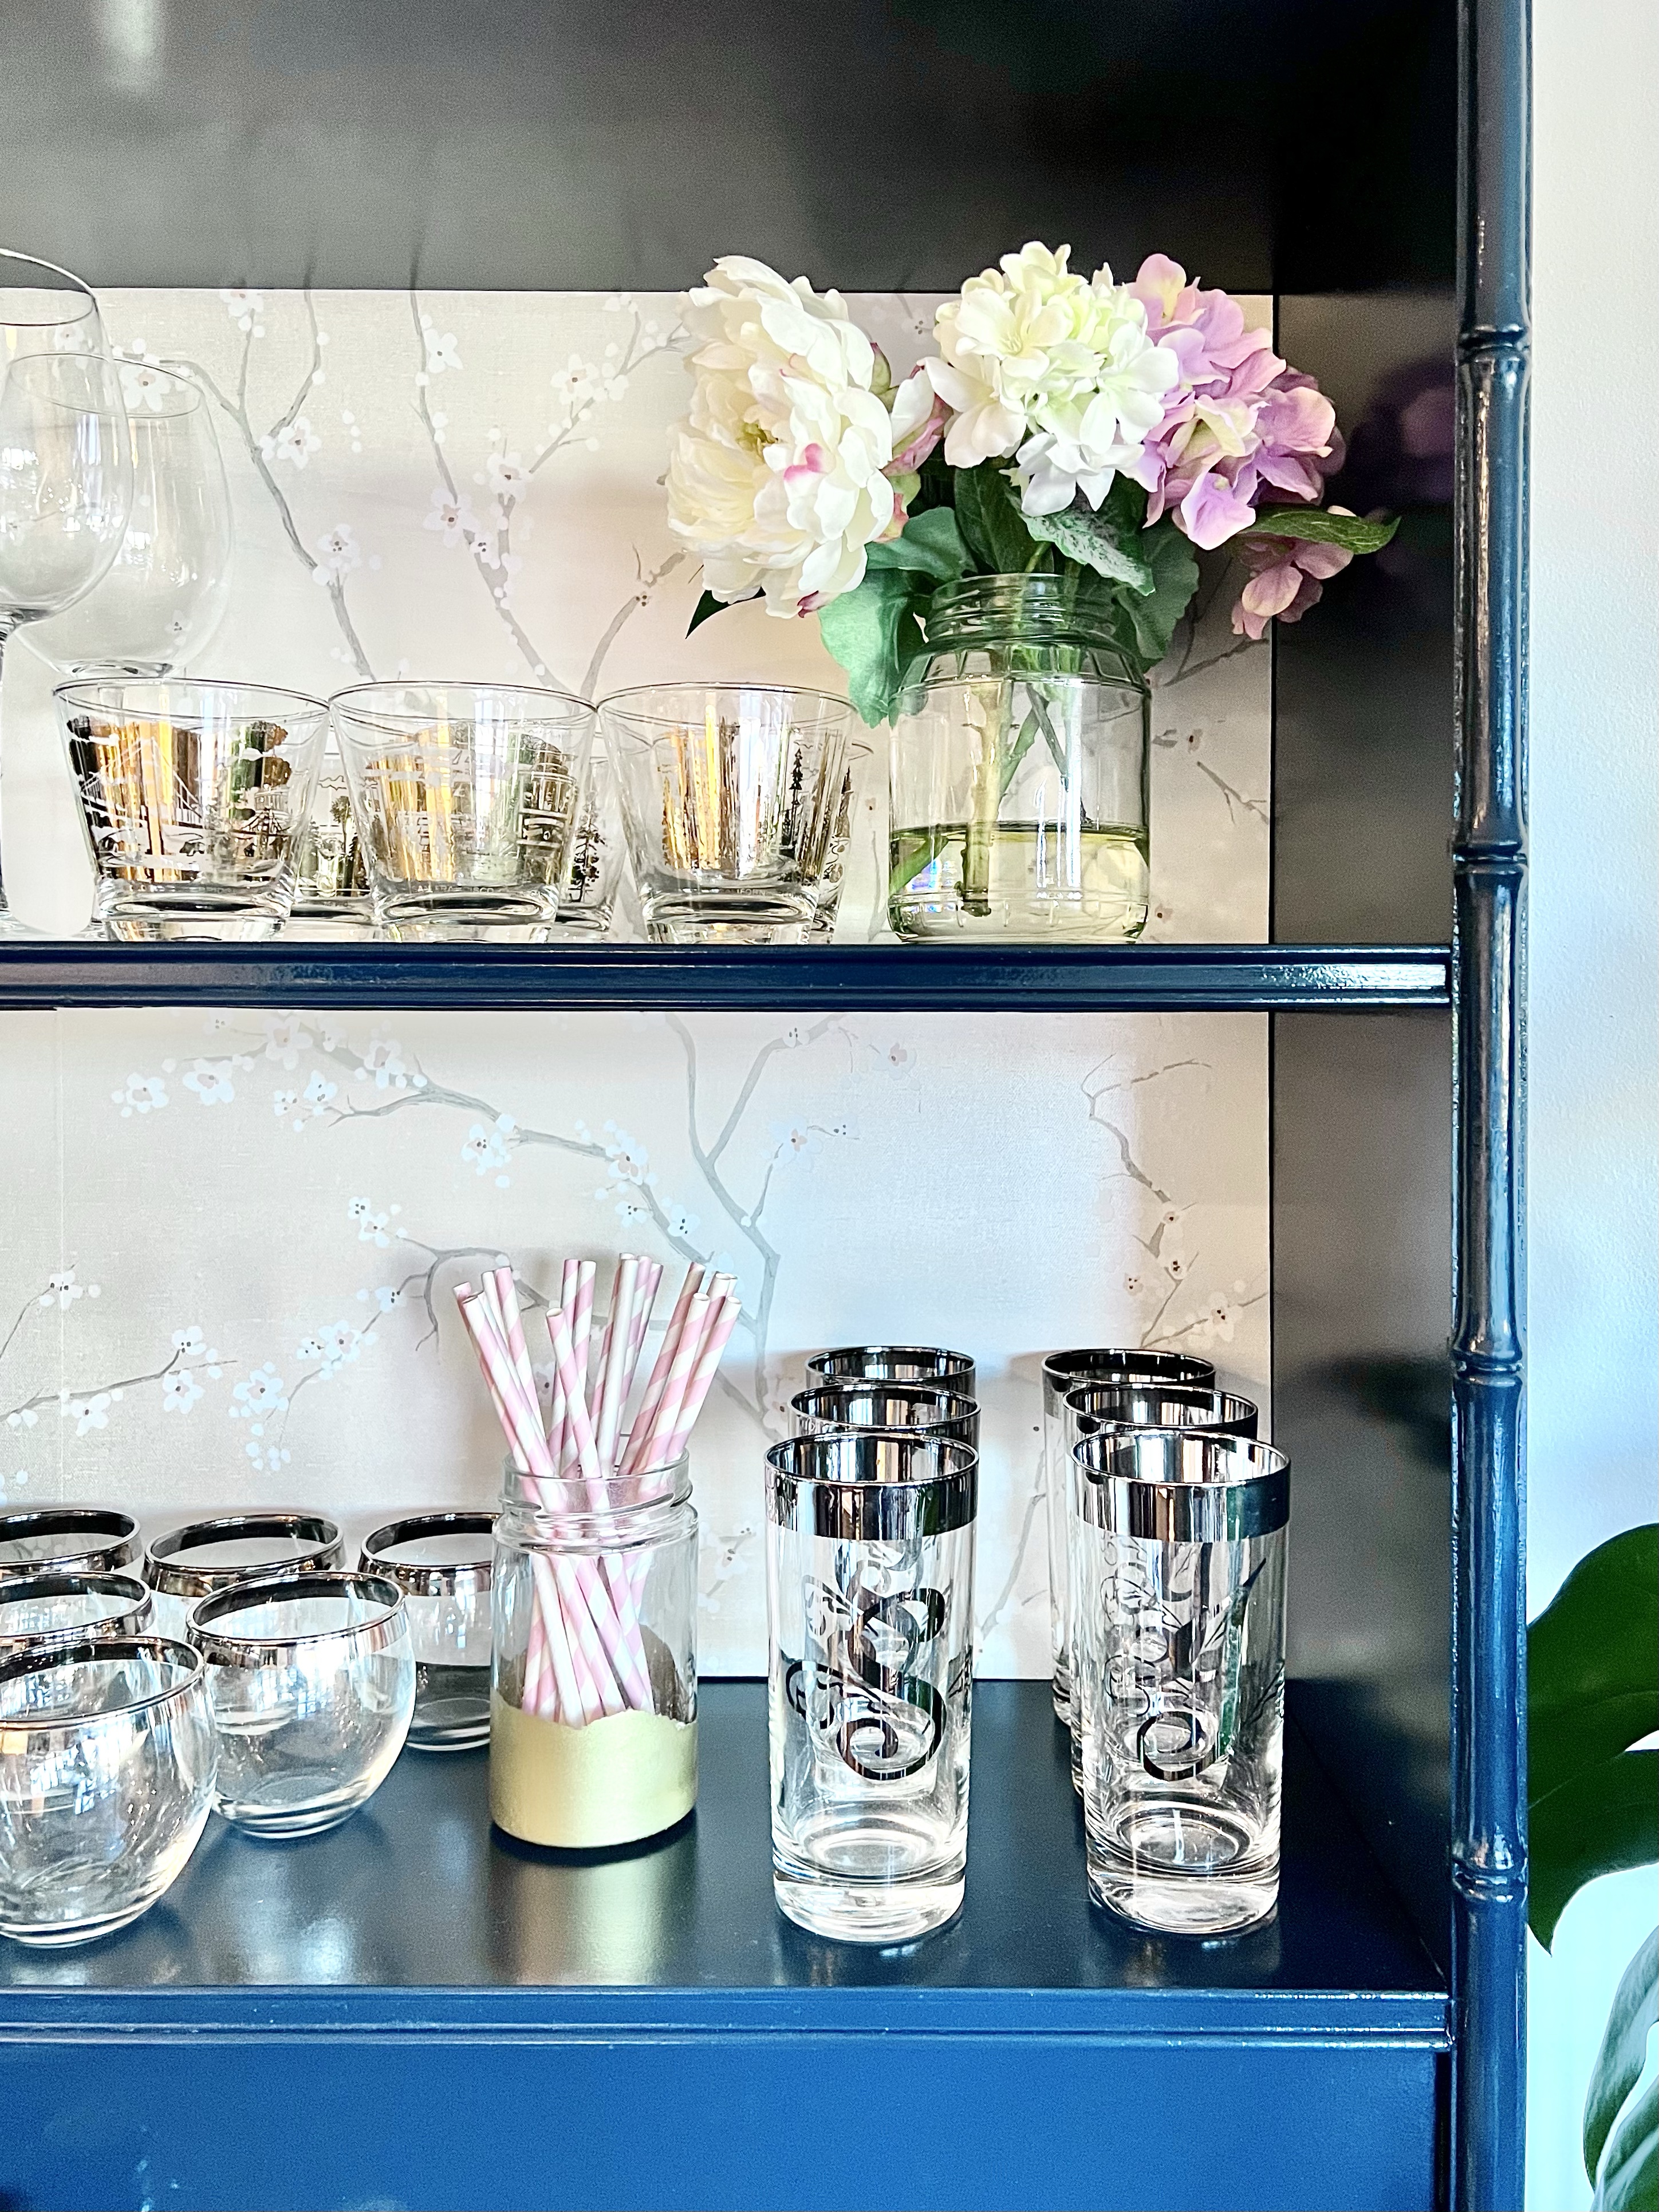
Enjoy these photos of all the details!
There’s something so luxurious about a glossy dark painted ceiling… even if it is in a closet 🙂


I would never have guessed that a closet could make me so happy!
Be sure to go back to the One Room Challenge site to see some more room transformations!
Julie AKA “Jewels”