Small Foyer, Big Plans – Week One Spring 2023 One Room Challenge

  • Week One – Small Foyer Inspiration

I’m really excited to take on our foyer for this One Room Challenge. It’s the first space you see coming into the house, and it’s visible from our living room, so I wanted to give it some style! This is a small area – basically a hallway and a closet, so the project feels very doable, but as the title says, I have big plans!

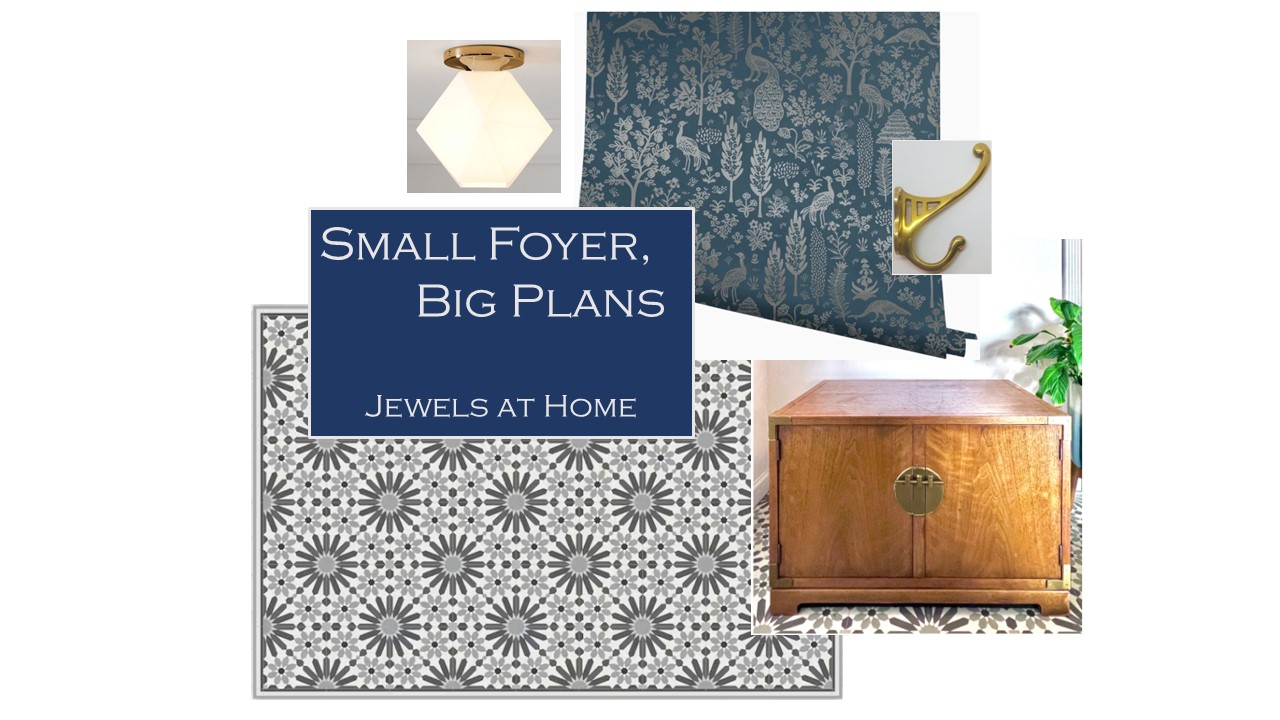
The biggest part of this challenge will be converting our closet to a “mini mudroom.” I’m also sharing our flooring, which always gets lots of comments, a fabulous free furniture makeover, and a new ceiling light fixture. Here are some inspiration pictures for our “new” foyer. I’m so excited to share the process and results!

I knew I wanted to transform our hall closet into some kind of attractive open storage, and it took me a while to land on a design. The closet conversion that best matched my vision is this gem by designer Jessica D’Itri Marés of Renovate 108 featured on Real Simple.

“California Mudroom” Jessica D’Itri Marés

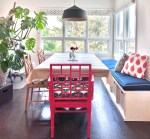
I also love this closet makeover by Jeweled Interiors.

Closet conversion by Jeweled Interiors
However, it turns out, we can all be assured it is better than the starting point!

Definitely go back to the One Room Challenge page to see all the other participants’ projects!

I’m looking forward to sharing this project! Here we go!

Julie AKA “Jewels”

Customizing an IKEA Hemnes China Cabinet

You know how much I love a good furniture makeover! Sometimes, it’s about a dramatic transformation, like this mid-century dresser, these stenciled nightstands, or my Thomasville faux bamboo bar cabinet. Other times, you just need a few changes to transform … Continue reading

How to Hang a Mirror or Art on a Bookcase

So, my weakness (talent?!) for finding home decor on the street is well-established. Remember when I made over this cute Chinese end table? Well, I was walking over to meet a friend for lunch today, and I saw this mirror … Continue reading

Your Home is Your Canvas – Inspirations for Custom Art

I want each item in my home to be meaningful, and custom canvas art is a wonderful way to personalize a space. I’m sharing four custom canvas ideas that I’ve used in my home. This includes several original projects as … Continue reading

Dining Chair Makeover – Sewing New Box Cushion Covers

We moved twice in the last two years, and in the process, I gave away a lot of things. I feel like the universe has decided to reward me by sending me two great finds. First, I found this vintage … Continue reading

A Timeless Sideboard Styled Five Ways

We recently moved into our new house, and I’ve been busy arranging and re-arranging things to get us settled. In this process, I was fortunate to receive a beautiful new sideboard cabinet from Hernest.com. This item was generously gifted, but … Continue reading

Elegant Patio Chair Makeovers

I am so excited for our new patio space and have already enjoyed time out here eating lunch, reading, or catching up on some work. I started looking for some lounge chairs, but I couldn’t quite find what I wanted – or more accurately, what I wanted was way too $$$. But this story has an happy ending! I found these used chairs and made them over for $ to complete our patio space!

It’s no secret that I love anything with the look of cane or faux bamboo and also that I have a weakness for Craigslist finds! I spotted this set on Craigslist for $50, and when I showed up, the woman said I could have it for free. She also let me take the chairs without the table, so my karma of giving things away when we moved last year came back to me! I also picked up the chairs near my old neighborhood hardware store, so I stopped by to get some supplies and painting tips.

Here’s how to do it:

  • I started by cleaning off as much rust as possible. I used an old screwdriver, sandpaper, and steel wool
  • I prepped the chairs with deglosser and metal primer
  • I then finished them off with white gloss spray paint
  • The cushions were in decent condition, just faded, so I found these new slipcovers to freshen them up!

Here are some more pictures of our “new” chairs.

I feel they came pretty close to my inspiration pics, and all with the satisfaction with saving some money and a good DIY!

Everyone loves a good before and after pic:

I look forward to many more hours enjoyed out here with friends, family, or curled up with a good book!

Julie AKA “Jewels”

A Boy’s Room in Blue Full of DIY Treasures

Sometimes, milestones are measured in unusual ways. I know my kids are getting big, because it’s finally possible to take a picture of JJ’s room that is not a total disaster! We (I) were focused on finding a new house … Continue reading

From Thomasville Dresser to Dining Room Bar Cabinet

Remember when I told you that painting a vintage mid-century dresser was on my DIY bucket list? I love how that first project turned out. And then! When I was moving and definitely should not have been accumulating more stuff, I found something I couldn’t resist: a Thomasville faux bamboo bedroom set for free on Craigslist! This included a twin bed frame and a little desk and dresser. The desk had a bookcase hutch, which I put on top of the dresser to make a hutch/ bar for our dining room.

Here’s what you’ll need:

  • Rags
  • gloves
  • TSP or other deglossing solution
  • Sandpaper – fine grit
  • Bonding primer designed for slick surfaces
  • Amy Howard Spray Lacquer. I previously used this to lacquer a small entry cabinet, and I’m really impressed with how it looks and holds up
  • As needed, new hardware or metallic spray paint for your old hardware
  • If you need new holes for your hardware, some filler material for the old holes
  • Wallpaper for the back of your hutch. This Cherry Blossom Peel and Stick wallpaper had everything I wanted – a pretty design that was subtle enough to not be too busy when the shelves were filled, and a little bit of sheen.
  • Hardware to attach the hutch and anti-tip hardware, especially if you live in earthquake country, like we do

Here’s how to do it:

  • Clean off dirt and dust
  • Remove hardware
  • If you are changing hardware, fill in the old holes and drill the new ones
  • Sand the surface lightly with fine grit sandpaper
  • Wipe with surface with deglosser such as Gloss-off or TSP
  • Apply the primer and let it dry thoroughly overnight
  • Sand lightly with 400 grit sandpaper and wipe off dust with a lint-free rag
  • Apply the spray lacquer – Amy Howard has some videos on YouTube with details on how to use this product. Overall, I really like it, but it is a bit finicky. Luckily, the little imperfections aren’t noticeable now that it is inside and decorated.
  • I let the lacquer cure for a week in the garage, and then I applied the wallpaper to the back of the bookcase
  • The last steps were to put the hardware back on, secure the hutch to the dresser and add anti-tip hardware to the top of the whole thing
Here are the cool details from the back of my dresser – it is 55 years young!
Before and after!

This new dining room bar is the perfect place to display our collection of vintage bar glasses. I collected them back when we threw a Mad Men party, and I still love them all!

The days off for New Year’s allowed me to finish this project, so of course, I decorated for our at-home countdown to the New Year!

There is still the bed frame, a little corner desk, and some mirrors that came with the bedroom set. It was a silly indulgence to bring them all home, but I still hope to find a home for them some day somewhere!

Julie aka “Jewels”